

Let’s be honest, there’s just something special about crafting your own decor. The texture, the little imperfections (that make it oh-so-real), and that feeling of pride when you step back and say, “Hey, I made that!” If you’re looking for a project that’s both meaningful and super fun, wooden crosses DIY is a wicked good place to start. Whether you want a rustic touch in your home, a heartfelt gift, or an artistic way to express your faith, this guide is about to be your go-to. Grab your coffee—or, heck, a cold drink—and settle in. You’re about to discover everything you could possibly need to create stunning wooden crosses DIY style, even if you barely know your way around a saw—or pronounce ‘mod podge’ correctly (don’t worry, I still mess it up, too). And if you’re looking to branch out, check out our guide to easy pallet wood decor for more creative home projects.
Why Make Wooden Crosses DIY?
- Customized for You: Wooden crosses DIY means you get to pick your colors, stains, size, and finishing touches. No more generic decor!
- Budget-Friendly: You can whip one up for a couple of bucks with scrap wood, or go luxe if you want. It’s totally up to your wallet.
- Therapeutic & Uplifting: Woodworking is surprisingly relaxing. You’ll love the process as much as the finished product.
- Lasting Value: A well-made cross becomes a cherished heirloom—or at least a stunner on your gallery wall!
- Perfect for Gifting: Wooden crosses DIY gifts carry a personal touch and vibes that can’t be faked.
Gather Your Materials: Gear Up for Wooden Crosses DIY!
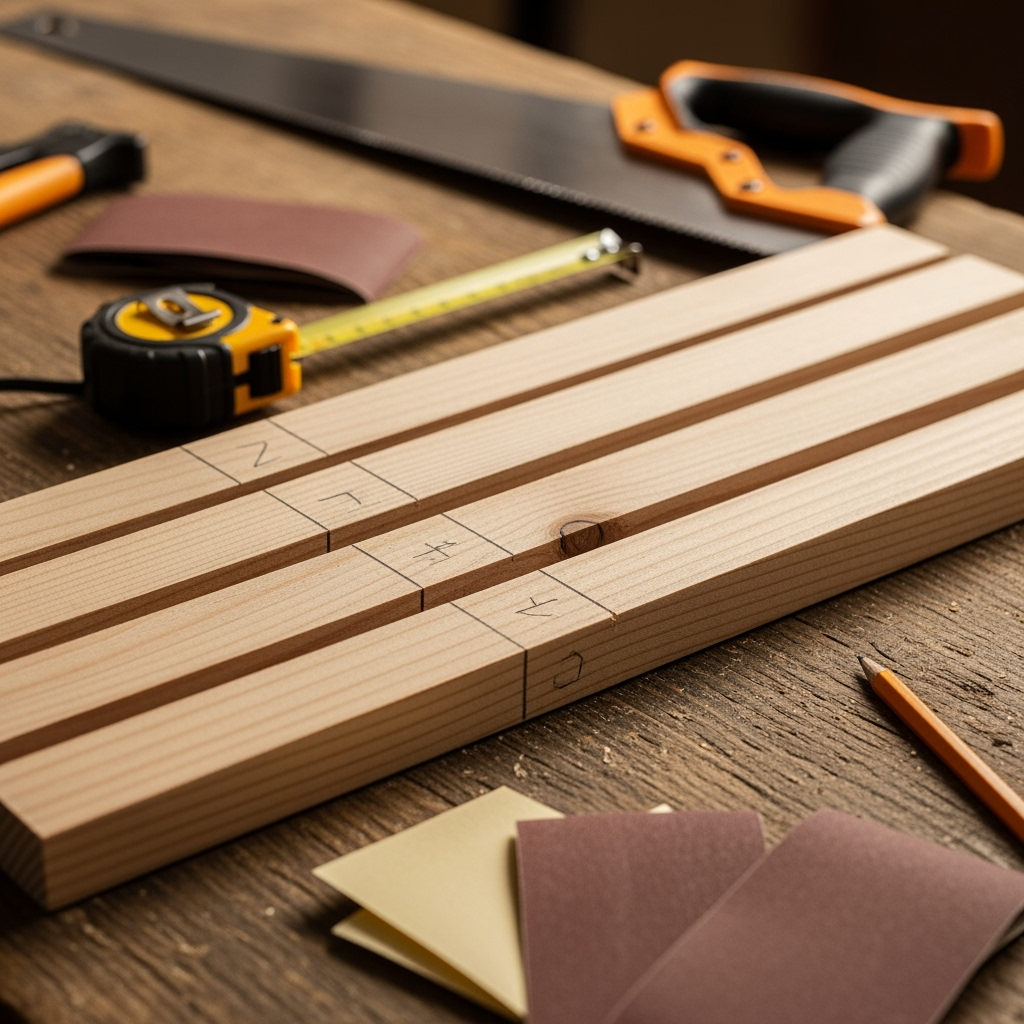
Alright, let’s not overcomplicate things. You only need a few basic tools and supplies for your first wooden crosses DIY project. Here’s what you’ll want to have on hand:
- Wooden boards or scraps (Pine, cedar, or reclaimed wood all work brilliantly)
- Sandpaper (120 to 220 grit)
- Wood glue or finishing nails
- Saw (A miter saw or hand saw works fine—no need for fancy stuff!)
- A tape measure and pencil
- Wood stain, paint, or wax (Pick your look!)
- Decor stuff (Rope, beads, metal accents, stencils, ribbons… totally optional, but fun)
- Brushes or rags
- Clear sealant (If you want it to last)
- Drill and screws (if you wanna hang your masterpiece)
- Safety gear! (Goggles and mask—no slacking here)
Choosing Your Wood: It Matters More Than You Think!
If you want your wooden crosses DIY project to shine, you gotta pick the right wood. Here’s the lowdown:
- Pine: Budget-friendly, easy for beginners, and paints or stains beautifully.
- Cedar: Smells good, resists rot, and gives a gorgeous warm tone.
- Reclaimed Wood: Eco-friendly, adds instant character, but make sure it’s clean and nail-free!
- Oak: Heavier stuff, but super sturdy if sturdiness is your jam.
The magic of wooden crosses DIY is, you can mix ‘n match. No rules—just good vibes and creativity.

Design Ideas: From Classic to Super Creative Wooden Crosses DIY
1. The Classic Rustic Cross
Sometimes, simple is stunning. Start with two wooden strips—make one just a tad longer for the vertical bit. Lay ‘em out in a cross shape, glue or nail ‘em together, then hit it with a wood stain for that classic, old-chapel look. Done!
2. Painted Modern Cross
Wanna go bold? Cut out a chunky cross shape, and give it a coat of vivid paint—think turquoise, coral, even neon. Add geometric patterns or inspirational words with a stencil and you’ve got a cool, modern vibe for your space.

3. Distressed Shabby-Chic Cross
For that soft, lived-in feel: slap on a layer of white paint, let it dry, then sand down the edges so the wood peeks through. It’s that effortless farmhouse charm, and with wooden crosses DIY you can go any color under the sun.
4. Layered Crosses DIY
With this style, you make a larger cross for the back, then a smaller one to layer over. Glue together and add a twine wrap or a metal accent in the center. This wooden crosses DIY look totally stands out on any wall.
5. Embellished or Engraved Cross
If you’re feeling extra, use a wood burner to etch a design, verse, or name. Or, glue on little beads, buttons, or even a small floral bouquet. Personalization is what makes wooden crosses DIY unforgettable.
Step-by-Step Guide: Get Crafty With Wooden Crosses DIY
Step 1: Planning and Measuring
Think about the size you want for your wooden crosses DIY project. A good place to start is 18” tall by 12” wide, but you do you! Grab your tape measure and pencil, and mark your wood. Double-check (because we all know that measure-twice, cut-once rule!)
Step 2: Cutting Your Wood
Use your saw (hand saw or miter—either works for wooden crosses DIY newbies). Slow and steady wins the race; don’t rush your cuts. If you want fancier edges, use a jigsaw for curves, but straight is classic, too.

Step 3: Sand Those Edges
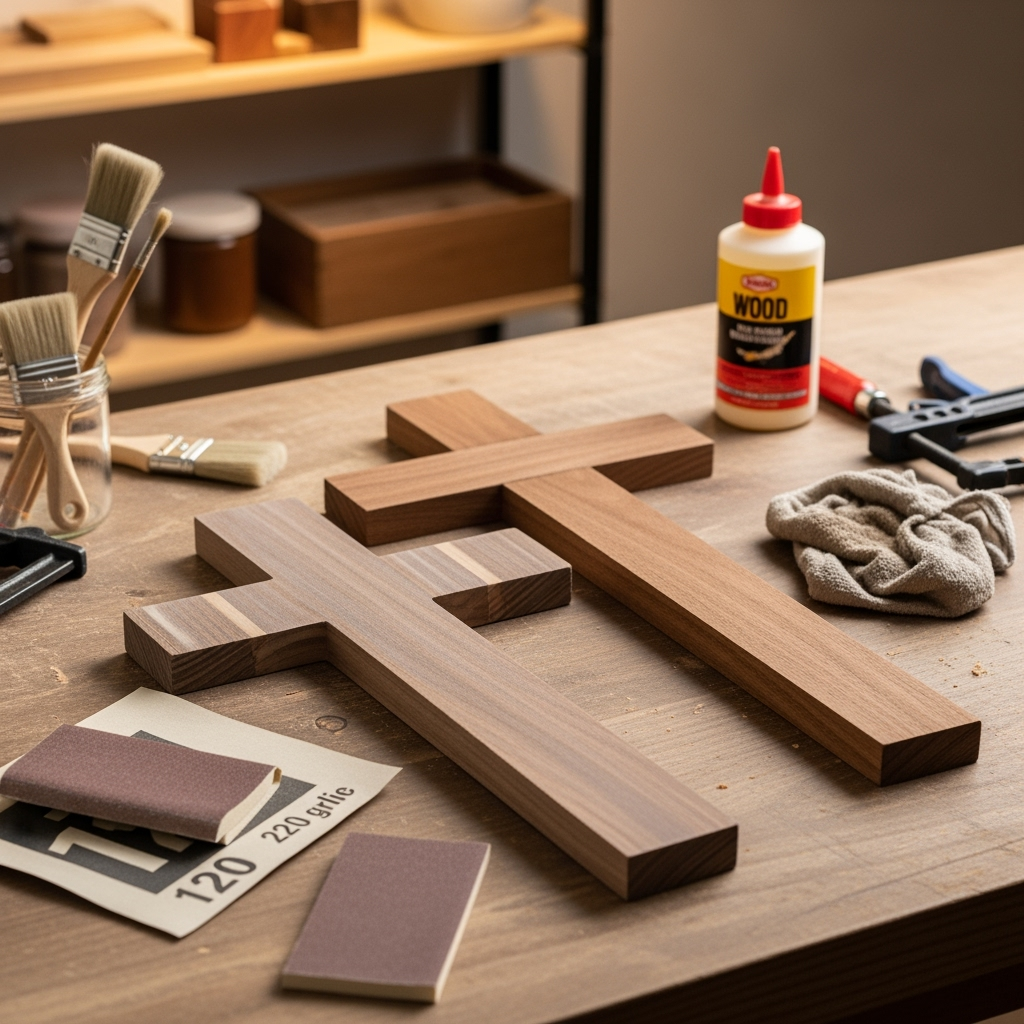
Splinters? No thanks! Sand every edge and surface until it’s nice and smooth. Start with 120 grit and move up to 220. Wipe off the dust with a damp rag (otherwise, your stain or paint will be patchy—ask me how I know, ha!).
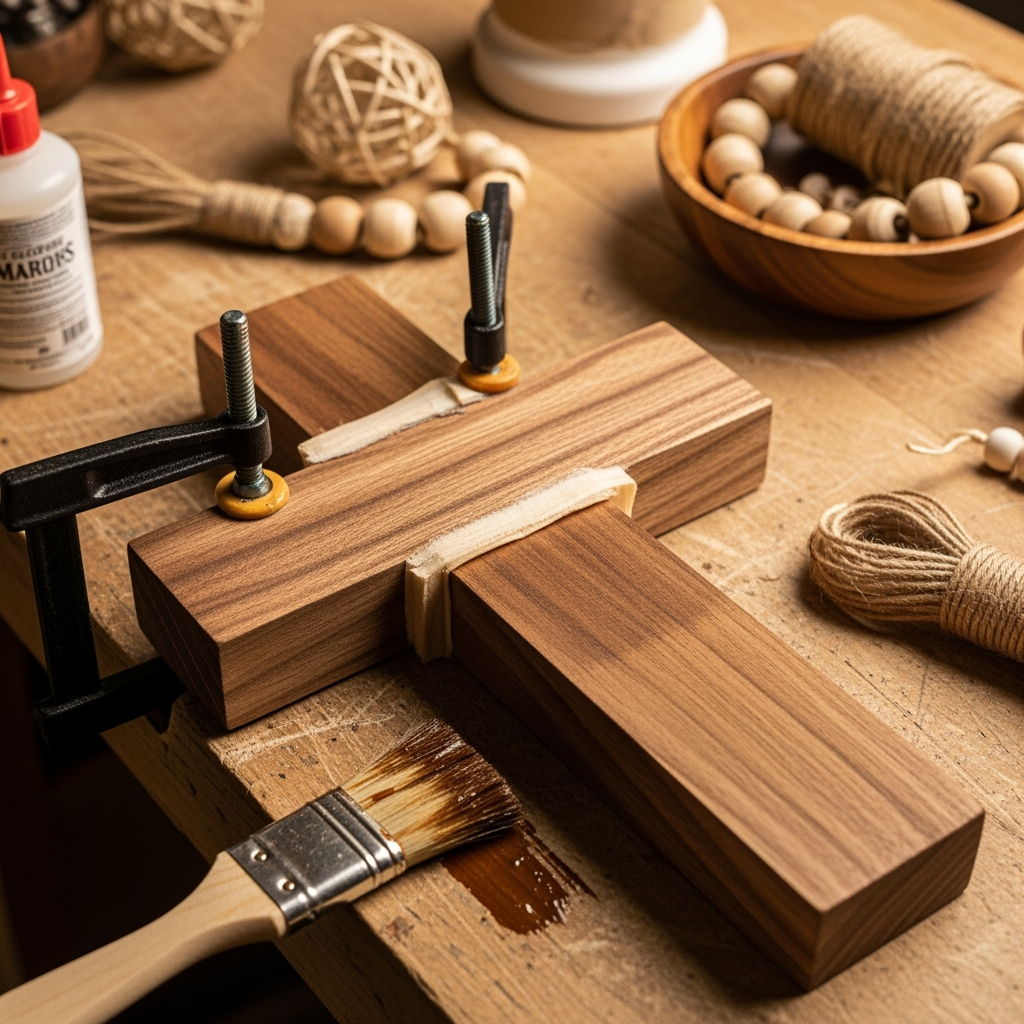
Step 4: Assemble Your Wooden Cross
Lay your pieces flat. For a strong hold, run wood glue where the pieces meet. Press together, and clamp if you have ‘em. No clamps? Stack some heavy books on top, that counts in the world of wooden crosses DIY. Or use small finish nails for an extra-secure fit. Let dry as per the glue’s directions.
Step 5: Stain, Paint, or Finish
This is the fun bit. Choose your finish:

- Brush on a wood stain (wipe off excess for a lighter look)
- Paint your cross in vibrant hues or patterns
- Try whitewash for a weathered look
- Mix and match—get creative!
Let everything dry fully before moving on. Trust me on this.
Step 6: Embellish (Optional—but Awesome)
Want to dial up the personality?
- Wrap jute or rope around the center for a rustic vibe
- Glue on a metal accent, like an old nail, horseshoe, or small medallion
- Stencil or hand-paint a verse, or family name
- Add buttons, beads, or tiny faux flowers
- Wood burn a personal message or pattern
Step 7: Seal and Hang
Finish your wooden crosses DIY masterpiece with a layer of clear sealant if you want it to last (especially handy if you’re gifting). Attach a picture hanger, hook, or even a rustic rope for hanging.
Tips for Next-Level Wooden Crosses DIY
- Mix Wood Types: Layer different kinds for color contrast—super striking!
- Go Big or Small: Tiny wooden crosses DIY are perfect for ornaments or keepsakes, while giant crosses can anchor a mantel or garden.
- Batch Make for Gifting: Make a bunch at once to gift at Easter, baptisms, or house blessings.
- Try 3D Effects: Add extra layers, or use dowels to give your cross some pop.
- Involve Your Crew: Get the kids, friends, or church group involved for a wooden crosses DIY night. It’s a blast and you’ll make sweet memories, too.
Common Mistakes to Dodge in Wooden Crosses DIY
Yeah, I’ve been there. Here’s how to avoid the facepalm moments:
- Skipping Sanding: Don’t do it, mate. Unsanded wood just looks… unfinished. Your fingers will thank you.
- Rushing Glue Dry Time: You want those arms to stay stuck, so let it dry like the bottle says.
- Overloading on Decor: More isn’t always better; sometimes simple rules.
- Inaccurate Measuring: Measure twice, always.
- Forgetting to Pre-Drill Holes: Especially important for harder woods—saves on splits and curse words.
Wooden Crosses DIY for Holidays & Occasions
Easter
Deck your halls with wooden crosses DIY that fit the season! Pastels, florals, and ribbons shout “spring garden,” and these make beautiful centerpieces or front door hangers.
Christmas
Try tiny wooden crosses DIY as ornaments, or craft a giant whitewashed cross for your mantel. Add greenery, twinkle lights, and berries for the holiday feels.
Baptisms & Faith Celebrations
Monogram a cross, add a date with wood-burning, and you’ve got a keepsake they’ll treasure forever. Super touching for a dedication or confirmation, too.
Home Decor & Gifts
Wooden crosses DIY fits any decor style: farmhouse, boho, classic, or modern. Custom match your paint, stain, or embellishments to the recipient’s space and you’ve got a winner.
Going Green: Eco-Friendly & Upcycled Wooden Crosses DIY
Wanna save the planet and make cool stuff? Upcycle old pallets, barns, or furniture wood for your wooden crosses DIY. Sand it down, double-check for old nails, and give it a new life. Adds TONS of character, and you can say you’re a planet-saving legend. Share your green crafts on socials for max bragging rights.
Mini Cross Ideas for Kids: Family Wooden Crosses DIY
Encourage the kiddos with easy, fun projects. Offer pre-cut small crosses, acrylic paints, and let them go wild! These are perfect for Sunday school, Easter parties, or anytime creative fun. Pro tip: Stickers and glitter glue are always a hit (but kind of messy, so cover your table first—trust me).
Frequently Asked Questions About Wooden Crosses DIY
- What size should I make my wooden cross?
It’s totally your call! For walls, 18” by 12” is a good start. Or go big for outdoors, tiny for ornaments. Just make sure the arms are proportional for a balanced look. - Which paint or stain is best?
Acrylic and chalk paints work great. Any wood stain is fine—just test on a scrap if you can, as some woods soak up color differently. - How do I hang my cross?
Use sawtooth hangers, a simple nail, or loop some rope through the top for that rustic touch. - Should I seal my wooden cross?
Yep—especially for outdoor use or gifts that’ll be handled a lot. A water-based poly or clear wax keeps it fresh. - What’s the best glue?
Titebond or Gorilla Wood Glue are my picks. Clamping helps, but books work in a pinch. - How can I personalize wooden crosses DIY gifts?
Add names, dates, or favorite verses with paint pens, stencils, or wood burning for those wow vibes.
Get Inspired: Real Wooden Crosses DIY Success Stories
- Lisa’s Wedding Favors: She used leftover fence pickets and made mini wooden crosses DIY favors for every guest. Paired ‘em with a prayer card and they were a sentimental hit.
- Jorge’s Wall Art: Layered oak and maple, sanded like a pro, hit with deep walnut stain. Now it’s the centerpiece above his fireplace. Total conversation starter.
- Mama Dee’s Sunday School: Let the little ones paint mini crosses in bright colors. Pop a magnet or pin on the back—they’re still stuck to fridges all over town years later!
- Pat’s Farmer’s Market Booth: She started selling her decorated wooden crosses DIY style. They’re now her best-seller (and the perfect side hustle, if you ask me).
Final Thoughts: Why Wooden Crosses DIY Are the Ultimate Creative Win
Here’s the deal. Making cool stuff with your own two hands never gets old. Wooden crosses DIY checks all the boxes: personal, meaningful, affordable, and a straight-up blast to make—even for complete newbies. Whether you’re after rustic, chic, whimsical, or bold, the creative options are endless. Plus, you walk away with a piece of decor (or a gift) that’s loaded with heart and totally one-of-a-kind. So gather your scraps, fire up your playlist, and dive into the world of wooden crosses DIY—your next masterpiece is one cut, paint swipe, or glue blob away. Happy crafting, y’all!


