

Who knew that a simple wood slice could bring so much character into a space? If you’ve ever gazed at a pile of wood slices and thought, “Nah, not for me,” let me take you on a journey. Trust me, wood slice crafts are about to become your new obsession. Wood slice crafts aren’t just for the rustic farmhouse look—seriously, there’s a project for every vibe, whether you’re chic, boho, vintage, modern, or somewhere in-between. So grab a cuppa, roll up your sleeves (or just mentally, if you’re procrastinating), and let’s dive deep into the wildly creative world of wood slice crafts.
Why Wood Slice Crafts Are Winning Hearts
There’s a reason everyone is raving about wood slice crafts. They’re affordable, accessible, eco-friendly, and, honestly, pretty fun. You don’t even need to be a woodworking guru. Some people literally just pick up a branch from the backyard, slice it, and voilà—insta art material. How cool is that?
- Budget-Friendly: Max style, minimum spend. Save that coin for takeout or more craft supplies.
- Customizable: Paint, stain, stamp, engrave… wood slices are a blank canvas.
- Nature-Inspired: Bring the outdoors in, and boost your home’s chill vibes.
- Kid-Friendly: Craft-time just got upgraded—less screen, more creativity!
- Giftable: Handmade is heartmade. Who doesn’t love a personal touch?
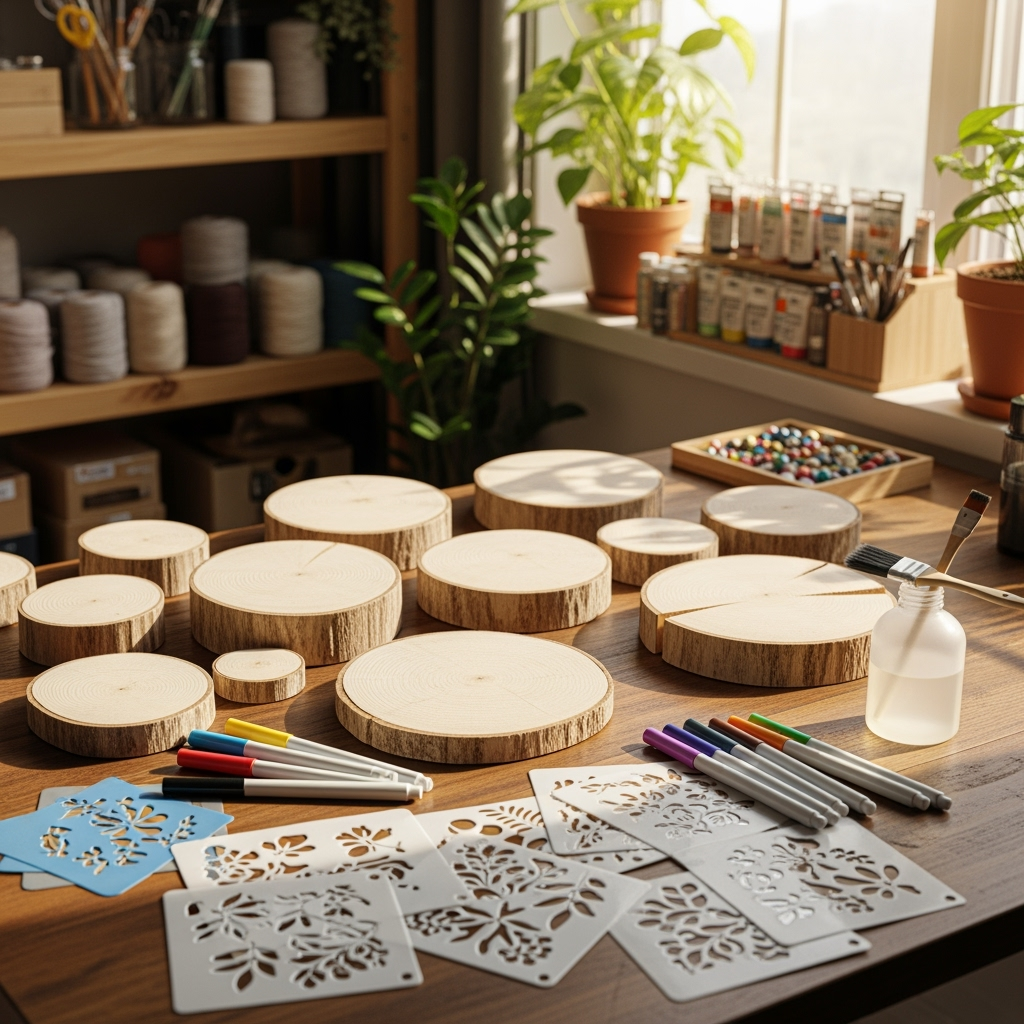
How to Prep Your Wood Slices for Crafts
Start with the basics: sourcing and prepping. If you’re buying, places like craft shops, Amazon, or Etsy are packed with options. DIY? Chop a fallen branch into discs—it’s that easy. Either way, just make sure your wood slices are dry to avoid those icky moldy surprises (so not the vibe).
- Clean: Wipe off dirt and sawdust with a brush or damp cloth.
- Dry: Lay them flat in a ventilated area.
- Sand: Smooth those rough edges! Your fingers will thank you.
- Seal (optional): If you want longevity or a glossy finish, brush on clear sealer.

Must-Try Wood Slice Crafts—And How to Make ‘Em
Ready to get your hands dirty (figuratively, hopefully)? Here are some of the most-loved and unique wood slice crafts you can whip up. If you love sharing on Instagram or TikTok, these are total scroll-stoppers!
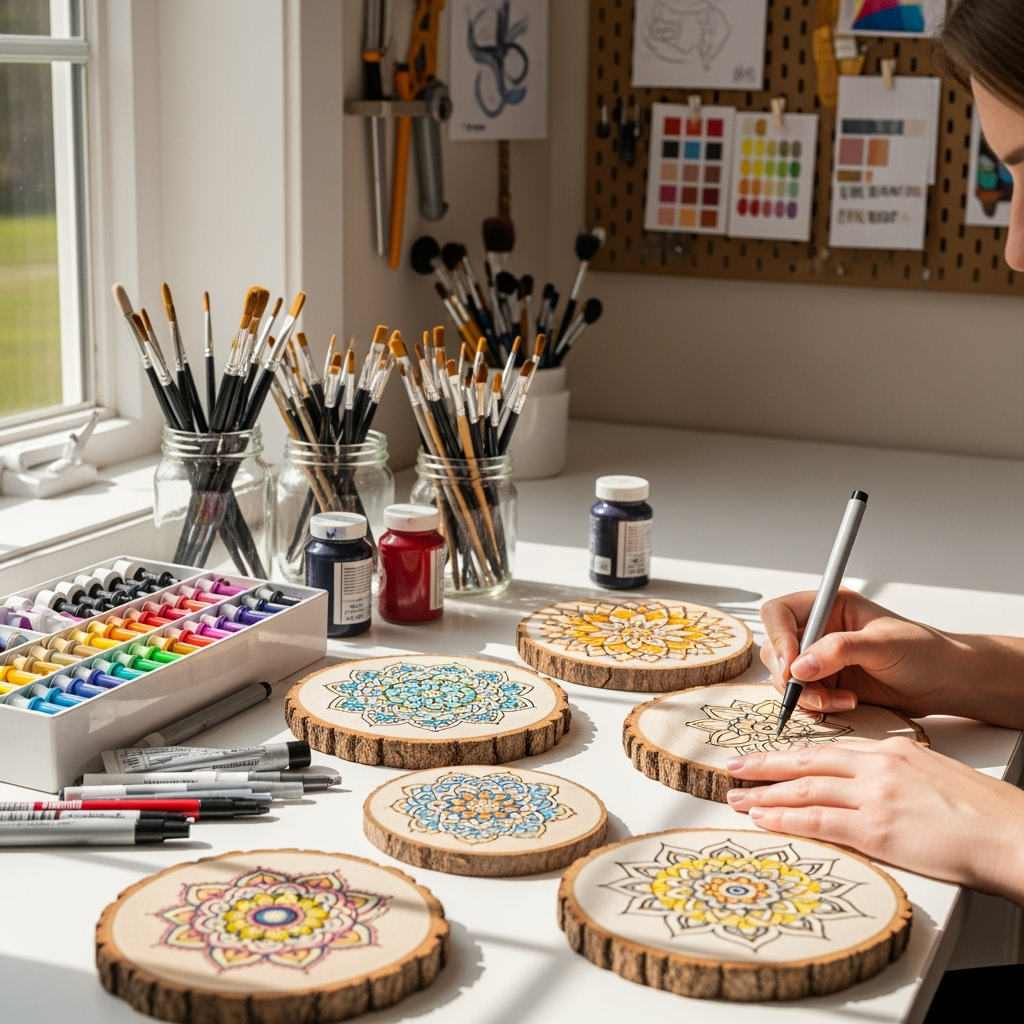
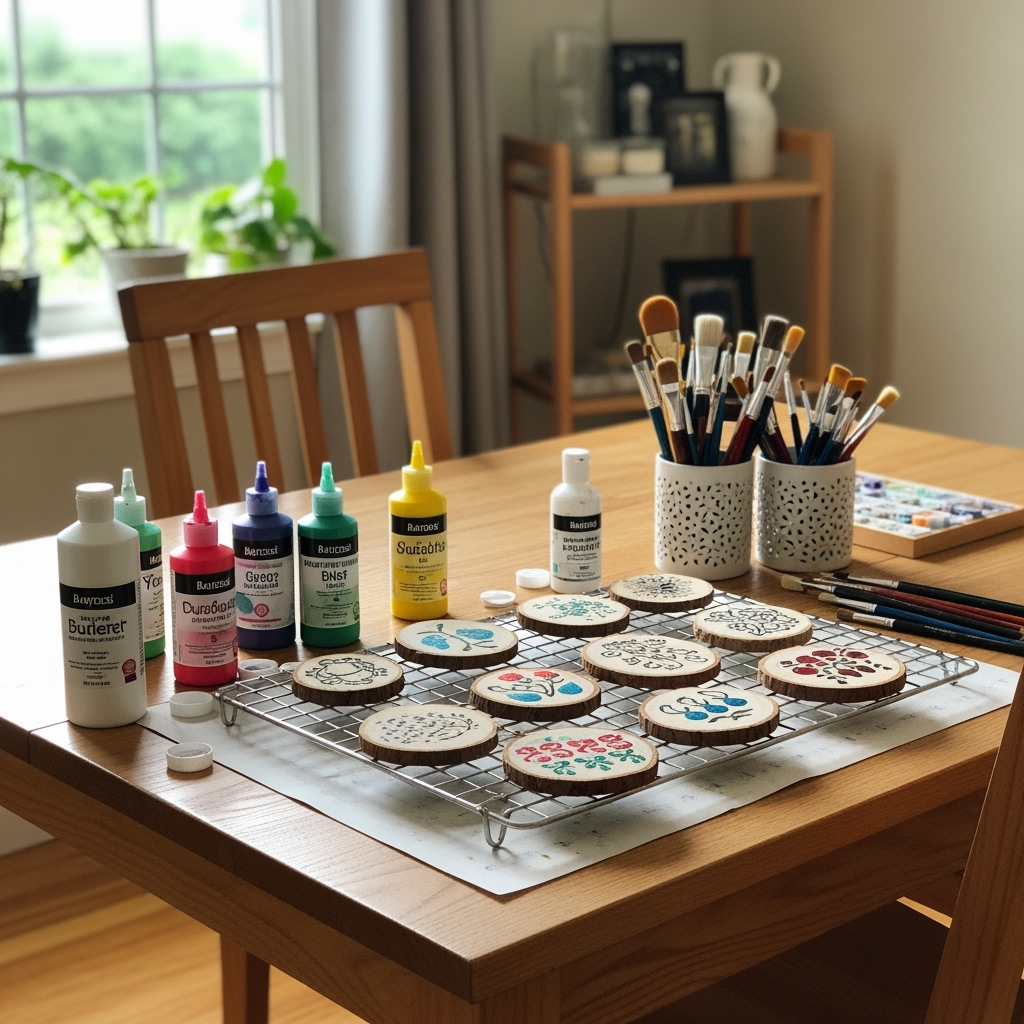
1. Wood Slice Coasters
- Pick slices around 4 inches wide
- Sand the top smooth
- Add a funky design using paint pens or stencils
- Seal with a waterproof top coat
- Voila! No more boring coffee tables
2. Personalized Ornaments for Year-Round Joy
- Drill a small hole at the top
- Paint, burn, or stamp your favorite designs
- Thread with twine or ribbon
- Hang on trees, hooks, or gift bags
Lemme tell ya, wood slice crafts like this make epic holiday keepsakes.
3. Jaw-Dropping Wood Slice Wall Art
This one’s next-level. Play with different slice sizes—think mosaic, geometric, or random.

- Lay out your slices on the floor first for the perfect pattern
- Glue to a simple backing board or directly onto the wall
- Add a splash of paint in select areas for artsy flair
Your wall, your rules. Modern. Rustic. Whatever. With wood slice crafts, you’re the boss, and your wall might just break the internet.
4. DIY Wood Slice Clocks—Time to Shine
- Find a large slice (at least 8″ diameter for impact)
- Drill a hole for the clock mechanism
- Draw or paint on the numbers (if you bother with numbers—minimalist life, ya know?)
- Install mechanism and hands (cheap on Amazon!)
5. Rustic Wedding and Party Decor
- Place cards
- Table centerpieces
- Photo holders using a slot and a sturdy clip
Wood slice crafts at events add charm that feels expensive—but isn’t!
Advanced Wood Slice Crafts for the Adventurous
Wanna take those skills up a notch and flex big-time? These projects are both bold and beautiful, and your friends will 100% ask where you bought them (sike, you made ‘em!).
Wood Slice Serving Trays
- Select a thick, wide slice with a sturdy feel
- Sand and seal thoroughly for spill-proofing
- Add handles (rope or metal)
- Paint or resin for glam vibes
Every serving becomes an event thanks to wood slice crafts like these trays.

Chic Wood Slice Mirrors (Seriously Wow)
- Arrange smaller slices around a circular mirror
- Attach with strong glue
- Hang with a sturdy wire or picture hanger
You can create anything from a whimsical sunburst to a Scandi-style frame—wood slice crafts never looked so fancy.
Outdoor Wood Slice Pathways
- Slice logs thick (1.5″+ for strength)
- Arrange in sand or gravel along your garden path
- Seal for longevity and to prevent slippery surfaces
Boost Your Creativity: Unique Ways to Use Wood Slice Crafts
The beauty of wood slice crafts is their versatility. Once you start, you’ll see wood slices everywhere—on Pinterest, in high-end stores, even in cafes. Wanna step outside the box? Try these ideas:
- Plant markers for your veggie bed
- Keychains and bag charms
- Mini chalkboards with chalk paint
- Pendant necklaces
- Wedding guest “books”—everyone signs a slice
Wood Slice Crafts for Kids—Family Bonding, Yay!
No one loves a craft project like a kid set loose with a bunch of colors. Wood slice crafts are perfect for little hands. They can paint, glue, stamp—whatever suits their mood. Plus, it’s a sneaky way to teach them about nature and creativity.
- DIY memory games (matching painted slices)
- Photo frames
- Name plaques for their bedroom doors
- Painted animal faces—think lions, owls, or unicorns (yes, please!)
Tips for Nailing Your Wood Slice Crafts Every Time
- Prep is key. Don’t skip the sanding, and always let paint or sealant dry totally before handling.
- Go slow on cuts. If you’re slicing your own, do it carefully—splinters are not the look.
- Think ahead. Plan your design with pencil before paint or burning—it saves regrets.
- Embrace imperfection. Nature isn’t perfect, and neither are handmade crafts. That’s the charm of wood slice crafts!
Where to Find and Buy Wood Slices
While making your own is awesome, ain’t nobody got time for that every week! Your options:

- Online marketplaces (Amazon, Etsy)
- Craft stores (Joann, Michaels, Hobby Lobby, etc.)
- Garden centers and florists (sometimes get ‘em cheap!)
- Local sawmills or tree trimmers (score BIG bundles for cheap—junk to them, gold to you!)
Always check for untreated wood, especially for indoor use. No weird chemicals, please! Natural, dried, and lightly sanded is best for most wood slice crafts.
How to Store and Care for Finished Wood Slice Crafts
- Keep them dry—dampness is their enemy.
- Dust with a soft cloth or gently vacuum with a brush attachment.
- Wipe up spills ASAP to avoid stains on unsealed pieces.
- If outdoors, seal once a year to keep them looking fresh.
Treat your wood slice crafts with a little TLC, and you’ll enjoy their beauty for years (and rack up a bunch of compliments—bonus!).
Common Questions About Wood Slice Crafts
- Do I need special tools? Not really! A hand saw and sandpaper can do most jobs. For more intricate stuff, a Dremel’s nice, but totally optional.
- How do I avoid cracks? Slow drying and sealing helps. Avoid drastic temp swings after crafting.
- Can I use fresh wood? You can, but it’s riskier—let those slices dry for a few weeks at least.
- How do I paint or write on them? Acrylic paint, paint pens, or a wood burner all work great! Test on the back if you’re worried.
Wrapping Up: Let Your Imagination Run Wild with Wood Slice Crafts
The possibilities with wood slice crafts are honestly endless. There’s magic in their rustic simplicity, a quiet beauty in their imperfections, and a joy in the act of making something with your own two hands (or at least with a bit of help from the fam). Whether you’re looking to deck out your own digs, hand-make a one-of-a-kind gift, or just chill with a soothing DIY, wood slice crafts are your ticket to instant homey vibes and a heap of creative fun.
So, next time you see a humble wood slice, don’t just walk on by. Pick it up, see the potential, and start your next big craft adventure. And hey—if you mess up, just flip it over and try again. Perfection is overrated. Happy crafting, peeps!


