
Alright folks, let’s get straight into the wonderfully smokey world of wood burning art. You ever see those sick, detailed designs scorched onto wooden boards and think, “Dude, how do ya even do that?” Well, you’re not alone cause so many peeps out there are diving head-first into this ancient—yet wildly trending—DIY scene. Whether you’re just learning about wood burning art or you’re itching to level up your pyrography game, this guide is totally essential reading.
What Is Wood Burning Art Anyway?
For those just tuning in, wood burning art—also called pyrography (yeah, that’s the fancy word)—is the cool technique of using a heated metal pen to scorch designs into wood. This art goes way back, like ancient times-back, but with today’s tools, you can whip out everything from moody silhouettes to quirky quotes on anything from keychains to wall art.
Why Wood Burning Art is Having a Total Comeback
So, what’s the big deal about wood burning art these days?
- It’s super therapeutic. There’s something about that slow, steady burn that chills you out.
- You don’t need a fancy studio. All it takes is some basic tools, a nice bit of wood, and a comfy corner.
- Every piece is 100% unique. No two burns are ever the same!
- It makes for wild, rustic décor and totally personal gifts.
The Essentials: What You Need to Start Wood Burning Art
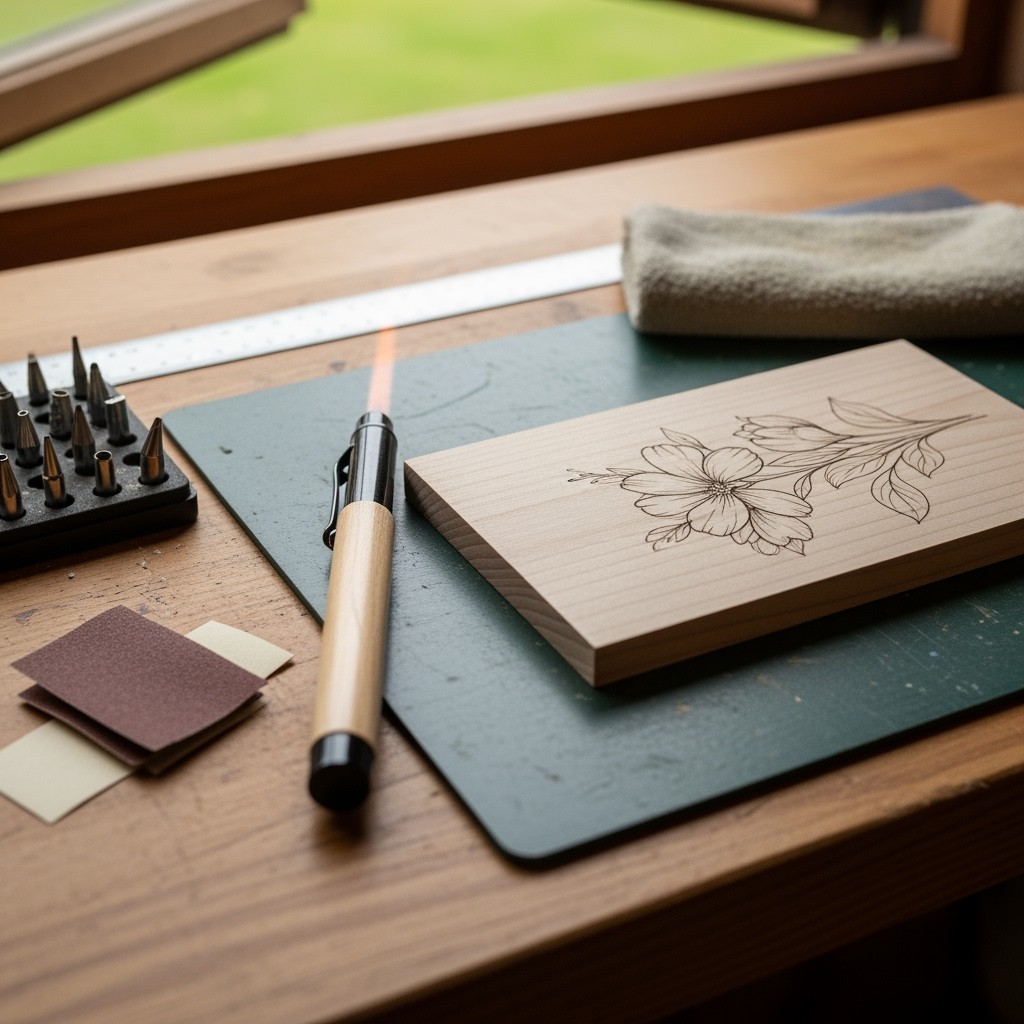
Right before you go wielding a hot pen like a wizard, ya gotta round up some stuff. Here are the basics you’ll need to start your wood burning art adventure:

- Wood Burning Pen: The star of the show. Get a kit with multiple tips for diff effects.
- Sandpaper: Smooth your wood surface so your designs don’t get all snaggy.
- Soft Woods: Think basswood, pine, or birch—they’re easy on nibs and perfect for beginners.
- Pencil & Eraser: For sketching out your masterpiece first. Trust, it saves tons of headaches later.
- Ruler & Templates: Helps keep your lines straight and your patterns neat, especially if you’re like me and can’t draw a straight line to save your life.
- Good Ventilation: Safety first! Some smokes can be nasty, so crack a window or work outside if you can.
The First Burn: Learning Basic Techniques
To master wood burning art, you gotta get familiar with a few techniques:
- Tracing: Sketch your design first, then use a ballpoint pen to trace over it. The indent helps you burn right on the lines.
- Shading: Play with pressure and different tips. Lighter pressure gives you soft shadows, heavy pressure? Hello, deep, dramatic lines.
- Stippling: Dot, dot, dot your way to unique textures or fill up background areas.
- Line Variation: Mix up thick, bold lines with super skinny ones for added interest.
Practice makes perfect, so grab some scrap wood and sketch out random stuff until you get a feel for how your tool burns at different temps.

Top Tips for Jaw-Dropping Wood Burning Art
If you wanna slay at wood burning art, check these top tips I’ve picked up after some burnt fingertips and a few gnarly mistakes:
- Test on Scrap First: Don’t go blazing ahead on your final piece. Test tip shapes, burning speeds, and wood reactions first.
- Keep Tips Clean: Residue builds up fast. Have a damp sponge or cloth ready to keep your pen clean and cruisin’.
- Stay Patient: Good wood burning art is slow art. Rushing just leaves burnt blobs and regrets.
- Use Proper Lighting: Being able to see what you’re doing is kinda critical, right?
- Mind the Grain: The wood’s grain will steer your tip. Work with it, not against it, for smooth results.
Popular Project Ideas for Wood Burning Art
- Personalized Cutting Boards: Add fun quotes or family names for a rad kitchen gift.
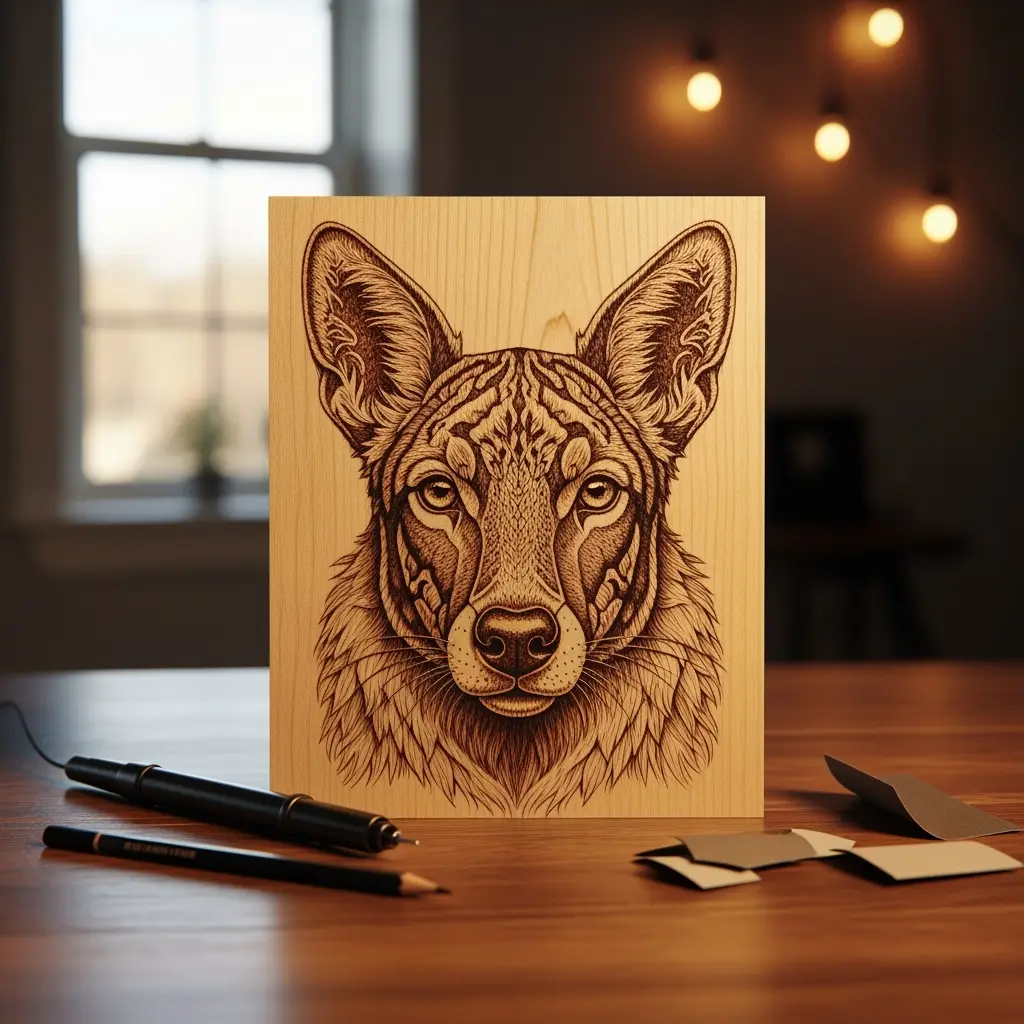
- Photo Realistic Animal Portraits: If you’re feeling spicy and ready for a challenge.
- Wooden Coasters: Easy, quick, and perfect for practicing patterns.
- Signage: Welcome signs, house numbers, or ‘don’t knock, dog will bark’ warnings—get creative!
- Jewelry: Mini charms, pendants, or even funky earrings.
- Key Holders and Wall Racks: Turn plain wood into personalized storage.
The sky’s the limit, really. Whatever you come up with for your wood burning art will definitely give your space that warm, handcrafted charm.
Step-by-Step: Creating Your First Wood Burning Art Masterpiece
Ready to roll? Here’s how you get your first wood burning art piece from start to glowing finish:
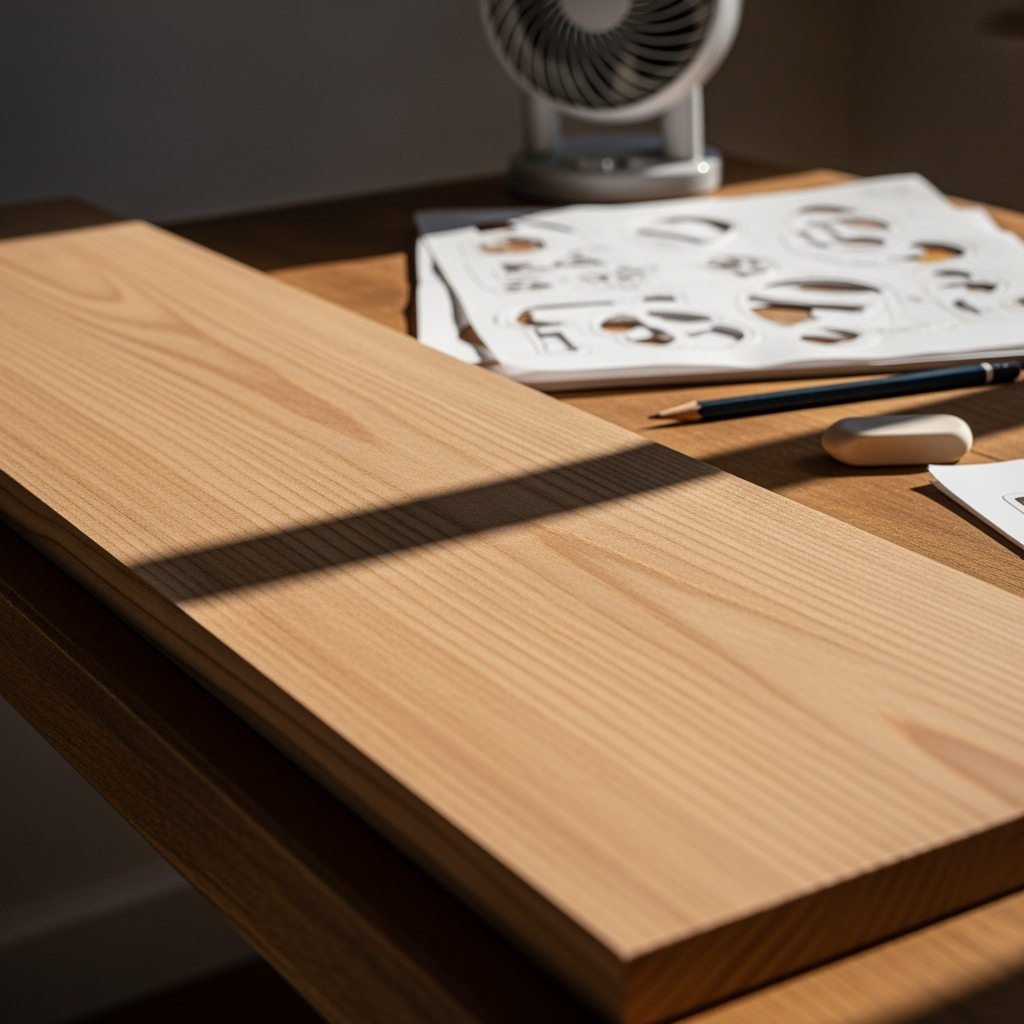
- Step 1: Select Your Wood
Grab a flat, light-colored wood like basswood or birch. Sand it down till it’s buttery smooth. - Step 2: Sketch It Out
Draw your design lightly in pencil. Wanna cheat? Use carbon paper to transfer your image or print out a template. - Step 3: Heat Your Tool
Plug in your wood burner and let it warm a few mins (lots of peeps rush this, don’t do it!). - Step 4: Trace the Lines
Use a fine tip to go over your main outlines, keeping your hands steady and pace slow. - Step 5: Fill & Shade
Switch out tips for thicker lines, or use shading techniques for depth and drama. - Step 6: Clean Up
Erase left over pencil marks once you’re done burning, and clean off any ash. - Step 7: Optional Finish
If it’s a décor item, swipe on a clear coat to keep your wood burning art lookin’ sharp for years. But skip food-safe stuff on boards and spoons unless your finish is also food-grade.

Common Mistakes and Quick Fixes
Even pros mess up wood burning art sometimes. Here’s some classic boo-boos and what you can do about ‘em:

- Whoops! Too Deep: If you hover too long and scorch a spot, don’t sweat. Lightly sand the area and reburn if needed.
- Uneven Lines: Slow down, use guides, and start small. Wonky lines are just part of the charm, enjoy ’em!
- Streaky Shading: Blend with tiny circles or lots of overlapping dots for a smooth look.
- Dirty Tips: Constantly wipe tips with a damp rag, especially before fine details.
Advanced Techniques to Take Your Wood Burning Art Next Level
Once you get past those basics, these advanced moves will set your wood burning art apart:
- Layered Shading: Mix up your pressures and return to areas for deeper burns and more 3D effects.
- Color Accents: You can add watercolor, acrylics, or colored pencils on top of burns for poppin’ contrast.
- Mixed Media: Combine your wood burning art with resin, inlays, or even LED lighting.
- Texture Tricks: Swap through different tips in a single area to layer up crazy texture vibes.
Choosing the Best Wood for Your Burning Projects
Some peeps think all wood works, but the right kind can make or break your wood burning art efforts:
- Basswood: Soft, with little grain, super for intricate deets
- Pine: Cheap and cheerful, but watch those resins, they can get gooey
- Burch: Slightly tougher than basswood, but still carves like butter
- Maple: Harder, so better for advanced burners or bolder deets
Avoid woods like cedar or treated lumber—nasty smoke and the chemicals are a no-go.
How to Care For Your Wood Burning Tools
Good tools make hot work easy. Here’s how to keep your wood burning art gear happy:

- Let ‘em cool naturally: Quick cooling can warp tips.
- Clean while warm, not hot: Removes gunk without risking burns.
- Store tips together: Lost tips are the worst—use a case or box.
Wood Burning Art for Fun, Side Hustle, or Major Profit
Yeah, wood burning art is a blast as a hobby, but it can totally be a side hustle or even full-time gig:
- Etsy: People love personalized, rustic wall décor and kitchen stuff.
- Craft Fairs: Show off your latest burns to peeps in your area.
- Gifting: Friends and fam will flip for a custom keepsake.
- YouTube & Tutorials: Share your process, tricks, or do custom commissions online.
Start taking custom requests for special events, pet portraits, or family name signs—folks will always pay for unique, handmade wood burning art.
Safety Musts for Wood Burning Art
Burning stuff smells gnarly and looks cool, but don’t skip the big three of wood burning art safety:
- Ventilation: Always have airflow. Open a window, use a small fan, or work outdoors.
- Protective Gear: Wear a dust mask, and don’t rest your arms on hot tips (duh, but easy to forget!).
- Fire Precautions: Always unplug and let tips cool away from combustible stuff.
How to Finish, Seal, and Maintain Your Artworks
Wanna keep your wood burning art lookin’ fire, not faded? Here’s how ya finish and care for ‘em:
- Sealants: Clear acrylic spray, linseed oil, or polycrylic protect your burns from dust and sun.
- Cleaning: Dust with a dry cloth; skip water unless your sealer is waterproof.
- Avoid Direct Sun: Sun can fade even the deepest burns over time.
Inspiration: Wood Burning Art Artists to Watch
- Julie Bender: Known for animal portraits that blow minds.
- Minisa Robinson: Combines wood burning with watercolor for lush effects.
- Simon Easton: Wild patterns and big pieces—super creative stuff.
Get on Insta or Pinterest and check out hashtags like wood burning art or #pyrography for endless inspo.
FAQs About Wood Burning Art
- Q: Is wood burning art beginner-friendly?
A: Absolutely! Just start with softer woods and simple patterns. - Q: Can I use my soldering iron?
A: Sorta, but a real burning pen gives better control and effects. - Q: What kinda designs are best for starters?
A: Geometric shapes, names, or silhouettes—nothing too fancy to start. - Q: Is it safe for kids?
A: Supervised, yes, but teens and up are better since it’s easy to get burnt if you’re careless.
Final Thoughts: Wood Burning Art is a Whole Vibe
With a bit of practice, a dash of patience, and a whole lotta imagination, wood burning art can give your creative life a wild new outlet. What I love most is how literally anyone can pick it up, and every finished piece feels like you left a lil piece of yourself in the grain. So grab that burner, prep your planks—and go make some smokin’ hot art! You’ll never look at a plain piece of wood the same again.


