

Alright, so you wanna dive into woodworking like a boss? Sweet! But before you get too deep into carving, staining, or slapping on some fancy finishes, let’s talk about one thing everyone has to master: sanding. That’s right, I’m dishing out the best tips for sanding wood—because even the most legendary woodworking project can tank if you botch this step. Stick with me, ’cause we’re not stopping at the basics. I’ll spill all my secrets for a glass-smooth finish, share rookie mistakes to dodge, and maybe tell you about the time I totally messed up a table top with the wrong grit. Trust, you don’t wanna make that mistake.
So, whether you’re a pro wood whisperer or just dusting off your first orbital sander, these tips for sanding wood will seriously up your DIY game—let’s get into it!
Why You Absolutely Need to Nail Sanding
Every epic woodworking project starts and ends with sanding. It’s not just about making wood smooth; sanding preps the surface for paint or stain, gets rid of ugly scratches, and reveals the natural beauty hiding in the grain. If you ignore the right tips for sanding wood, you might end up with blotchy finishes, pesky splinters, or rough spots that catch on your sleeve every time you walk by. Not cool. Lucky for you, these tips for sanding wood will keep your project lookin’ sharp and professional—without the frustration.
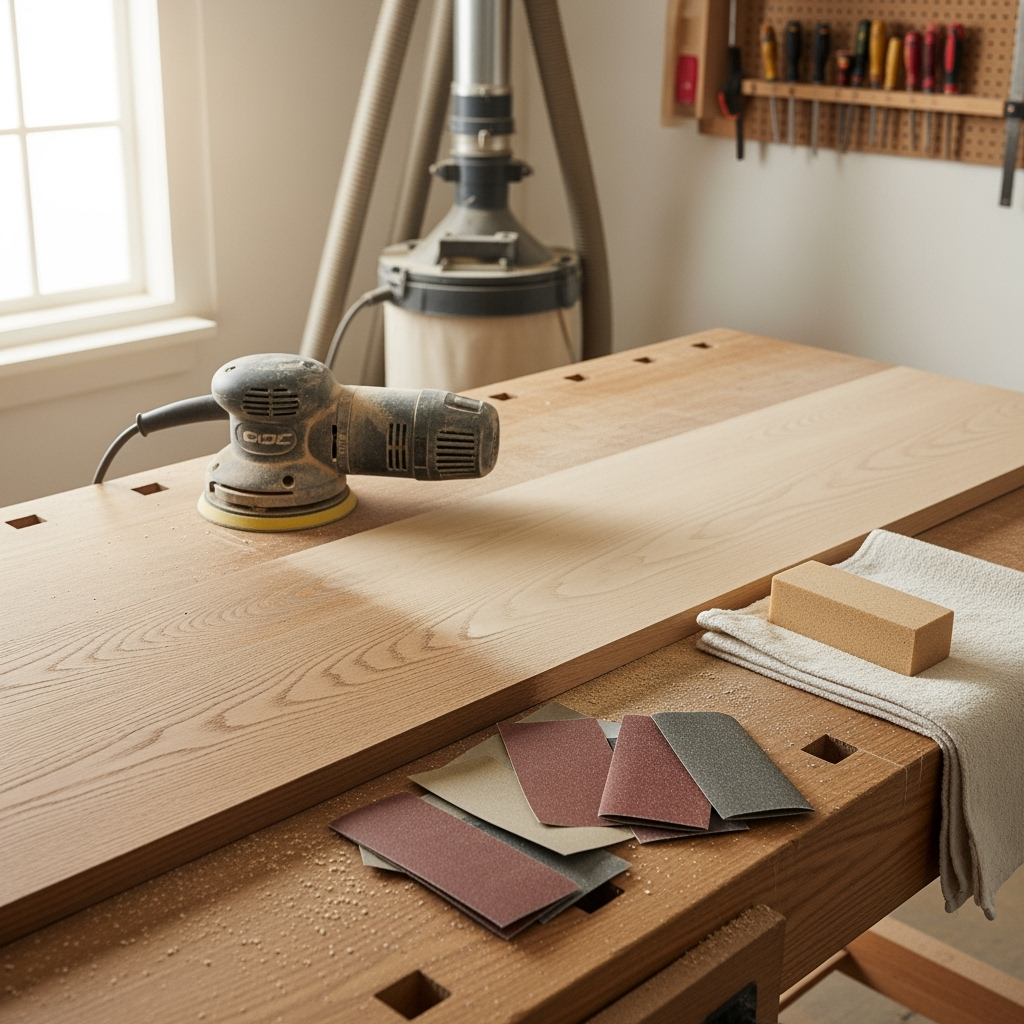
The Basic Gear You’ll Need For Sanding
- Sanding block: For manual control and working on corners
- Orbital sander: For flat expanses and speed
- Random orbit sander: Reduces swirl marks (seriously, you’ll thank me)
- Sanding sponges: Great for details and curves
- Grit paper: From coarse to ultra-fine, you’re gonna need a range
- Vacuum or brush: Dust is your enemy—clean often
Pro tip? Always check your sandpaper. If it looks worn or clogged, toss it. Good sandpaper is one of the best tips for sanding wood that the old-timers swear by.

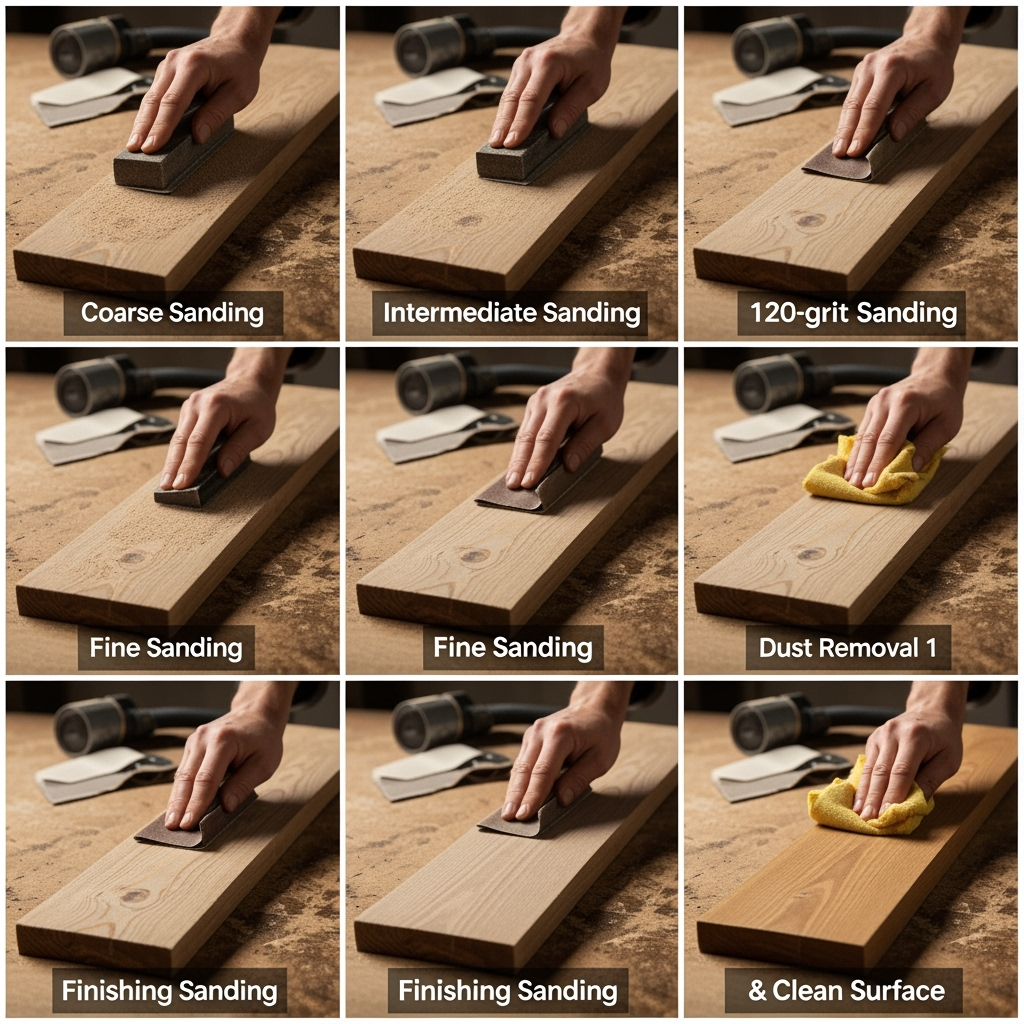
Understanding Sandpaper Grit for Wood
Yep, I used to just grab whatever sandpaper looked right. Turns out, choosing the correct grit is one of those critical tips for sanding wood that affects everything from smoothness to how paint sticks. Here’s the rundown:
- 60-80 grit: Heavy-duty stuff. Use only for stripping finishes or smoothing gnarly rough lumber.
- 100-150 grit: The go-to for prepping raw wood and erasing minor flaws.
- 180-220 grit: Perfect for final passes before you slap on that finish.
- 320+ grit: Use for sanding between coats of finish or getting that glass-smooth feel.
And remember, never skip more than one grit grade at a time. Another key tip for sanding wood: If you jump straight from 80 to 220, you’ll probably regret it (trust me, I learned the hard way).

Start With the Right Mindset
If you think sanding is just a quick once-over, you’re missing out. One of the most important tips for sanding wood is to envision sanding as something you do with the wood, not to the wood. Go slow, enjoy it, and pay attention to how the grain feels under your hands. The wood gods will reward you with a buttery finish, promise!
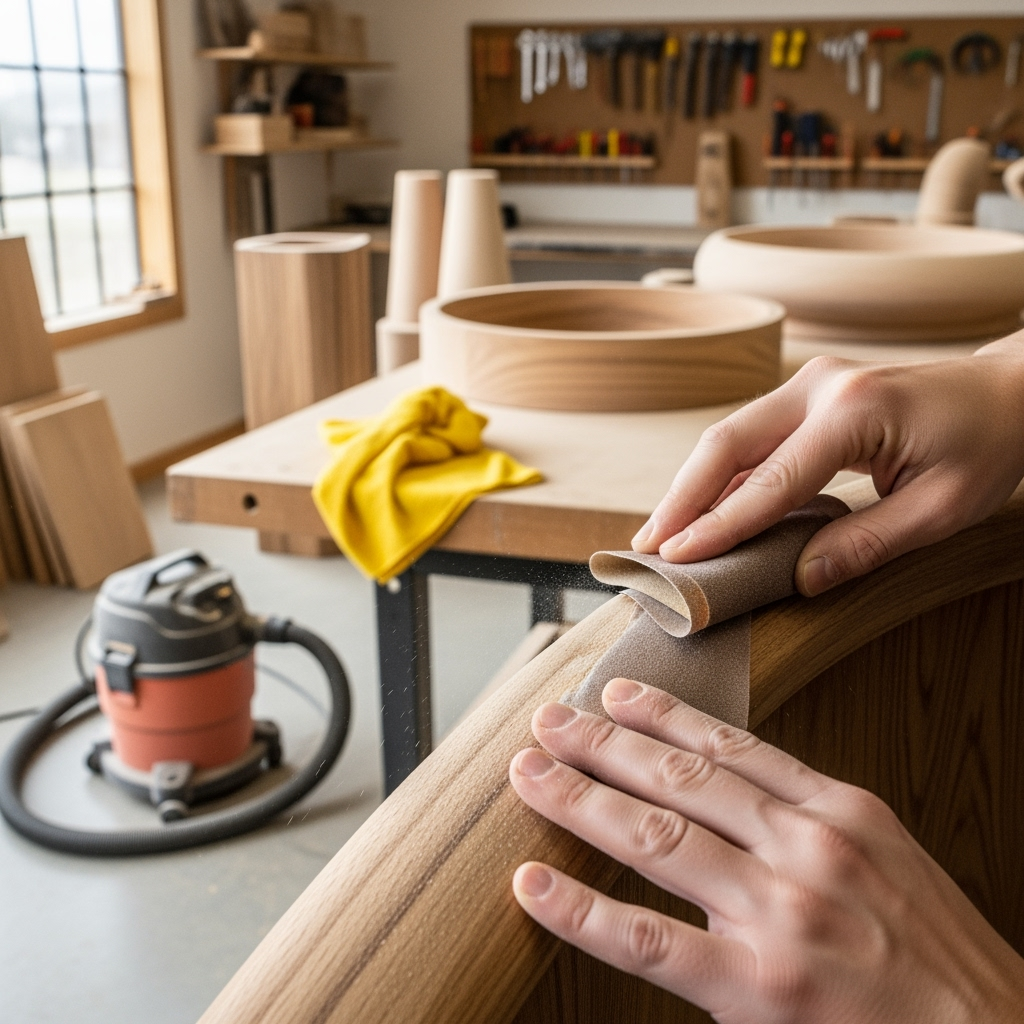
Hand Sanding vs. Power Sanding: When to Use Each
You might love your orbital sander, but it ain’t the answer for everything. One of those key tips for sanding wood is knowing when to put the tool down and sand by hand.
- Hand sanding: Best for curves, edges, and small nooks. You get precision and don’t risk over-sanding (a common mistake!).
- Power sanding: Awesome for big, flat surfaces—tables, doors, shelves, you name it. Just be gentle so you don’t dig in or create ugly swirl marks.
Hybrid approach? Start with the sander, finish by hand. It’s a classic tip for sanding wood for pros and newbies alike.
Go With the Grain—Always!
If you take away one thing from these tips for sanding wood, it’s this: always (I repeat: always) sand in the direction of the grain. Goof up and sand across the grain, and you’ll leave scratches that show up later—especially when you start finishing. Those little lines are like a neon sign saying, ‘Yeah, I rushed this.’ Pro move: Light your workspace well and inspect as you go. Move your hand to feel for any raised lines.

Don’t Forget to Dust Off—Every Time
I know, dusting isn’t glamorous, but it’s essential. One of the best tips for sanding wood is to thoroughly vacuum or brush dust away between grit changes and before finishing. If you skip this, dusty bits can scratch your wood or screw up your finish, leaving you with a less-than-awesome look.
- Use a shop vac for big jobs
- A tack cloth works wonders for detailed projects
Common Mistakes and How to Avoid Them
You’re not alone—we’ve all wrecked a board or left swirl marks. Here are classic blunders and tips for sanding wood to help you dodge them:
- Skipping grits: Move up slowly through the grits to avoid deep scratches.
- Pushing too hard: Let the sandpaper do the work. Too much pressure creates grooves and shortens the paper’s life.
- Poor edge sanding: Edges sand down way faster than flat surfaces. Go easy or you’ll end up with rounded corners.
- Not cleaning dust: Yeah, we’re repeating it—because it matters.
- Un-even sanding: Move evenly over all parts and keep checking your work.
Remember these simple tips for sanding wood to keep your project looking next-level!
Troubleshooting: When Stuff Goes Sideways
Messed up a project? No biggie. Here’s how to fix common probs:

- Accidentally rounded an edge? Try gluing on a small patch of wood, sand it down carefully, then re-blend it. Learning from mistakes is one of the more underrated tips for sanding wood.
- Deeeep scratches? Drop to a coarser grit and work them out, then be patient stepping back up to finer grits.
- Missed glue spots? They show up after staining. Sand out the glue, then feather the area with the same grit you finished the rest of the piece.
- Swirl marks? Happens with power sanders. Switch to hand sanding with the final grit for the last few passes.
Tips for Sanding Wood on Furniture Projects
Let’s get specific—furniture needs that pro touch. Here are some hot tips for sanding wood on those family-heirloom pieces:
- Disassemble where possible to reach every nook
- Label pieces so you remember where each goes
- Sand before final assembly to make finishing easier
- For intricate carvings, fold sandpaper strips or use detail sanding tools
Sanding Between Coats: The Magic Touch
Want that ultra-smooth, ‘did you buy this or build it?’ finish? One of the big tips for sanding wood is to sand lightly between each coat of finish (like polyurethane or lacquer) using 320+ grit or a sanding pad. Wipe down with a tack cloth every time before the next coat.
How to Sand Large Projects Faster
Big projects—flooring, tables, gigantic shelves—need a strategy. Here’s my pro-level rundown of tips for sanding wood when you’ve got a massive surface area:
- Use a big orbital or belt sander to chew through the rough stuff
- Always work in the same direction as the grain
- Don’t linger in one spot—move in a steady, even pattern
- Check progress often with a flashlight held at an angle to spot scratches or missed patches
Little-Known Tips for Sanding Wood by Hand
- Wrap sandpaper around a cork block for just the right firmness
- Use pencil marks across the surface—when they’re gone, you’re done with that grit
- Switch up hand positions to avoid finger grooves
Your hands are your best guide—feel the wood often to check for rough spots that still need work. It’s a simple but crucial tip for sanding wood if you want perfection.
Prepping for Stain or Paint: Final Steps
About to stain or paint? Don’t rush it. Among pro-level tips for sanding wood, a clean, dust-free surface is absolutely key. Wipe down wood with a tack cloth, and consider lightly misting the surface with water. Why? It raises the grain so the last fine sand knocks down any swollen fibers, meaning your finish will look smooth as glass.
Choosing Between Sandpaper Types
There are a bunch of different sandpapers out there. Some hotshot tips for sanding wood involve knowing which type to use for the best results:
- Aluminum oxide: General wood sanding—tough and long-lasting
- Garnet: Ideal for hand finishing, leaves a finer scratch
- Silicon carbide: For sanding between coats or on hard finishes
Stick with high-quality brands. Cheap stuff wears out fast or leaves unexpected scratches. Solid advice among the many tips for sanding wood, right?
DIY Sanding Jigs and Helpers
Get creative! Make your own sanding blocks (wine corks, scrap wood, even foam), and for tight curves or slats, wrap sandpaper around old pipes, dowels, or even pencils. Tips for sanding wood are all about finding what works for you—and sometimes, the weirdest trick is the best hack!
If you need even more shop setup inspiration, explore our DIY workshop organization guide.
Don’t Forget Safety, Dude
Yo, don’t skip safety! Dust masks, safety glasses, and a well-lit, ventilated workspace are straightforward but critical safety tips for woodworking. Some species kick up toxic dusts—look ‘em up before you start. Wash your hands when finished and change clothes if needed, especially if you’re working inside your home.
Caring for Your Sanding Tools
Want your sander and sandpaper to last? Regularly knock out the dust, clean your sander pads, and store paper in a dry place. One of the most overlooked tips for sanding wood: overused, clogged sandpaper heats up and can even burn your wood—no joke.
Final Thoughts: Master These Tips for Sanding Wood
If you only remember these tips for sanding wood, you’re set:
- Always sand with the grain
- Step through the grits—don’t skip any
- Clean off dust between each step
- Prep the surface right before stain or finish for the best results
If you follow these tips for sanding wood, you’ll crank out smoother, more pro-looking projects—plus, you’ll avoid most of the headaches that hit new woodworkers. Don’t worry about mistakes, they come with the territory (heck, I still make them sometimes!). What matters? Keeping these killer tips for sanding wood in your back pocket every time you grab that sander or block.
Ready to put these tips for sanding wood into action? Go ahead, tackle your next project and see the difference. And hey, if you screw up, laugh it off—there’s always more wood and more sawdust to make. Happy sanding, y’all!


