
Ready to add a whole new level of flair to your DIY crafts? Buckle up, coz today we’re diving headfirst into the cool world of simple wood burning patterns. I’ll walk ya through how literally anyone—from full-on beginners to crafty pros—can master these easy techniques at home. This ain’t just about making random marks with a wood burner; we’re about to unlock a whole world of stylish, rustic, and downright mesmerizing designs using only basic tools and a slab o’ wood! You’ll be hooked before you know it, plus your friends are gonna freak when they see what you’ve made.
Why Try Simple Wood Burning Patterns?
So, why should ya even care about simple wood burning patterns? The short answer: it’s fun, cheap, and totally therapeutic. Plus, you can jazz up everyday stuff—think spoons, cutting boards, plaques, coasters, signs, and more. Heck, you can even make handmade gifts that look, like, super professional. Simple wood burning patterns are also great for getting into the pyrography hobby without a steep learning curve. No need to spend big bucks, trust me!
- Budget-friendly
- Perfect for beginners
- Loads of creative options
- Relieves stress (seriously!)
- Makes unique, personal gifts
What Equipment Makes Wood Burning Easy?
Okay, let’s not overcomplicate things. You honestly do not need fancy gear for simple wood burning patterns. Here’s what you gotta have:
- Wood burning tool (pyrography pen): The basic plug-in pen does wonders. No need for pro-level gear!
- Smooth, unfinished wood: Go for light woods, like basswood, pine, or maple. They’re super forgiving.
- Sandpaper: For prepping your surface till it’s smooth as heck.
- Pencil/eraser: For sketching out those simple wood burning patterns before burning.
- Carbon paper (optional): Great for transferring patterns. Total gamechanger if you can’t draw, like me.

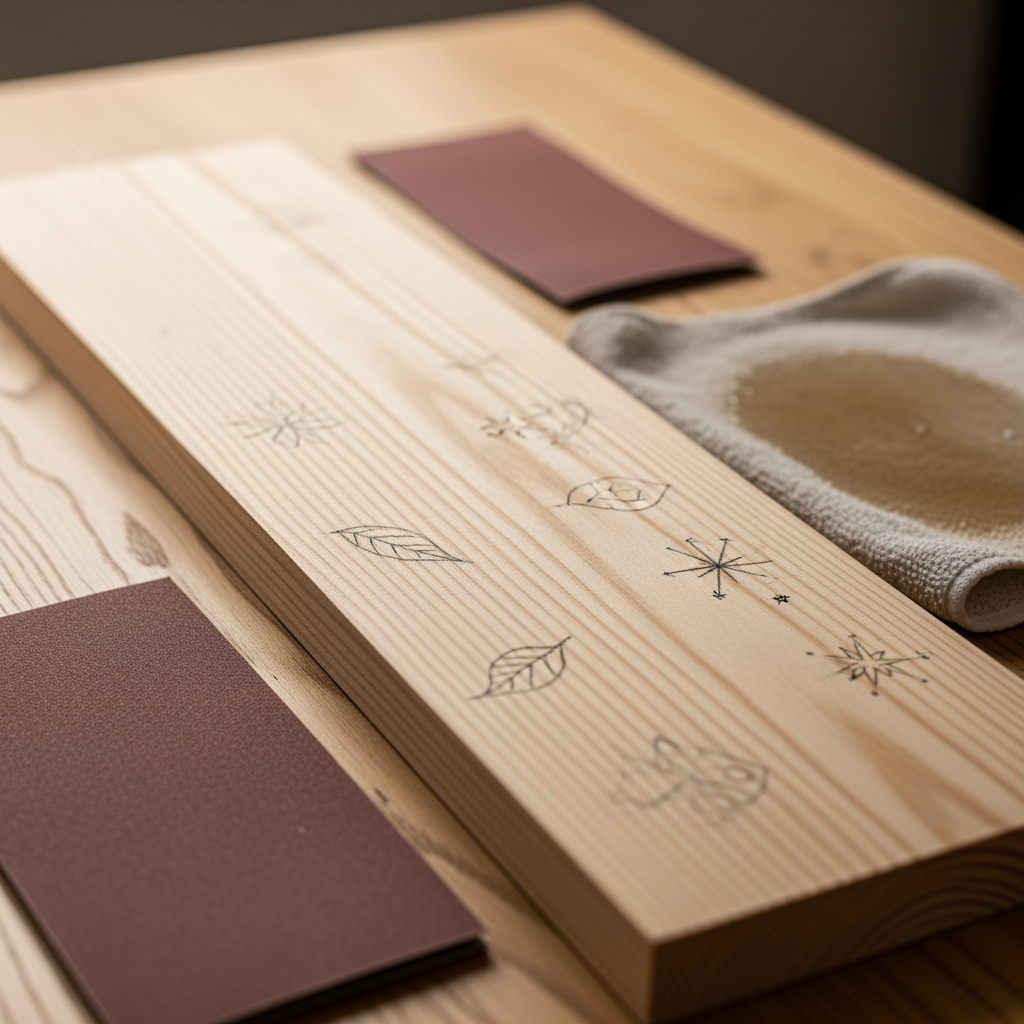
Prep Time: Get That Wood Lookin’ Sharp
Listen: preparation’s clutch. Start by sanding your wood until it’s baby smooth. Any little bump will throw off your lines—trust me, you’ll spot every mistake once that hot nib hits the grain. Wipe off any dust with a slightly damp cloth (don’t soak it, ya don’t want a soggy mess). Now you’re all set to try out some simple wood burning patterns!
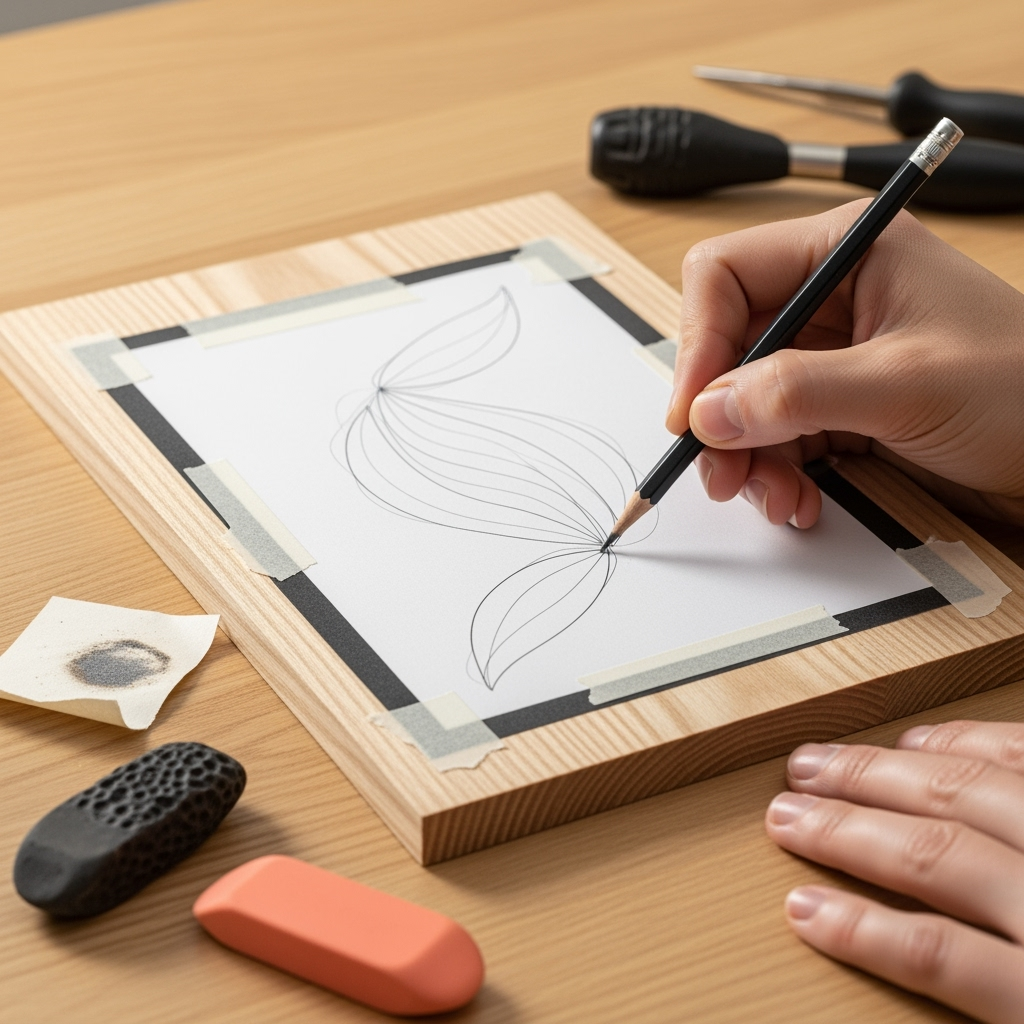
Drawing and Transferring Simple Wood Burning Patterns
You’ve got two choices here: freehand sketch your design with pencil or use a printed pattern with carbon paper. For true beginners, I 100% recommend using carbon paper. Tape your printed pattern to the wood, carbon sheet beneath, and trace the lines. Boom! Your simple wood burning patterns are ready to burn.
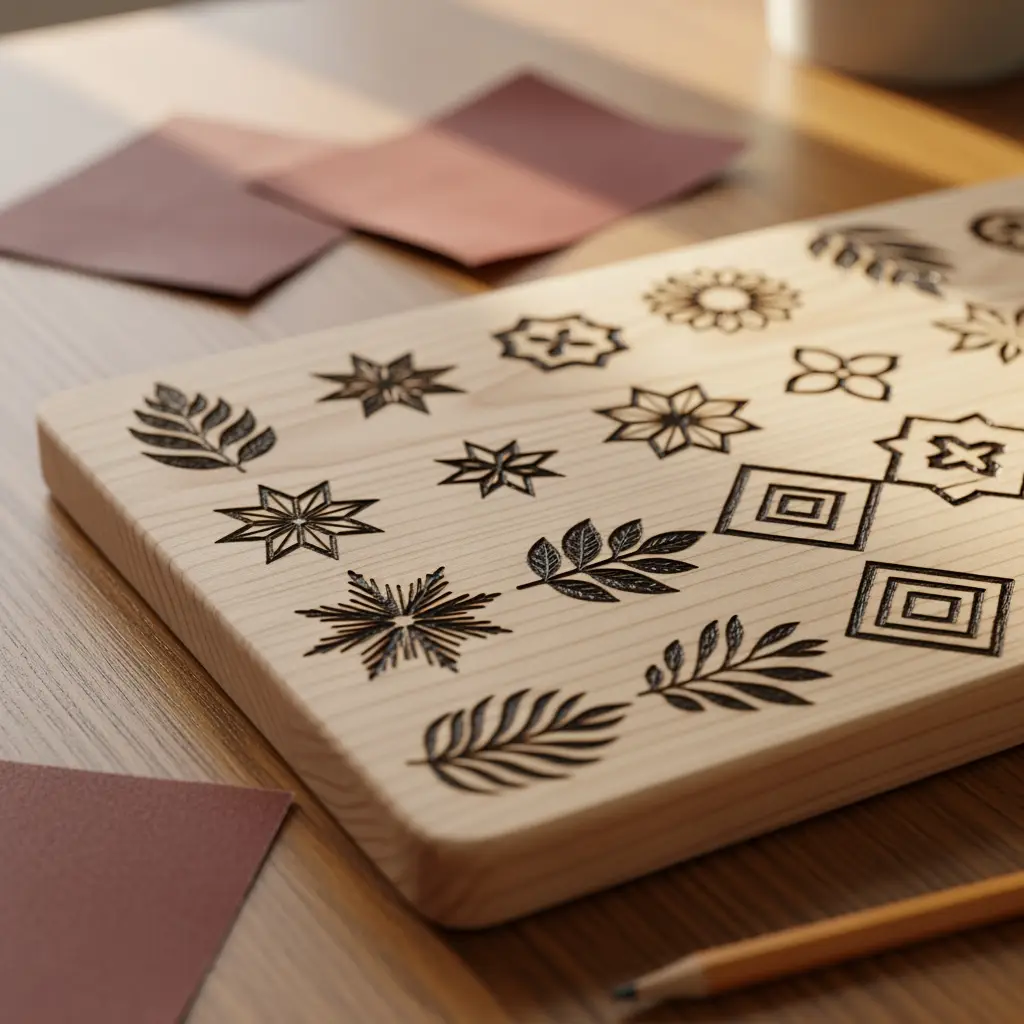
Thinking of Ideas? Here’s Some Killer Simple Wood Burning Patterns
- Stars
- Feathers
- Leaves
- Geometric lines and shapes
- Hearts
- Basic flowers
- Arrows
- Animal silhouettes
- Tree branches
- Mandala doodles
No need to get super fancy! The beauty of simple wood burning patterns is in their, well, simplicity. Stunning results…zero stress.

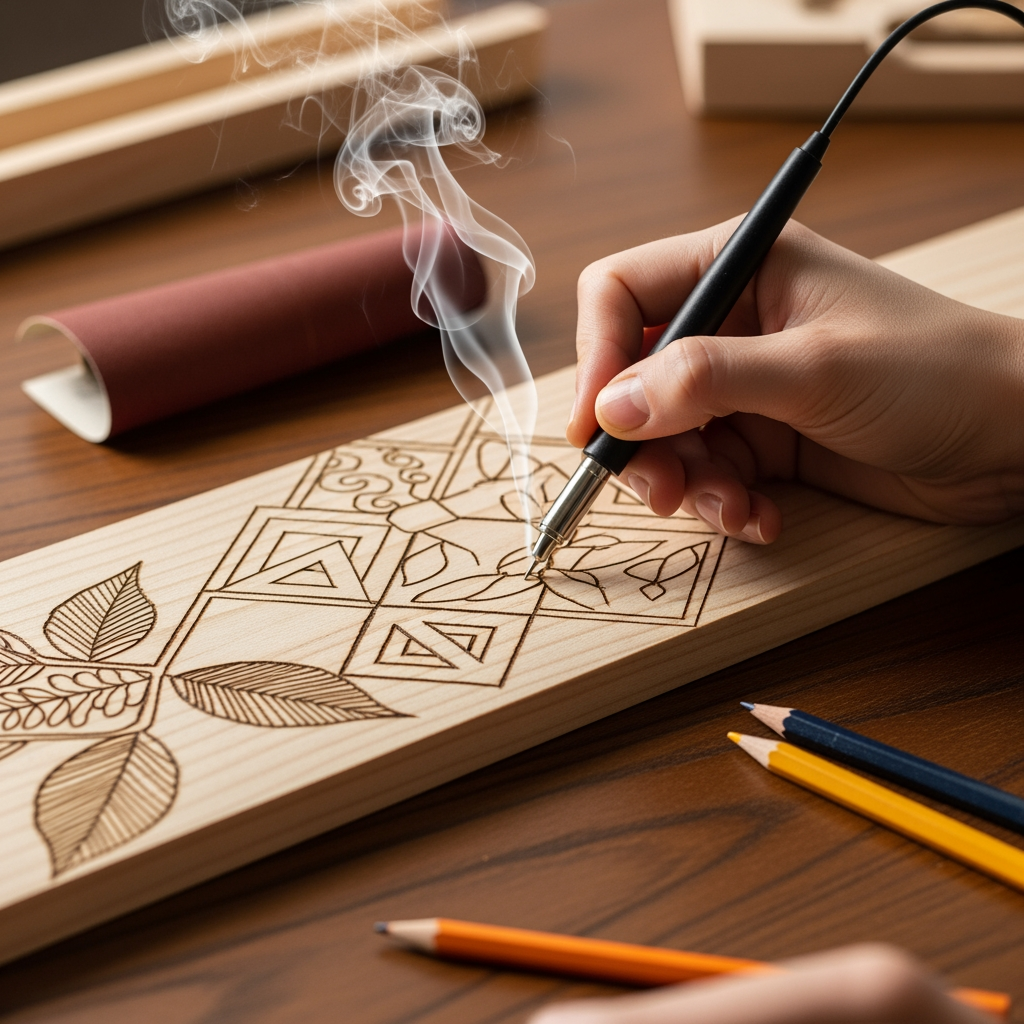
Burn Baby Burn: Tips to Nail Those Simple Wood Burning Patterns
You’re itching to start, right? Plug in your wood burner (watch out, it heats up fast), and test it on a scrap piece first. Here are my go-to tips:
- Take it slow: Don’t rush those lines. Slow and steady wins the race here.
- Consistent pressure: Press too light and it fades, too hard and you gouge the wood. Find your Goldilocks zone!
- Tip angle: Keep your pen at a steady angle for even burns.
- Work in sections: Focus on small areas of your simple wood burning patterns at a time.
- Allow cooling: The tip gets crazy hot, so take breaks.
Super Common Mistakes – And How Ya Avoid ‘Em
- Uneven lines: Caused by bumpy wood or wobbly hand (sand more, steady your grip).
- Messy burns: Don’t hover too long on one spot or you’ll end up with blotches in your simple wood burning patterns.
- Missing details: Use a finer nib for intricate parts. Swap tips as needed.
- Not practicing: Every single pro started out making weird burnt blobs! Practice on scraps till you’re comfy.
Cool Ways to Use Your Simple Wood Burning Patterns
Alright, you finished your first project—heck yes! Here’s where you can put those simple wood burning patterns to work:
- Personalized utensils: Burn names or cute designs into wooden spoons, spatulas, or salad sets.
- Custom coasters: Whip up matching sets with leaves, arrows, and even initials.
- Decor signs: Welcome signs, inspirational quotes, or quick geometric patterns—sky’s the limit.
- Gift tags/ornaments: Perfect for holidays, birthdays, or any celebration.
- Photo frames: Add borders of hearts, vines, or repetitive motifs for a custom look.
- Boxes and trays: Burn simple wood burning patterns on lids or sides for unique storage.
Goin’ Big: Advanced but Still Simple Wood Burning Patterns
Feeling brave? Step it up a notch, but keep it fun. Try these slightly fancier simple wood burning patterns—still easy, just a bit more detail. Mix it up with:
- Mandala circles: Add dots and repeating shapes
- Mountain scenes: Silhouettes line up easily on plaques
- Feather bouquets: Overlap a couple and add light lines for texture
- Sunbursts: Radiating lines are surprisingly easy but look wild
- Southwest motifs: Think triangles, zigzags, and arrows
Design Tricks: Amp Up Your Simple Wood Burning Patterns!
You can make even the simplest wood burning patterns pop with a few tricks:

- Vary line thickness: Use different tips or press harder/lighter
- Add dots: Fill empty spaces, edge borders, or accent lines
- Try light shading: Drag the side of your nib lightly for a smoky effect
- Make borders: Frame your simple wood burning patterns for a finished look
Sealing and Finishing: Don’t Skip This!
You spent time on your simple wood burning patterns. Now protect that artwork! Once the wood cools, wipe away pencil marks with an eraser and gently dust the surface. Then:
- Use clear wood sealer: Polyurethane, spray acrylic, or even food-safe mineral oil for kitchen stuff.
- Apply with a brush or rag, following instructions on the product. Give it a couple coats, letting it dry well in between.
Get Social: Sharing and Selling Simple Wood Burning Patterns
Don’t just keep those beauties to yourself! Snap pics and show off your simple wood burning patterns on Instagram, TikTok, or good ol’ Facebook. Wanna go pro? People go wild for custom wood-burned pieces on Etsy, local markets, and craft fairs. You might even turn your hobby into side hustle cash, no joke.
Where To Find Inspiration For New Simple Wood Burning Patterns
Creativity ever hit a wall? Happens to the best of us. Check these out:
- Google Images: Search simple wood burning patterns and screenshot your favorites.
- Pinterest: It’s a goldmine for trending ideas and step-by-steps.
- Craft books: Your local library or thrift store probably’s got tons.
- Nature walks: Snap pics of leaves, branches, or stones—nature’s already got killer patterns lined up.
- Your own doodles: Freestyle it, coz sometimes simple is just best.
Troubleshooting Simple Wood Burning Patterns – Quick Fixes
If you mess up your simple wood burning patterns…don’t panic! Try these quick fixes:

- Light mistakes: Gentle sanding can erase faint burns (just don’t go too deep!)
- Heavy burns: Camouflage with darker shading or add to your design
- Wavy lines: Thicken your lines so it looks intentional—hey, it’s art!
- Error spots: Cover with fun shapes (think stars, dots or leaves). Nobody will even notice.
- Totally ruined? Save your practice wood and start fresh. Happens to every wood burner eventually, trust me.
Top Safety Tips for Simple Wood Burning Patterns
Your safety matters, bud! When making simple wood burning patterns, keep these rules in mind:
- Well-ventilated space: Always work somewhere with airflow, coz burning wood fumes are no joke.
- Heat-safe surface: Protect your table from accidental burns or scorched marks.
- Unplug your pen: When not using it, pull the plug—these things stay hot for ages.
- Supervise kids: Pyrography tools are hot and sharp—keep them outta reach of little ones (unless you’re right there helping them, of course).
Wood Types: Which Ones Work for Simple Wood Burning Patterns?
Let’s get a little nerdy. You’ll want these woods for simple wood burning patterns:
- Basswood: The gold standard for easy, smooth burns.
- Birch: Super light color, shows contrast well.
- Pine: Cheap and easy to find, but soft grains can sometimes smudge details.
- Maple: Tough but lovely once you get the hang of slower burns.
Avoid dark, oily, or resin-heavy woods—they smell worse when burning and gunk up your tip.
Where To Get Simple Wood Burning Patterns (For Free!)
Not great at drawing? No prob. Tons of free simple wood burning patterns online! Just search “free simple wood burning patterns” and save or print the ones you want. Loads of bloggers (ahem, like yours truly) offer patterns you can trace right away.
You’re Officially Ready: Start Your Simple Wood Burning Patterns Now
No more excuses—grab that pyrography pen and try simple wood burning patterns tonight. Even just burning a line is super satisfying, and soon you’ll move up to detailed art. Share your work, learn some new tricks, and most importantly, enjoy the journey. Remember: It’s all about having fun, getting creative, and turning even the plainest chunk of wood into a total masterpiece. So go on, show off your simple wood burning patterns (and tag me if ya post it, I’d love to see!).
By sticking with these tips and ideas, you’ll totally crush your next round of simple wood burning patterns. Can’t wait to see what you make! (And if you have a favorite pattern, drop it in the comments below so we can all get inspired!)


