
Let’s be real for a sec – if you’re tired of staring at your old, wobbly TV stand (or worse, keeping your big screen perched on a couple crates), it’s probably time for an upgrade. The coolest part? You don’t have to shell out a ton of cash for some factory-made eyesore. It’s way more fulfilling (and, honestly, way more Instagram-worthy) to tackle your own rustic TV stand build. Stick with me, and I’ll walk you through every dusty, satisfying step of this killer DIY journey.
Why Go For a Rustic TV Stand Build?
There’s just something about the look and vibe of a rustic TV stand build that modern pieces just can’t touch. Think warm woods, chunky lines, a vibe that screams cozy-cabin-meets-modern-living. If you crave character, personality, and a solid conversation starter, you can’t go wrong with a rustic TV stand build in your space. Plus, when you put some elbow grease in, you end up with custom storage exactly how ya want it. No more settling for whatever Ikea’s got in your price range!
Planning Your Rustic TV Stand Build (Don’t Skip This!)
Before you start slicing into those boards, ya gotta plan your rustic TV stand build out. Trust me, winging it leads to wobbly results and wasted cash. Here’s what you need to know:
- Measure Your Space: What size is your TV? How much wall space have you got? Take all those measurements, twice. (Triple check if you had coffee.)
- Pick Your Style: Wanna go chunky farmhouse? Sleek industrial? Full-on log cabin? Search “rustic TV stand build inspiration” and save what makes you go, “whoa.”
- Storage Needs: Do you have a zillion remotes and game consoles, or just need a shelf or two? Sketch it out!
- Budget: Figure out how much you wanna spend on your rustic TV stand build before you hit the lumber aisle. Pine is usually cheapest, but reclaimed wood adds serious cred.
Tools and Materials You’ll Need For a Rustic TV Stand Build
Here’s where you gather your ammo! Don’t stress if you don’t have everything – either borrow, rent, or buy what you can. For more guidance on tool selection, check out this best beginner woodworking tools guide. Let’s keep it laid back and resourceful.

- Lumber: 2x4s, 2x6s, or 2x12s (based on design and top surface size)
- Screws, Wood Glue, Brad Nails: All-purpose for that sturdy frame
- Drill and Bit Set: Your MVP for assembly
- Circular Saw or Miter Saw: For clean, even cuts
- Sander and Sandpaper: Rustic doesn’t mean splinters, folks
- Wood Stain and Polyurethane: Protect and add flavor to the wood
- Measuring Tape, Carpenter’s Square: Get things straight and tight
- Optional: Sliding barn door hardware, metal brackets, or wheels for extra style points
Getting Your Lumber: Buying Versus Salvaging
For a genuinely rustic TV stand build, consider hunting for reclaimed wood. Old palettes, barn wood, or demo’d beams bring wild textures and stories. (Just hunt for nails before running the saw, trust me.) If that’s not an option, shop local and grab pine or even cedar for a spicy aroma. Don’t be shy about picking boards with a few knots and quirks – it’s all about the character!
Designing Your Rustic TV Stand Build
Draw up your plans before lifting a drill. Even if you’re not an artist, sketch your idea and label all your measurements. For a classic rustic TV stand build, here’s a simple framework:
- 2 chunky side panels
- A thick tabletop
- A lower shelf or two
- Optional – central cubbies, baskets for storage, or barn-style sliding doors
Think about cable management! Drill a couple holes in the back for cords to sneak through, unless you want your rustic TV stand build looking like an octopus behind the scenes.

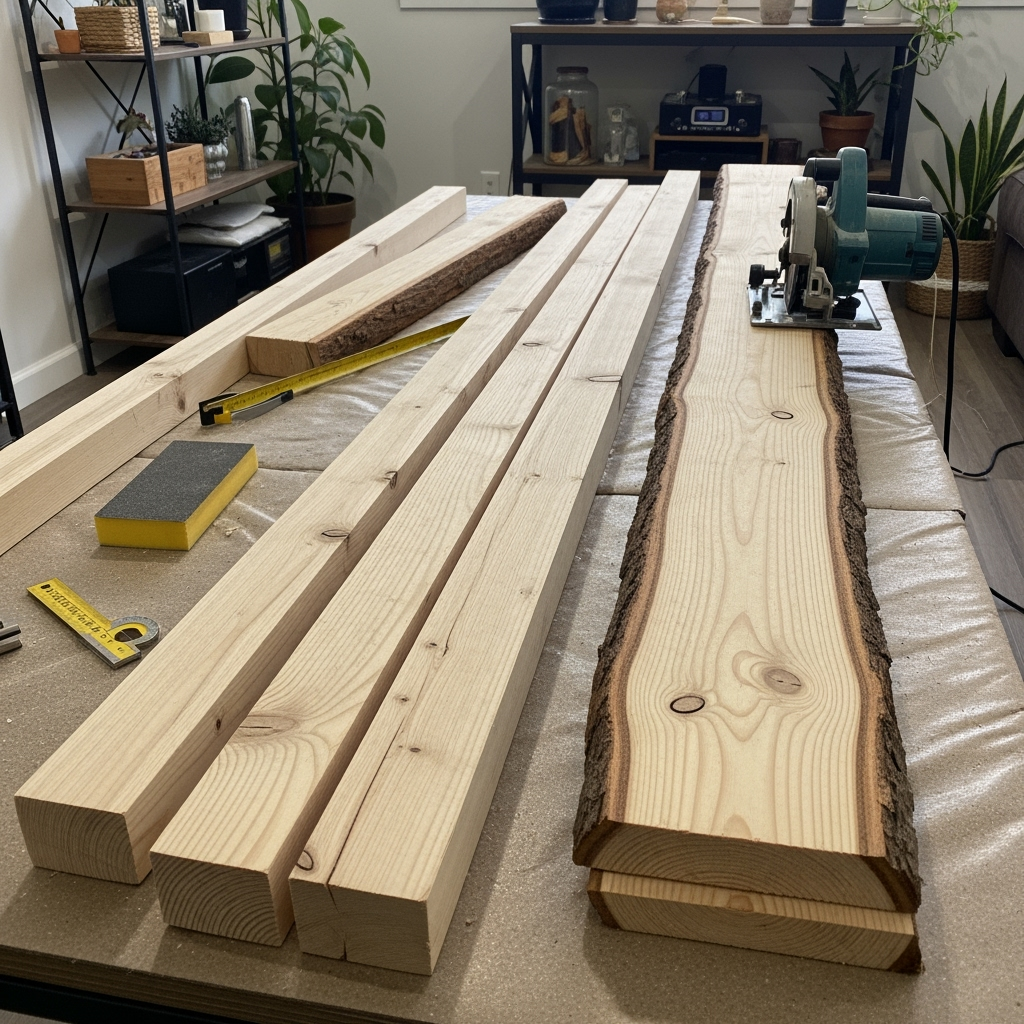
Beginning Your Rustic TV Stand Build: Cut and Prep The Lumber
Let’s go! First, cut all your pieces according to your measurements. A circular saw is great for long rips (no need to get fancy with a table saw unless you wanna).
- Tabletop: Match this to your TV’s length plus extra room for speakers or knick-knacks.
- Legs and Cross Supports: Usually, 18-24 inches tall for that perfect viewing angle.
- Lower Shelves: Cut those to fit snug between the legs.
Want improved accuracy? Learn how to square wood cuts in this simple tutorial.
Lay everything out and give the boards a solid sanding – 120 grit is a great starter. Remember, the beauty of a rustic TV stand build is that it doesn’t have to be perfect; those little dings and divots add bucketloads of charm.
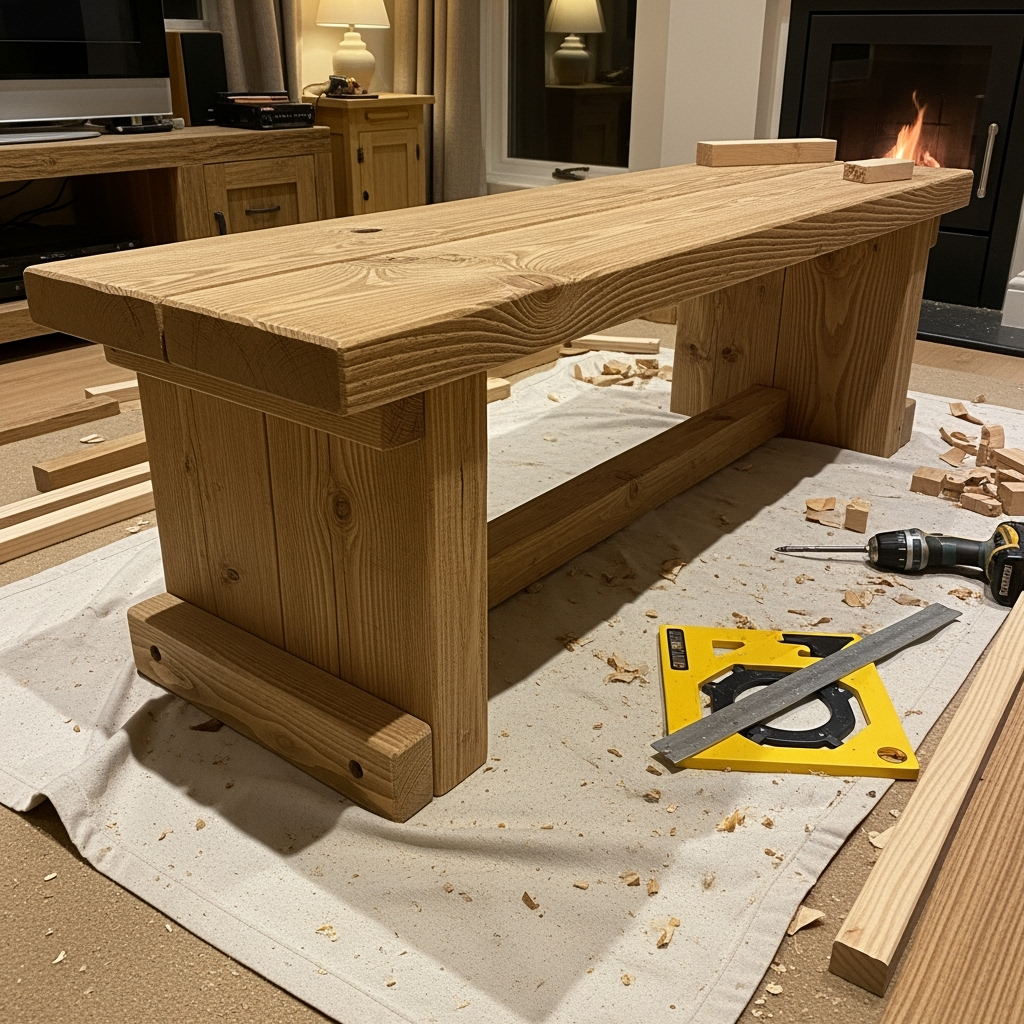
Assembly Time: Building Out Your Rustic TV Stand Build
Let’s assemble. Start with the frame – usually best to work upside down so gravity’s on your side. Attach the legs to the top surface with wood glue and beefy screws. Use a carpenter’s square on every joint, so nothing looks crooked (unless that’s the vibe you’re after).

- Pro move: Use pocket holes for tight, pro-level joints that show off your skills.
- Add support pieces under the tabletop if it’s extra long or heavy.
- Attach the lower shelves with brackets or simply glue and nail them in. The more support, the sturdier your rustic TV stand build will be.
Optional Features To Make Your Rustic TV Stand Build Next-Level
- Barn doors: Install a sliding mechanism for rustic style and to hide your electronics mess.
- Drawers: If you’re a neat freak, add a couple small drawers under the top for remotes and snacks.
- Industrial touches: Screw in metal pipe fittings for a hybrid rustic-industrial vibe.
- Casters: Wheels turn your rustic TV stand build into a mobile movie-night machine.
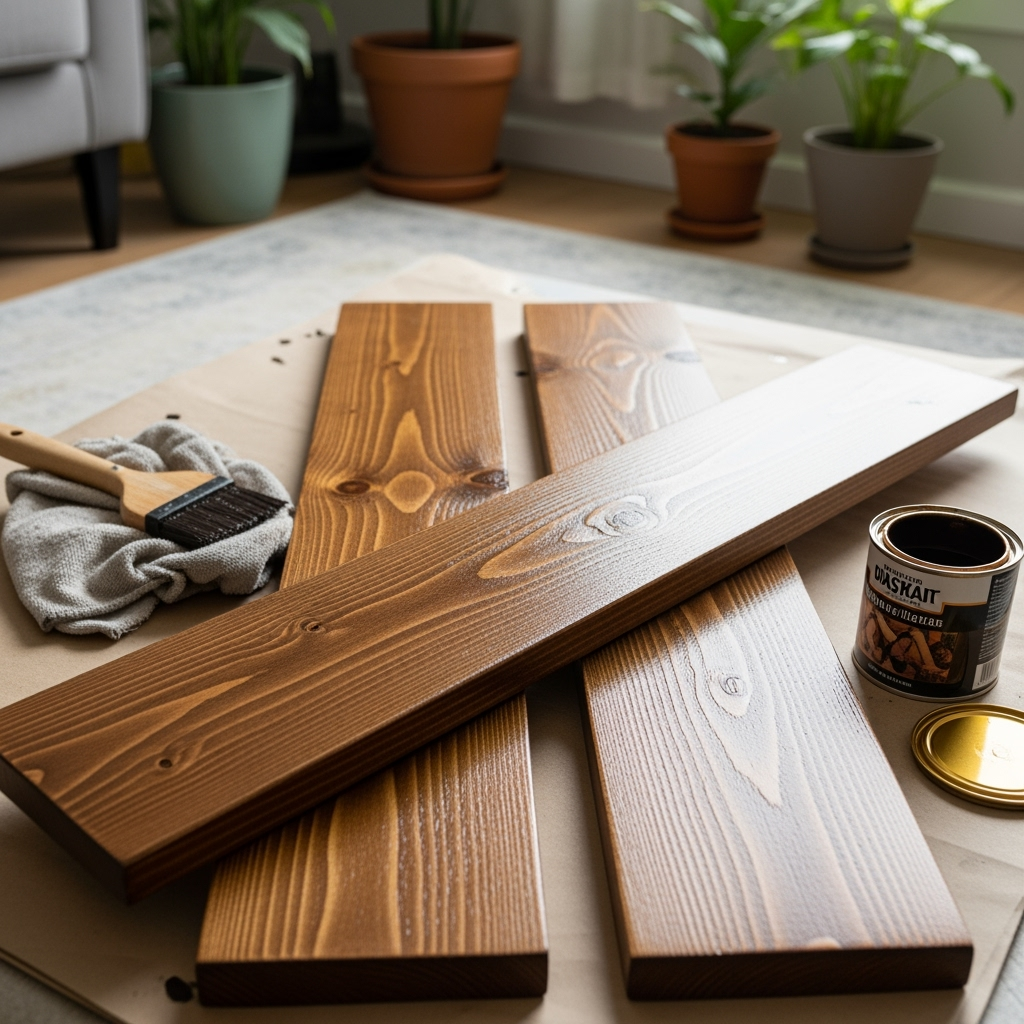
Finishing Touches: Staining and Sealing Your Rustic TV Stand Build
This is the point in every rustic TV stand build where you start to see magic happen. Pick a wood stain that matches your room. Classic choices: weathered gray for a driftwood look, dark walnut for old-school richness, or clear coat to keep those grainy details poppin’.
- Test your stain on a scrap piece first – the color will look way different on your phone than it does in real life!
- Slap that stain on with a rag or brush, working with the wood grain. Wipe off the excess after a few minutes, or wait longer for deeper color.
- Once dry, hit it with two coats of poly for a spill-proof, beer resistant finish.
How Long Does a Rustic TV Stand Build Actually Take?
For most folks, a rustic TV stand build is a good weekend project, or maybe a weeknight-after-dinner situation. Here’s a typical timeline:
- Planning and shopping: 2-3 hours
- Cutting and sanding: 3-4 hours
- Assembly: 3-5 hours (depends on attitude and playlist)
- Staining and sealing: Stain dries in a few hours, but wait overnight for poly
Honestly, don’t rush it. Taking extra time during your rustic TV stand build means less cursing and way fewer mistakes. Plus, your back will thank you if you break up the work.

Common Mistakes During a Rustic TV Stand Build (And How to Dodge ‘Em)
- Wobbly Legs: Always double-check measurements and use a square on your corners.
- Missed Studs: If mounting to the wall, always find studs! That TV’s heavy.
- Uneven Stain: Sand between coats and wipe evenly, or you’ll get weird streaks.
- Poor Cable Management: Drill those cable holes before finishing or you’ll risk ruining your stain job.
- Overcomplicating It: Sometimes, simple is better. The beauty of a rustic TV stand build is in the imperfect, handmade goodness.
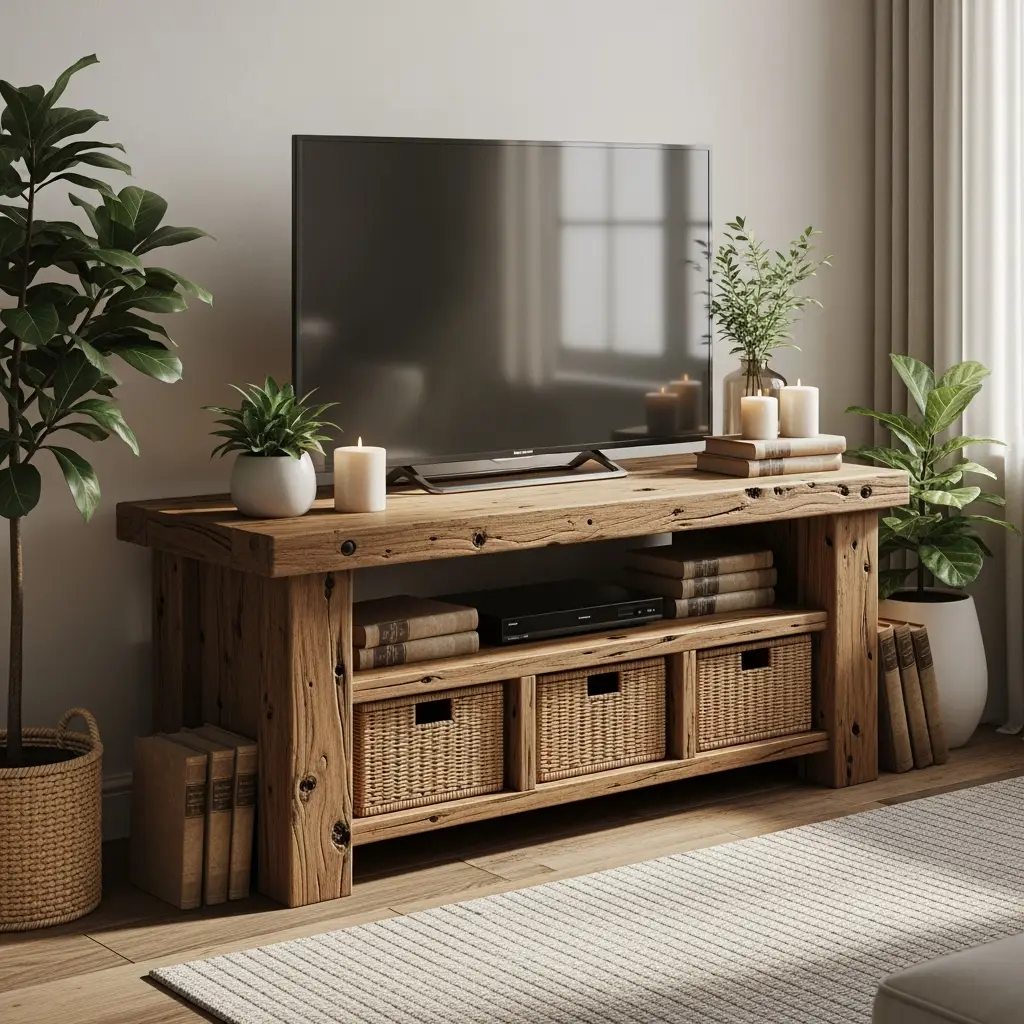
Decorating and Styling Your Finished Rustic TV Stand Build
Boom, you did it! Your rustic TV stand build is up and holding steady… so now what? Time to make it pop in your living room:
- Stack some vintage books for that studied vibe
- Toss in a couple of woven baskets to hide game controllers (or snack wrappers)
- Line up a few potted plants for a dash of color
- Frame out the TV with candles or lanterns for cozy, movie-night energy
Show off your hard work by posting your rustic TV stand build on social – and hey, tag us, so we can hype you up!
Why a Rustic TV Stand Build is More Than Just a DIY Project
Here’s the real talk: a rustic TV stand build isn’t just about saving cash (though you definitely will). It’s about learning new skills, flexing your creativity, and making something permanent for your space. Each scrape, dent, and brush stroke you put into this rustic TV stand build tells YOUR story – how cool is that?
Plus, having friends or your family gather ’round the TV while knowing you built the centerpiece? That’s a straight-up proud moment. Don’t be surprised when people beg you for their own rustic TV stand build next, because custom beats cookie-cutter any day.
Tips to Personalize Your Rustic TV Stand Build
- Burn in a design: Use a woodburning pen to etch in your initials or a favorite quote.
- Mix wood colors: Use different stains on each shelf for a patchwork farmhouse look.
- Swap in metal mesh: Replace some panels with chicken wire or metal mesh for bonus rustic cred.
- Paint accents: A little chalk paint on the legs or doors goes a long way.
Maintenance and Caring For Your Rustic TV Stand Build
Rustic doesn’t mean rough. Dust it weekly, use coasters for water glasses, and check every few months that screws are still tight. You spent the time on your rustic TV stand build, so show it some love! Sometimes, all it takes is a few dabs of wood polish to keep things looking crisp. If you get a deep scratch or scuff, no biggie – dab on some matching stain, buff it out, and call it “character.”
Ready to Start Your Rustic TV Stand Build?
No need to overthink it – your rustic TV stand build can be as simple or souped up as you want. The only must-have? Don’t be afraid to make mistakes and get creative. With a little patience and a couple of tools, you’ll have a rustic TV stand build that’s leagues above any box-store furniture. And if you can laugh at the occasional crooked screw, congrats – you nailed DIY style (pun totally intended)! Now go crank up that playlist and get to buildin’!


