
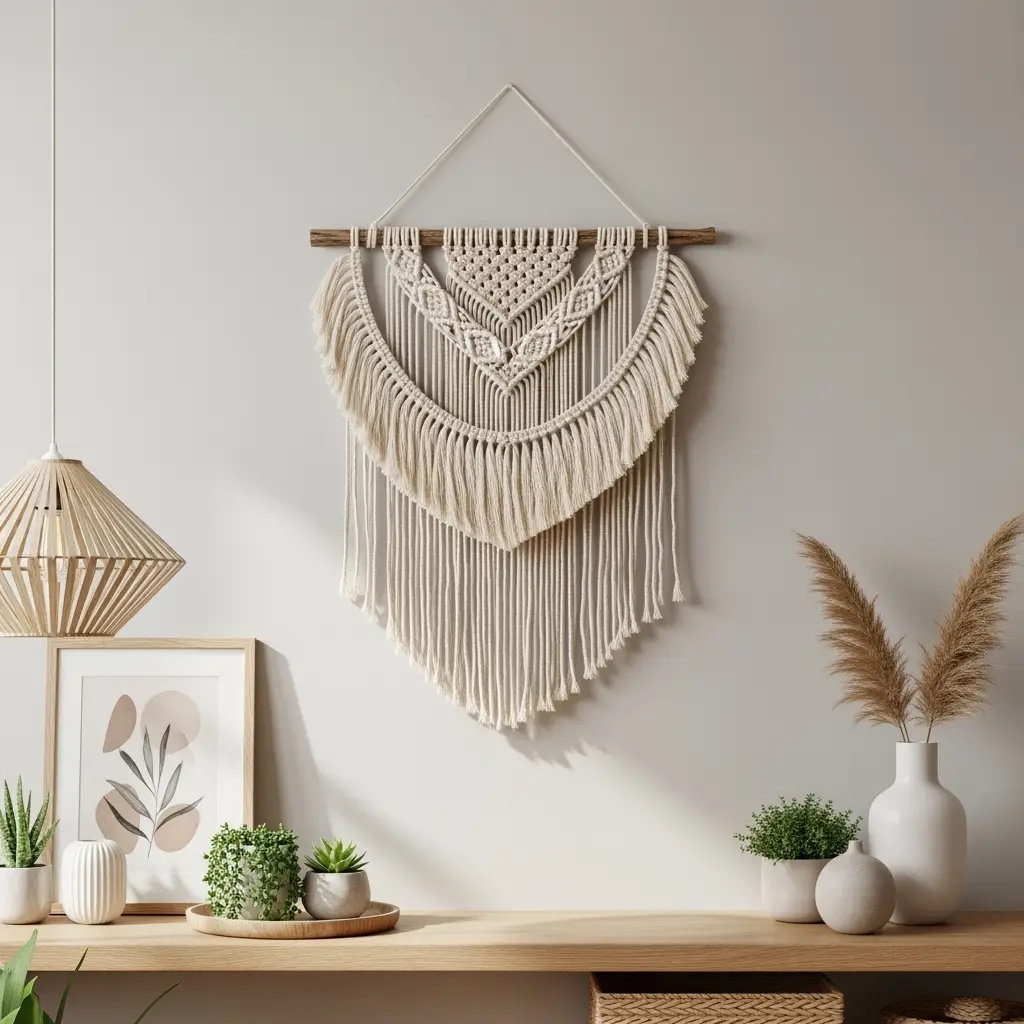
Ever scroll through Instagram and think, dang, my walls are kinda blah compared to those dreamy, boho spaces? Don’t worry, you’re not alone. The good news? With this macramé wall décor tutorial, you can totally up your home style game. I’ll walk you through the nitty gritty—mistakes, real talk, and all—so you end up with a stunning macramé masterpiece, not a knotted mess. Ready to get those hands moving?

Why Macramé Wall Décor is Taking Over Homes Everywhere
Look, I get it. You might be like, “Isn’t macramé that thing from the ’70s?” It kinda is but trust me—it’s back in a big, bold way. With the macramé wall décor tutorial I’m sharing, you’ll not only learn a craft, but your pad will look like you splurged at a fancy home store for that boho-chic vibe. Plus, it’s hands-on, pretty meditative, and hey, you can brag a lil’ when friends ask where you got that beauty.
Supplies for Your Macramé Wall Décor Tutorial
- Macramé cord: Go natural, cotton is best. About 4-5mm thick is perf for beginners.
- Wooden dowel or stick: The base for your hanging art. Driftwood gives it that earthy touch.
- Sharp scissors: For all that trimming action.
- Measuring tape: You don’t wanna eyeball and regret later (learned that the hard way!)
- Comb: Optional, but for that cool fringe effect at the end.
Pro tip—don’t stress if you can’t be fancy. Even recycled cords from old tees work if you’re just practicing.
Choosing Your Macramé Pattern
Before we knot anything, you’ve gotta pick the design style for this macramé wall décor tutorial. Are you going classic boho, modern chic, or maybe something ginormous over your bed? For newbies, you wanna keep it simple. Here’s three beginner-friendly ideas:

- Chevron pattern: Timeless, clean look.
- Diamond motif: Little more spunky, but still easy.
- Layered fringe: Got a wild side? Go for dramatic layers.
Sketch out your vision or just check a bunch of pics online. Seriously, inspiration is everywhere.
Step-by-Step Macramé Wall Décor Tutorial
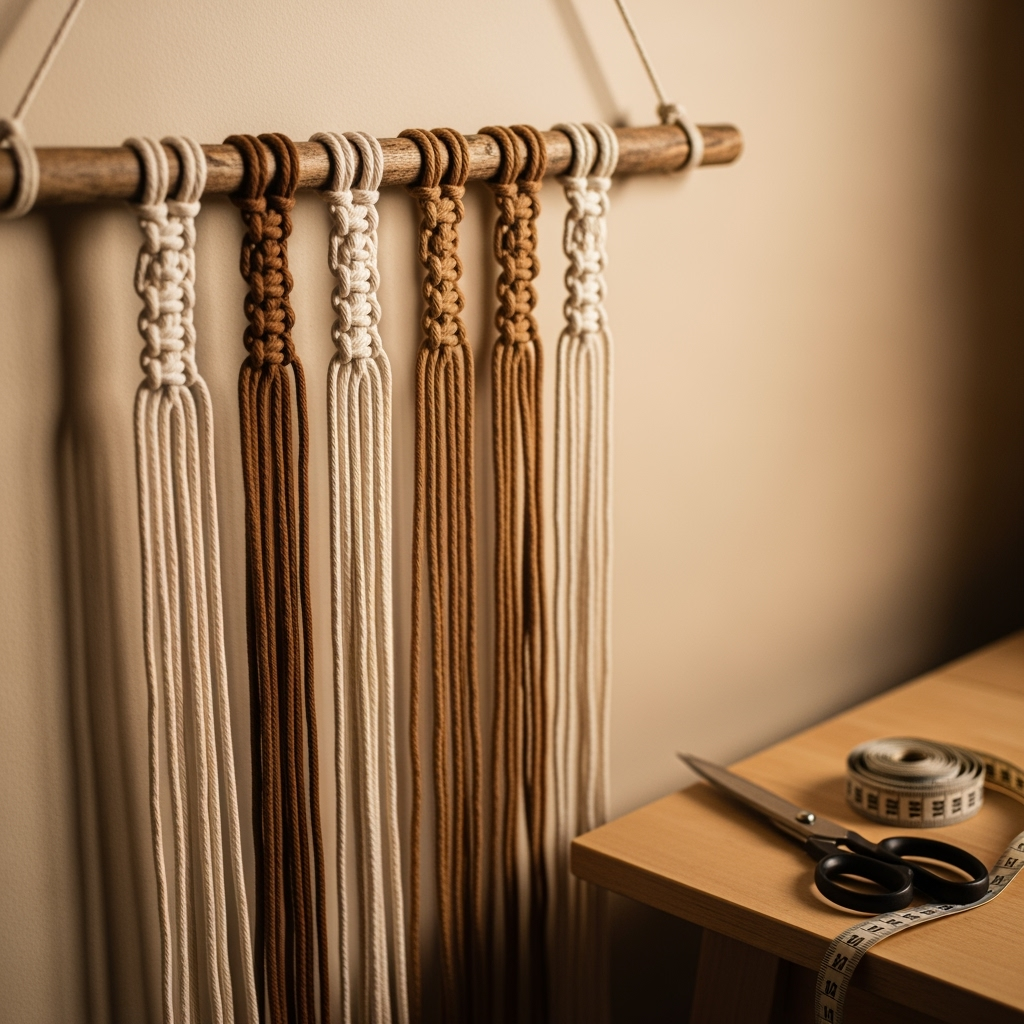
Step 1: Measuring and Cutting Cord
This part is critical. Measure twice, cut once—I messed up so many cords jumping the gun! Generally, you want each piece 4-6 times the finished length because knots eat up material. If your piece is 24″ long, you’ll want cords around 100-140”. Cut a couple extra ’cause mistakes happen (especially on your first try).

Step 2: Attaching Cord to the Dowel
Let’s kick off this macramé wall décor tutorial the right way. Use a lark’s head knot to get those cords on the dowel. Fold the cord in half, loop the bend over your stick, and pull the tails through. Line ’em up across—BAM! It’s already looking legit.
Step 3: Learning the Basic Macramé Knots
- Lark’s Head Knot (done above)
- Square Knot (the backbone of most wall hangings)
- Half Hitch & Double Half Hitch (for curvy, wavy lines)
- Clove Hitch (to zigzag your design)
Don’t stress. Mess up? Undo it and try again. That’s how ya learn!
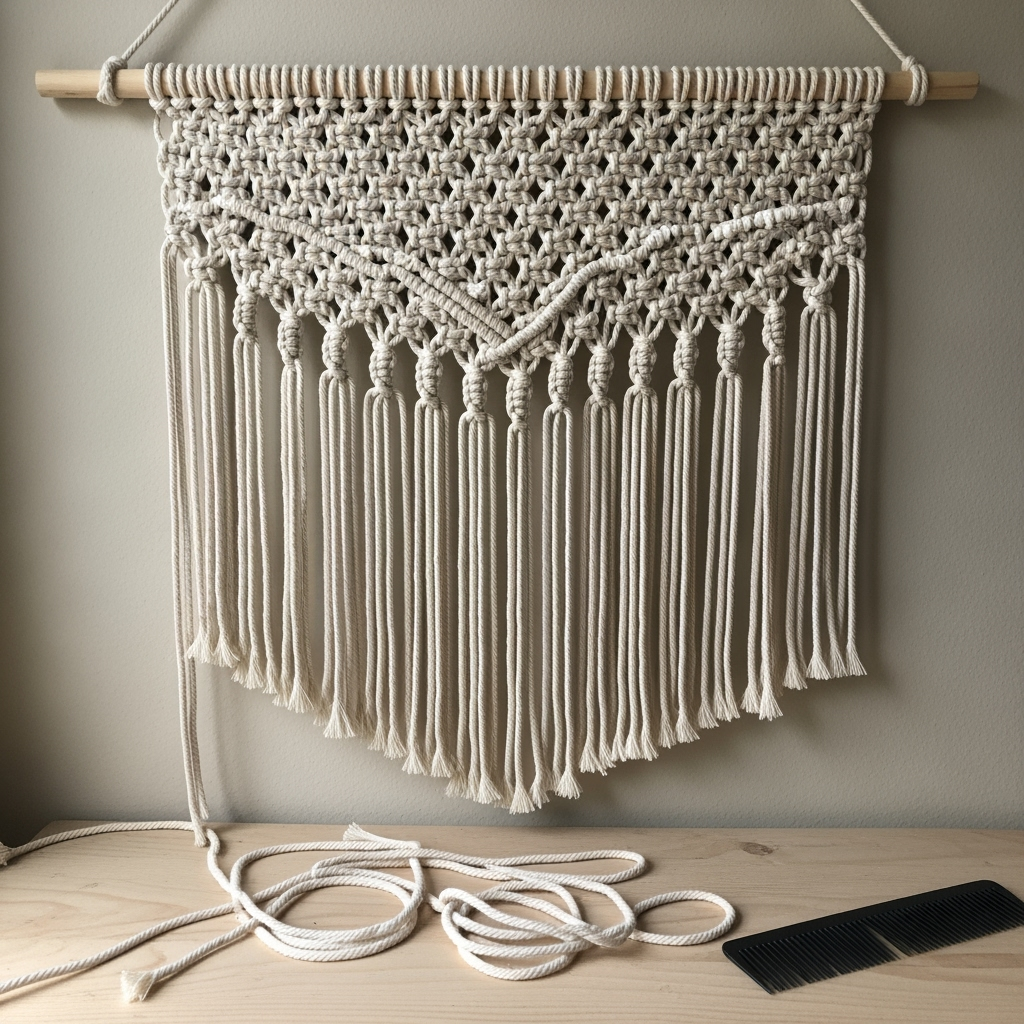
Step 4: Creating Your Macramé Wall Art Pattern
Follow your sketch or wing it—just keep building with those knots. Alternate designs row by row for patterns. For instance, start with a row of square knots, then under that do alternating half hitches. Keep ‘em snug but not suffocating (otherwise your finished piece gets all warped).
Hot tip: Step back every so often and eyeball the symmetry. Little adjustments here and there are part of the process in this macramé wall décor tutorial.
Step 5: Trimming & Styling Your Fringe
Once ya reach your desired length, it’s time to make that fringe fierce. Comb the ends out if you want fluff, or just give it a stylish angled cut, asymmetrical style, or a gentle curve. Up to you.

Got a whole mess of tangled fringe? Don’t worry. Just be patient (and careful) with your trimming, otherwise you’ll end up with a brutal hairdo on your wall. Trust me, I’ve been there. ☠️
Personalize That Macramé Wall Décor!
The magic of this macramé wall décor tutorial isn’t just about repeating steps. Here are some wild (but easy) ways to put your own spin on it:
- Dye Your Cord: Dip the ends in fabric dye for a two-tone artsy touch.
- Wooden Beads: Add them between knots for a natural or quirky pop.
- Feathers or Charms: Incorporate small trinkets for a legit custom boho look.
- Asymmetrical Patterns: Break the rules with offbeat shapes and gaps!
If you botch up your first try, don’t toss it! Sometimes those happy accidents look dope and unique. Let your macramé wall décor reflect YOU, not just the tutorial.

Common Macramé Wall Décor Tutorial Mistakes (and How to Dodge ‘Em)
- Running out of cord: Always cut extra, mistakes happen. If you run short, add more cord in with a sneaky knot and keep going.
- Uneven tension: Pull knots gently. Yanking distorts your whole piece.
- Fraying cord: Comb gently or finish ends with a dab of glue to stop the fuzz.
- Saggy patterns: If your rows droop, hang the piece as you work so gravity helps.
This macramé wall décor tutorial is all about trial, error, and leveling up. You got this!
Cleaning & Hanging Your Macramé Wall Décor
Now you’re staring at your macramé and thinking: “How do I hang this thing so it doesn’t crash down and spook my cat?” No worries!
- Use strong wall hooks or Command strips for a nail-free option (especially if you live in a rental and wanna keep the deposit!)
- When cleaning, just dust gently or spot clean with mild soap if needed. Waterlogged macramé = bad news.
Ideas for Next-Level Macramé Wall Decor
This macramé wall décor tutorial is just the start. Ready to take your wall art to the next level? Try these ideas:
- Oversized statement piece: Use a longer dowel and double the cords for epic drama.
- Mixed fibers: Add chunky yarn, shimmery thread, or ribbon.
- Wall collage: Create a trio of small hangings for a gallery wall effect.
- Plant holders: Merge a wall hanging with a macramé plant pocket for green vibes.
Keep practicing those knots, and soon dream up your own unforgettable macramé designs.
Frequently Asked Questions: Macramé Wall Décor Tutorial
How long does a simple macramé wall hanging take?
For a total beginner, following this macramé wall décor tutorial, expect 2-4 hours for a small piece. Once you get the hang, you’ll speed up big time!
Can I use other cords besides cotton?
Yep. Try jute, hemp, or even synthetic ropes. Cotton is the classic ’cause it’s easy to knot and has a soft look, which fits most boho styles. But for outdoorsy décor, try synthetic so it weathers better.
What size should I start with?
This macramé wall décor tutorial suggests starting small, maybe 12-18 inches wide. Less pressure, less wasted cord if you goof up, but still big enough to show off.
How do I make my pattern totally unique?
Mix up knots, work in colors, thread beads—heck, combine multiple wall décor tutorials and mash up two patterns. Your wall, your rules.
Where to Display Your Macramé Wall Décor
- Above the bed: Classic spot for max impact.
- Entryway: Welcome guests with your handmade art right off the bat.
- Living room: Mix it with framed artwork for a layered feel.
- Office nook: Liven up your workspace and add some chill vibes.
With this macramé wall décor tutorial, there’s no end to where your handmade creation will shine.
Final Thoughts: Why You’ll Love This Macramé Wall Décor Tutorial
If you stuck with me this far, you’re serious about jazzin’ up your space (high five!). The thing about this macramé wall décor tutorial is, once you get the hang of it, you’ll never see a blank wall the same way again. It’s relaxing, affordable, and each piece you make is, honestly, a piece of you for your home or as a one-of-a-kind gift.
So next time you see a jaw-dropping macramé wall hanging and think, “Nah, I could never pull that off,” stop yourself. You totally can—with a lil’ patience, this guide, and maybe a couple practice runs. Now go grab some cord, fire up your playlist, and let’s see what you make! And hey—tag me in your pics if you post ’em. Can’t wait to see your killer new wall décor!


