
If you’re anything like me, the first time you fired up a saw in your garage or at the workbench, you were probably jazzed to start slicing boards for your next masterpiece. Then came the letdown: your joint edges looked like you cut them with a spoon, and your workpieces didn’t line up. Yeah, that struggle is real. Getting those clean, dead-accurate, squared cuts is a big deal in woodworking. Nothing makes a project look more janky than out-of-square boards. That’s why understanding how to square wood cuts is absolutely crucial whether you’re building a basic shelf, a fancy table, or even a birdhouse for your backyard buddies. Today, we’re diving deep into the nitty gritty of making those wood cuts square—the right way, every time. So, grab your favorite beverage, settle in, and get ready to up your DIY woodworking game.
Why Squared Wood Cuts Matter in Every Project
If you’re asking why you should even care about how to square wood cuts, picture this: you spend hours, maybe even days, on your project. You assemble it—and the whole thing just leans to the left, like it’s had a rough Saturday night. That’s what happens if your cuts aren’t square! Squared cuts make sure your joints fit snug, your projects are sturdy, and your finished piece looks fantastic. It’s not just for looks either. When those cuts are off, even by a teensy bit, it can make your entire project wonky and unstable.
Benefits of Squared Cuts in Woodworking
- Improved Stability: Joints fit tightly, so nothing comes apart under a little pressure.
- Professional Appearance: Your projects look slick and well-crafted (even on your feed!)
- Simpler Assembly: Everything lines up where it should the first time (no fudge factor needed).
- Durability: Proper fits mean your builds last longer—no warping, no gaps.
What Does It Really Mean to Square Wood Cuts?
Most folks toss around the term how to square wood cuts and just think about making straight lines, but it’s more than that. When you square a wood cut, you’re making sure that the face, edge, and end of a board are all at perfect 90-degree angles to each other. If they’re not, you’ll end up with a domino effect of uneven, unstable projects. Those tiny gaps you see in corners or janky shelves? Nine times outta ten, it’s ‘cause your wood cut wasn’t square.
The Three Sides That Gotta Be Square
- Edge: The long side of your board.
- Face: The flat, wide part of your board.
- End: The shortest, crosscut side of your board.
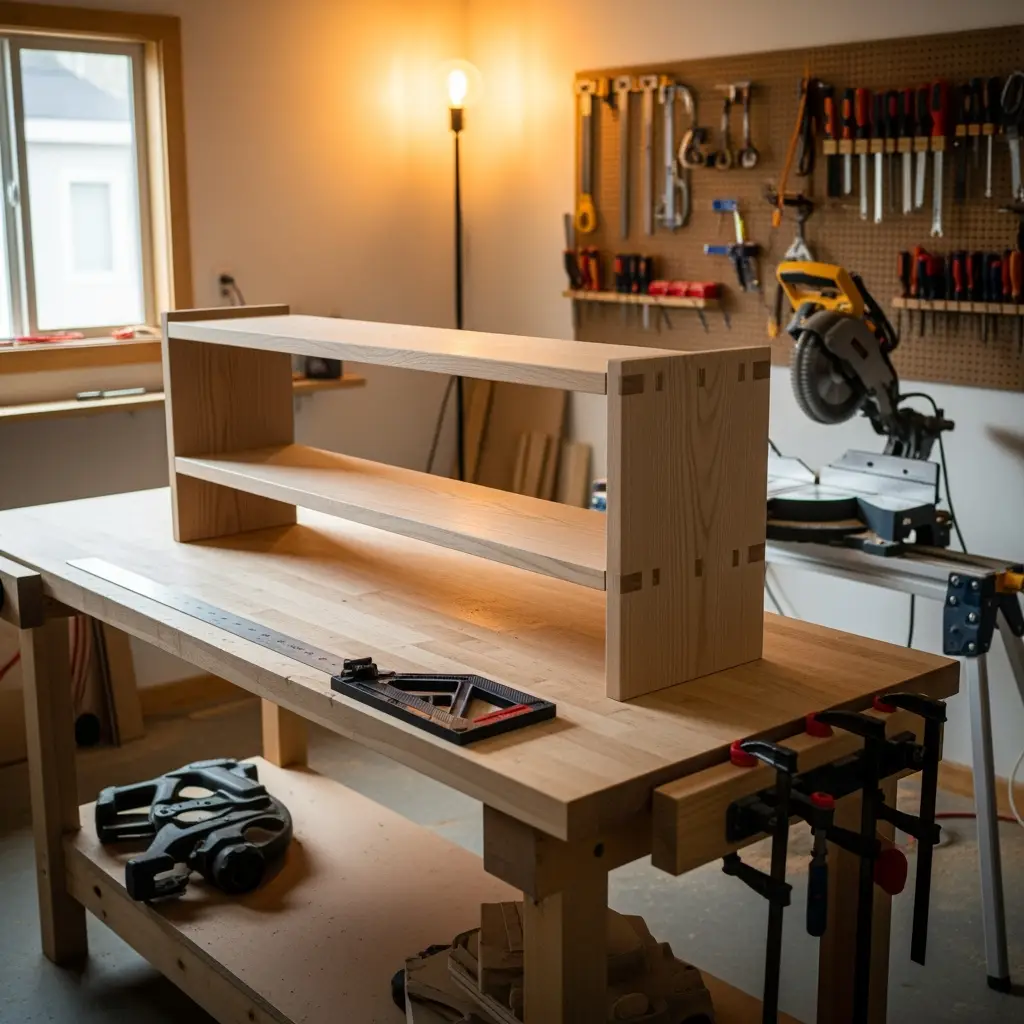
Making each of these square is what makes your workpiece fit together nicely and makes furniture last for years, not just a few Instagram posts!

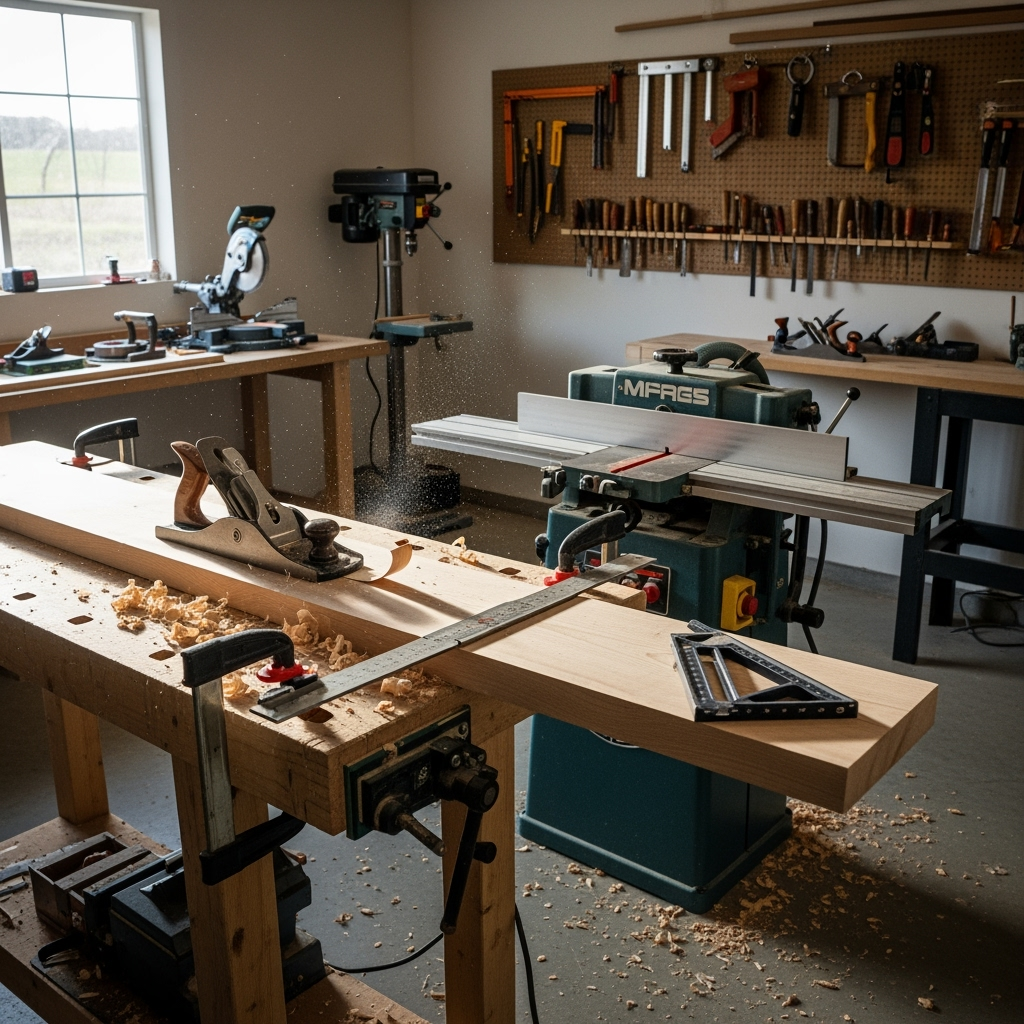
Tools You’ll Need: Must-Haves for Squared Cuts
Before we learn how to square wood cuts, you gotta round up some trusty tools. No need to shell out for the fanciest kit, but a couple key tools make the difference between pro results and hobbyist heartbreak.
- Speed Square / Carpenter’s Square: Inexpensive, easy to use, and freakin’ awesome for quick checks.
- Combination Square: Extends for longer boards and helps test both faces and edges.
- Framing Square: Great for big boards or large projects like doors and tabletops.
- Miter Saw: If trimmed and set up correctly, gives repeatable, square crosscuts.
- Circular Saw (with Guide): Affordable, but you’ll need a straightedge or guide for consistent square cuts.
- Table Saw: For pros and serious DIYers—makes perfectly square cuts when tuned.
- Jointer & Planer: Not essential for everyone, but absolutely slams if you want ultra-precise, flat, square stock.
Preparation: Make Your Workspace Work For You
A clean space is a safe space when you’re figuring out how to square wood cuts. It also means you don’t have to dodge rogue screws and offcuts while hauling around heavy planks. Here’s how to get prepped:

- Clear your cutting area—chuck out random bits and clutter.
- Put on eye and ear protection—it’s not a nerd move, it’s how you keep your peepers and ears safe.
- Mark your cuts clearly—use a sharp pencil or marking knife, not a dried-out marker you found in a drawer.
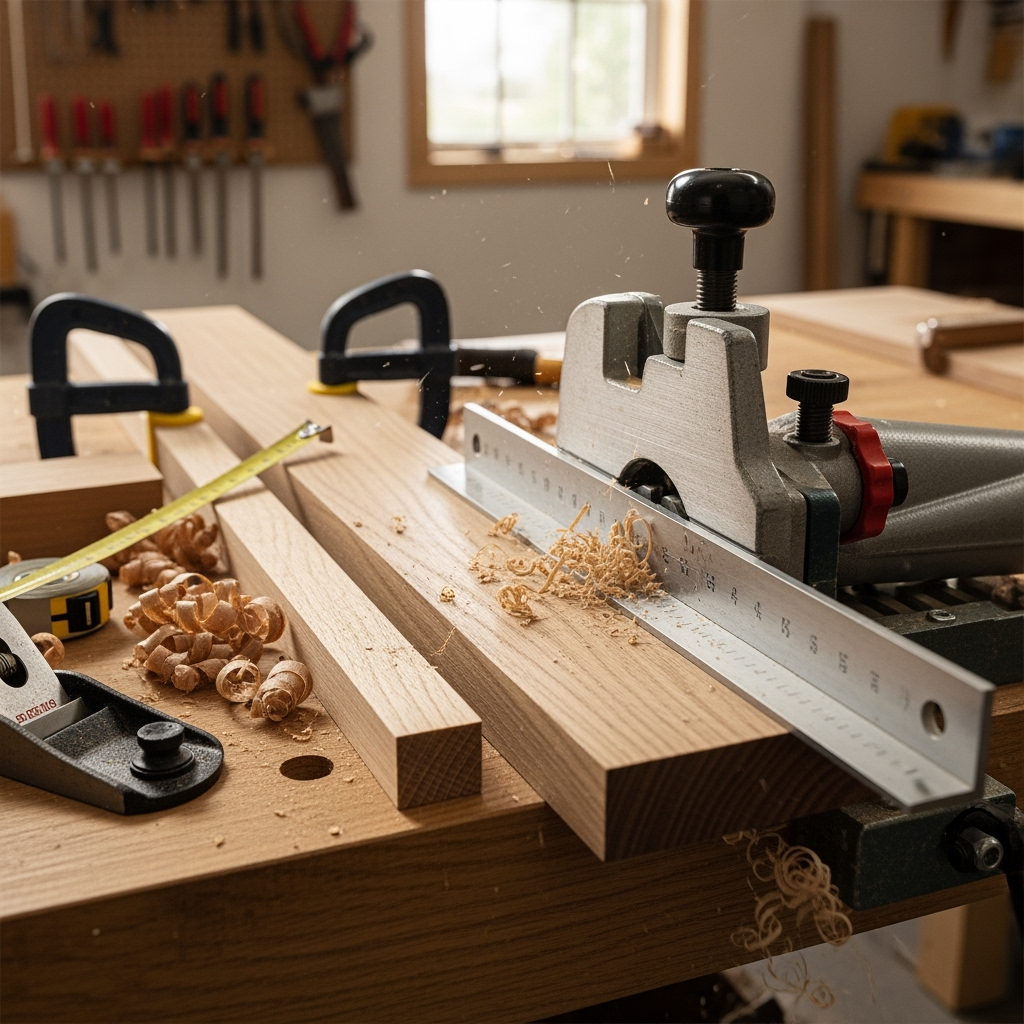
- Secure your boards—clamps are your best buds here.
How to Square Wood Cuts: Step-By-Step Guide
Now, let’s talk turkey about how to square wood cuts. Here’s the good stuff—step-by-step instructions and tips for getting those cuts square from the get-go.
Step 1: Square The Edge (Jointing)
- Lay your board flat on the workbench.
- Use a straightedge or your square to check the edge for straightness and squareness.
- If it’s bowed or ‘hollow’, run it along a jointer or—if you don’t got one—clamp it tight and use a No. 7 hand plane or a straight sanding block.
- Test again with your square after every pass—don’t get carried away, or you’ll have toothpicks, not boards!
Step 2: Square the Face (Planing & Flattening)
- If you’re lucky and your board is already flat, skip to the next step.
- If not, use a hand plane or thickness planer. Always work with the grain, and test for flatness with your square along the width and length.
- Repeat until the entire face is smooth and square against the jointed edge.
Step 3: Square the Ends (Crosscutting)
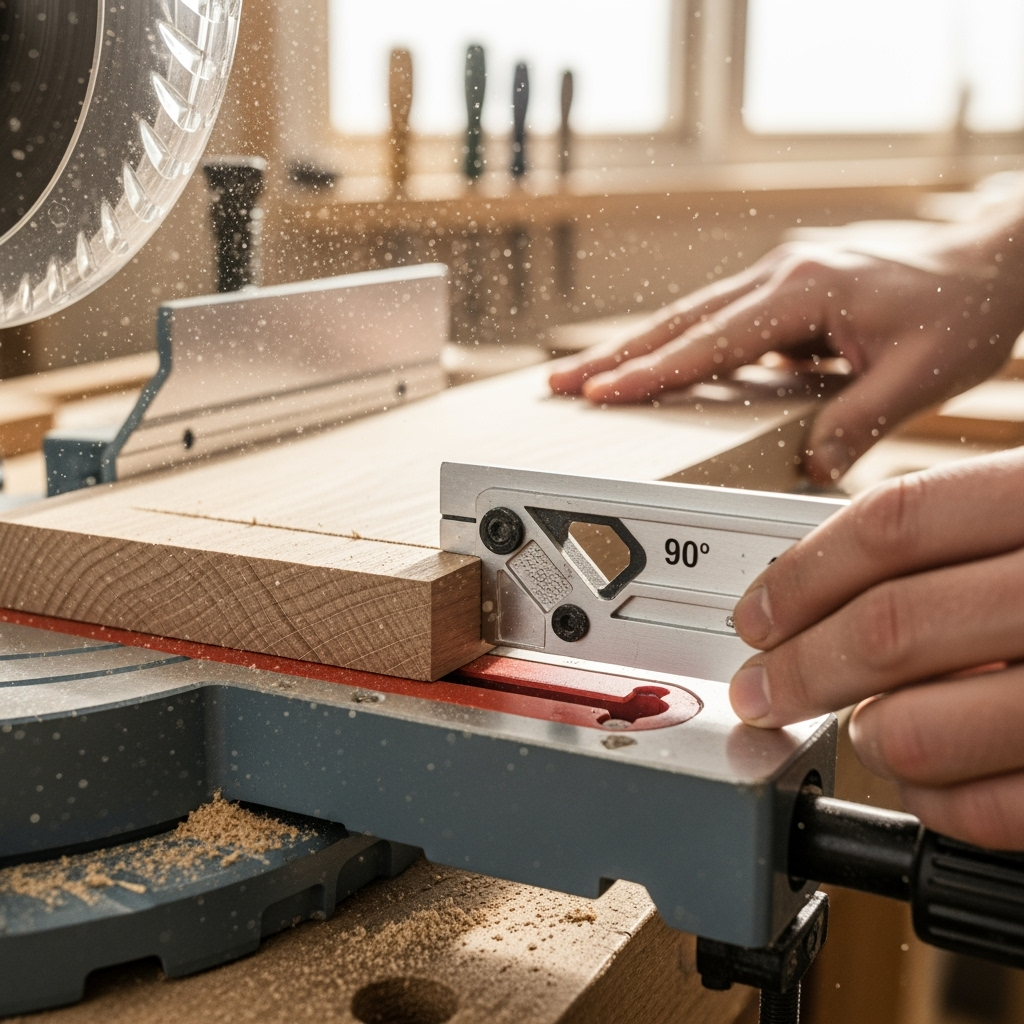
- Mark your cut line all the way around the board—don’t just do the top edge!
- Set your miter saw or guide square to exactly 90 degrees. Even a degree off makes a mess!
- Place your board tight to the fence or guide. Clamp it if you can.
- Make your cut. Let the saw do the work—don’t force it.
- Check with your square on both the face and the edge. Nailed it? Awesome. Off a little? Use a block sander or sharp chisel for small fixes.
Step 4: Double-Check Everything
- Test every surface and every joint with your square before assembling. Every. Single. Time.
- Dry fit your parts—no glue, just to see if it all lines up. Fix now rather than after everything’s messy with glue and panic.
Pro Tips: Avoiding Common Mistakes in Squared Cuts
- Don’t Trust Factory Edges: Boards off the shelf look fine, but they’re rarely square—always check and fix if needed.
- Don’t Rush: Push too fast, and the saw will wander. Go slow, aim for accuracy over speed—it’s not a race.
- Test Your Tools: Check your saws and squares regularly for accuracy—tools get bumped outta alignment all the time.
- Lighting Matters: Bad lighting can hide mistakes. Light it up!
- Always Measure Twice: Haste makes waste—and real janky boards!
Hand Tools vs. Power Tools: What’s Better for Squared Cuts?
There’s no one-size-fits-all answer for how to square wood cuts. It comes down to what you got handy, your confidence, and the size of your project. Hand tools (like hand planes and handsaws) are awesome for fine-tuning, fixing small errors, and working with thin boards. Power tools (miter saws, table saws, etc.) shine for repeatability and bigger cuts. For dead-on square, many pros use both—a power tool for roughing out, and a hand tool for dialing it in.
Common Challenges (And How to Fix ‘Em!)
- Saw Diverges: Your saw wanders mid-cut. Go slow, apply steady pressure, and don’t force the blade.
- Boards Not Flat: If your surface is bowed or warped, your cuts won’t square up—flatten before you cut.
- Blade Wobble: A dull or bent blade can’t cut square. Keep blades sharp and mounted right.
- Poor Clamping: Always clamp boards firmly to avoid slip-and-slide mid-cut.
How to Square Wood Cuts on a Budget
Worried you need fancy gear for how to square wood cuts? Nah, you can square cuts with even basic hand tools if you know the hacks. Here’s some cost-saving tricks:
- DIY a Guide: Clamp a perfectly straight board as a guide if you don’t have fence systems.
- Use a Cheap Carpenter’s Square: Even plastic ones work fine for hobby projects—just check for accuracy before every use.
- Sand to Final Fit: Hand sand odd ends flat and square after rough cuts with coarse paper and a flat block.
- Mark All Sides: Don’t rely on eyeballing—wrap that mark all the way around so you see exactly where to cut.
Advanced: How to Square Large or Awkward Boards
Sometimes, you gotta square up boards longer than your saw, or too thick for your miter box. Here’s how the pros do how to square wood cuts on big chunks:

- Track Saws with Guides: When you need a straight, square cut over four feet or more, a track saw rides a dedicated rail for dead-straight cuts.
- Panel Saws: Used for sheet goods, these make big, square crosscuts easy—but are spendy and giant.
- Multiple Passes: For extra thick wood, cut halfway through, flip the board, and finish from the other side, checking your square as you go.
After the Cut: Test, Tweak, and Fit
Cutting’s only half the battle for how to square wood cuts. Fitting and adjusting is just as key:
- Check Twice Before Gluing: Always dry-fit your pieces—adjust or sand as needed.
- Pin with Brads Before Screws: For frames, it’s easy to hold square with small pins or even masking tape before securing with screws or brads.
- Little Gaps? Don’t sweat a hairline gap—a little wood filler or glue can cover imperfections. Perfection is the enemy of progress!
FAQ: How to Square Wood Cuts
Can I square a wood cut without power tools?
Heck yes! Use a handsaw with a miter box, or a sharp hand plane and square for all faces and edges.
What’s the easiest way to tell if my cut is square?
Get a cheap speed square and line it up against your workpiece. Light should not peek through at the joint.
Why do my square cuts look off after assembly?
Could be your saw drifted or your board wasn’t flat to start. Always check edges and faces before cutting!

Can I fix a cut that’s out of square?
Yup! Plane or hand sand the end grain to bring it true, but be careful not to make your board too short.
Conclusion: You’re Ready to Master Squared Cuts
There you have it—the full scoop on how to square wood cuts. With the right tools, smart prep, and a step-by-step approach, you CAN get perfectly squared wood pieces every time, even if your first try looked like something from a preschool art class. Remember, it’s always about the setup: check your tools, check your marks, and check your cuts as you go. Before long, you’ll get that pro look on every project, and those janky, leaning shelves will be a thing of the past. Now go out and show that wood who’s boss!


