
Have ya ever looked at a wall in your house and thought, “Man, something’s missing here?” Maybe you’ve tried slapping up a poster or two or lined up some mass-produced picture frames from the local bargain store, but it just doesn’t spark joy, ya know? Well, lemme tell you—the vibe totally changes when you go legit DIY and start making your own handmade picture frames. Trust me, it’s not just about saving some cash (though that’s sweet), but about letting your creativity run wild and making every nook of your home reflect you! And don’t forget to review our essential safety tips for woodworking before you dive in.
Why Handmade Picture Frames Are Total Game-Changers
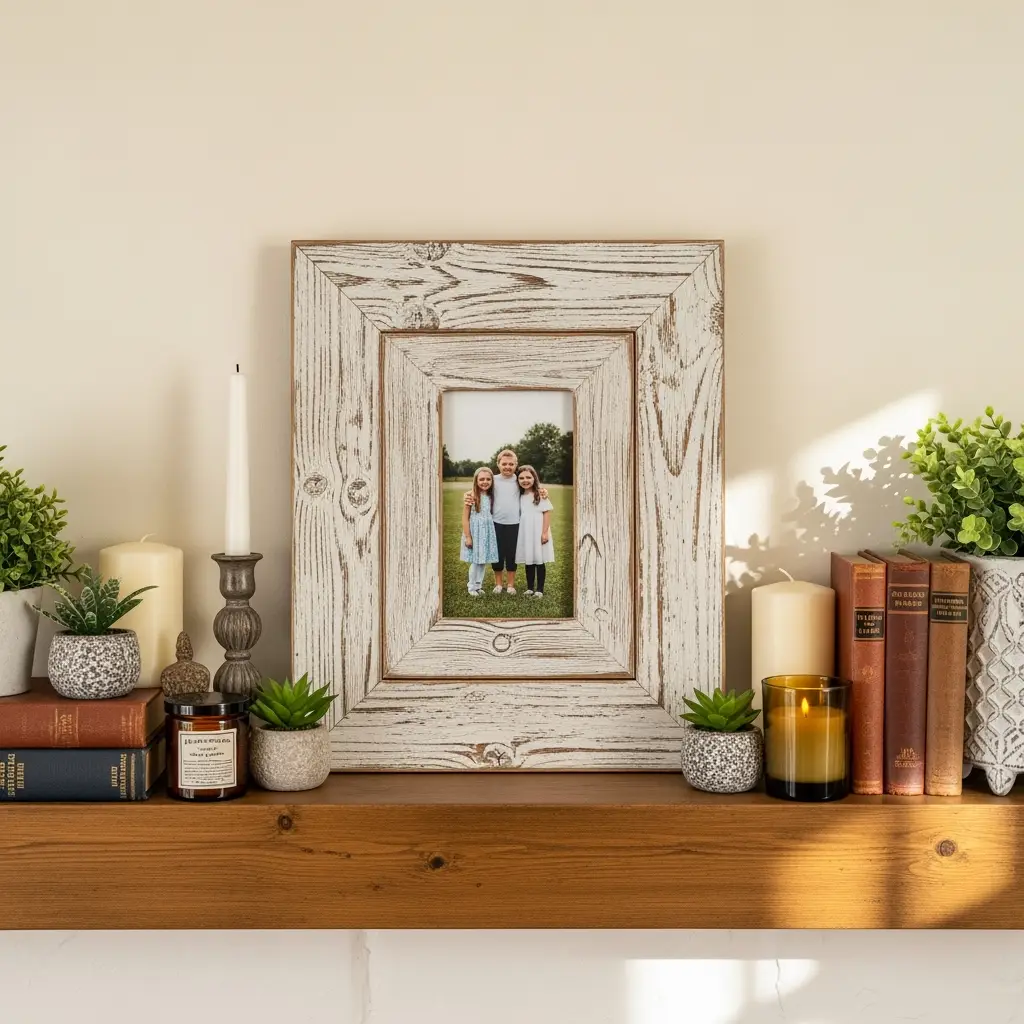
Let’s get real for a sec: your memories, your art, your vibe—they deserve more than basic, bland frames. That’s where handmade picture frames come in. You can customize the material, dimensions, finish, and heck, even the story behind every frame. That family photo over the mantle? Give it a rustic, farmhouse frame that you sanded down yourself. Got an artsy print? Go sleek and modern with walnut or poplar you picked out, cut, and joined. The whole room feels more authentic when your own sweat and style shows in the décor.
What Makes Handmade Picture Frames So Special?
This ain’t just about wood and glue. It’s about elevating every picture you cherish with a frame that means something. Here’s why everyone’s falling for handmade picture frames right now:
- Unlimited Customization: Pick your favorite wood, stain, paint, and finish. Mix and match colors!
- Perfect Sizing: Tired of cramming pics into too-big or too-small mass-market frames? Cut it your way.
- Craftsmanship: Don’t settle for shaky, plastic frames. Yours will be sturdy, strong, and made to last.
- Personal Touch: Each frame tells your story—maybe your signature, a funny quote, or your kid’s artwork scratched on the back.
- Eco-Friendly: Use reclaimed, salvaged, or sustainably-sourced wood for those green vibes.

All the Materials You Need for Handmade Picture Frames
Let’s talk supplies. Ya don’t need to drop a fortune, I promise! You prob got a bunch of this stuff already, but here’s what most folks grab before getting started with handmade picture frames:
- Wood: Pine, walnut, oak, poplar, or even old barnwood.
- Measuring tape & square: Trust me, you need those 90-degree edges look sharp.
- Miter saw: For slick, precise 45-degree cuts on your corners — if you’re unsure which blade to use, see how to choose saw blades.
- Wood glue and clamps: For rock-solid corners that won’t wiggle apart.
- Sandpaper or power sander: No splinters, please!
- Nails and nailer (or a trusty ol’ hammer): Secures the frame while the glue sets.
- Wood stain or paint: Amplify the wood’s natural beauty or get wild with color.
- Picture frame hardware: Hangers, wire, or sawtooth brackets for easy display.
- Backing board and glass/acrylic sheet: Protect your art and keep it flat.
And hey, don’t stress if you don’t own all this stuff. Plenty of options for hand tools or improv swaps, buddy!
Prep Talk: Designing Your Handmade Picture Frames
Before you even cut your first board, imagine the look you’re after. Mood: rustic and weathered, or ultra-smooth and modern? Maybe the boho driftwood look that’s everywhere on Insta right now? Sketch a bit, or dig for inspiration on Pinterest. When it comes to handmade picture frames, the only real limit is your imagination—and maybe your saw blade’s edge, haha.

Choose Your Style:
- Farmhouse charm with distressed wood and a whitewash.
- Mid-century sleekness with thin, sharp-edged walnut.
- Playful colors—your kid’s room will never be the same!
- Geometric or layered frames if you’re feelin’ extra artsy.
Draw out your frame’s profile. Measure your art precisely, including a little wiggle room for the glass and backing board. These little details make for professional results, trust me!
How to Build Handmade Picture Frames: Start to Finish
Alright, rolling up the sleeves time! Let’s break it down step-by-step so anybody, even total rookies, can master the art of handmade picture frames.
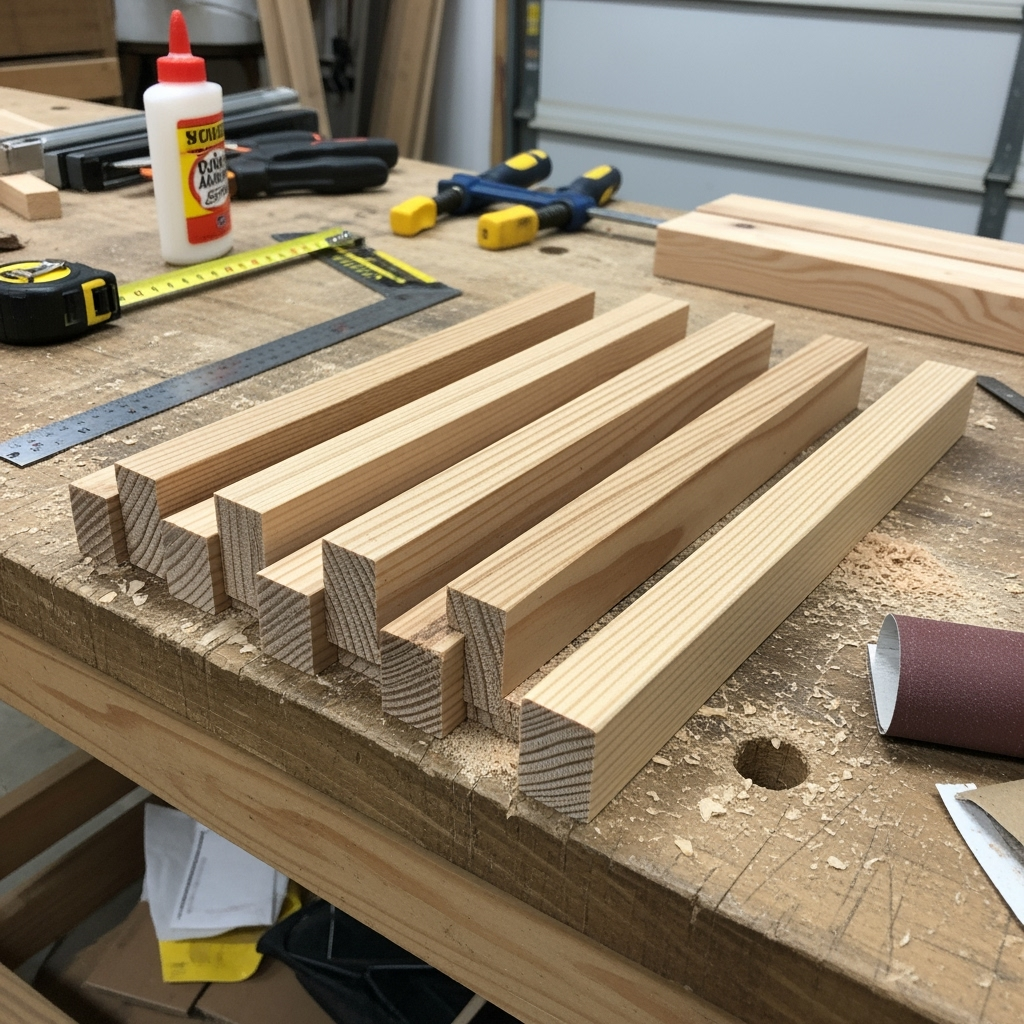
1. Measure Twice, Cut Once
Grab your artwork or photo and jot down both vertical and horizontal measurements. Add ¼ inch to each side so your masterpiece fits without getting jammed up. Now, set your miter saw to 45 degrees and cut your frame sides. Make sure the inside edge matches your math, not the outside! It’s a classic rookie mistake—I’ve been there, totally messed up a sweet board once, lol.
2. Dry Fit & Adjust as Needed
Lay out all four pieces like a picture frame on your workbench or kitchen table (no judgment if you’re working on the floor, we’ve all been there). Check the corners for clean fits. If they’re wonky, sand lightly until they mate up real nice.

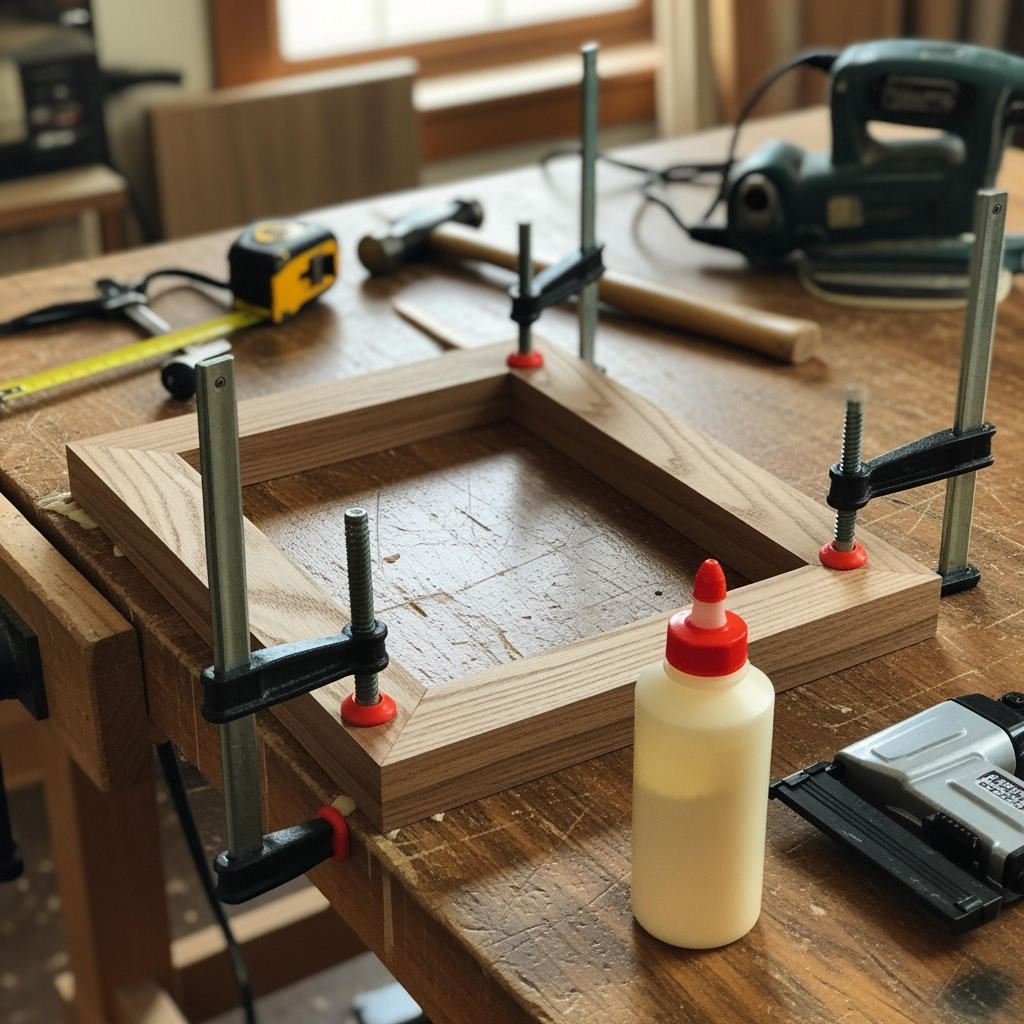
3. Gluing & Clamping
Line the mitered corners with wood glue lightly—too much and it’ll ooze out everywhere. Now clamp those bad boys together. If you don’t have corner clamps, regular clamps and a little patience work in a pinch. Give it a solid hour to cure—that’s your coffee break.
4. Reinforce Those Corners
If you want absolutely bombproof joints, pop in a few finishing nails or use a brad nailer. Pro tip: Angle ‘em slightly to avoid splitting your frame. Some folks also use metal corner plates on the back for mega durability, especially for huge handmade picture frames.
5. Sand Smooth Like Butter
Once the frame is dry and together, hit all the edges with sandpaper. Go finer (like 220-grit) for a baby-smooth touch. Pay special attention to seams, so your stain or paint looks consistent. Plus, who wants to touch rough edges, amirite?
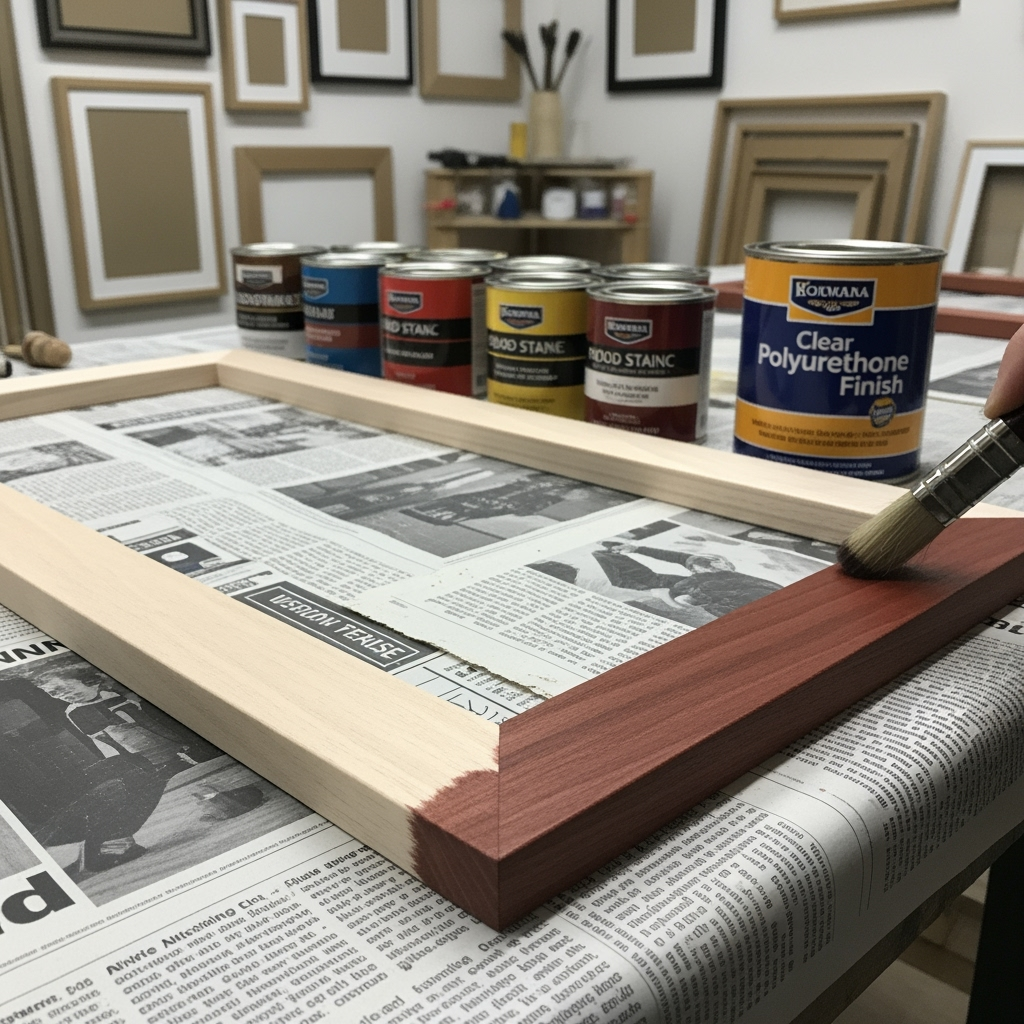
6. Finish Goes On
Here’s where your creative power goes full blast! Choose a stain that brings out the grain, go for a bold paint color, or layer on wax for a subtle sheen. Don’t forget a protective coat—polyurethane or clear wax—for frames that’ll get touched a lot. Let it dry completely. This is the hardest part for impatient folks like me, haha.

7. Glazing & Backing
Cut your glass or acrylic to fit inside the frame. Be careful—gloves are your bestie for this step! Lay in your picture, add a sturdy backing board (even upcycled cardboard works), then secure everything with glazier points or a staple gun. Hang with wire or a sawtooth bracket and—boom! Your handmade picture frames totally own that wall.
Creative Variations and Advanced Ideas
Not satisfied with “just” a classic rectangle? Here’s where handmade picture frames get really epic! Try these ideas if you’re ready to kick things up:
- Double matting: Add a second, inner frame (painted or raw wood) for depth and drama.
- Layered designs: Stack thin strips of contrasting wood for dimensional edges.
- Carved details: If you’ve got a Dremel or the patience, carve initials, flowers, or patterns along the edges.
- Mixed materials: Inlay strips of metal or colored resin for a modern twist.
- Driftwood, barnwood, or pallet wood: Ultimate upcycle chic!
- Floating frames: Sandwich art between two panes of glass for a gallery look.
How to Style Your Home with Handmade Picture Frames
Now for my favorite tip—don’t just slap one handmade picture frame up and call it a day! Create:
- Gallery walls: Mix frame sizes, finishes, even orientations. Cluster together family photos, travel shots, or your kid’s masterpieces.
- Themed corners: Channel coastal, rustic, or boho with frames that share a style or color story.
- Unexpected places: Hallways, bathrooms, kitchens, and even laundry rooms come alive with personalized art.
- Give as gifts: Nothing wows a relative like a handmade frame holding a printed memory.
Common Mistakes When Making Handmade Picture Frames
We all mess up sometimes—trust me, I can’t count how many corners I’ve glued backwards. Here are rookie mistakes to dodge so your handmade picture frames are pro-level from day one:
- Mis-measuring panels (measure from the inside edge!)
- Not allowing drying time for glue or finish—patience, my friend!
- Skipping sanding between paint or stain coats, which leads to uneven finishes
- Over-nailing, which splits delicate wood (gentle hand wins!)
- Not sealing backs: Artsy mold is not a good look
Frequently Asked Questions About Handmade Picture Frames
- Do I need power tools? Nah! Mitre box and hand saw are enough for most projects, but if you want to upgrade, check out our best beginner woodworking tools guide.
- What’s the easiest wood to work with? Pine is soft, cheap, and easy for newbies.
- Is glass necessary? Nope—acrylic is lighter and safer, but do what fits your vibe and budget.
- Can I make oddly-shaped frames? Yep, but grab templates or tracing stencils to keep it chill.
- How to keep cheap craft wood from warping? Seal all sides with finish to protect from moisture swings.
Share Your Handmade Picture Frames Project!
Making handmade picture frames is like that first sourdough loaf you nailed during lockdown…it might take a go or two to perfect, but when you do, it’s crazy satisfying. Plus, every time friends ask about your awesome frames, you get major bragging rights—and maybe inspire them to start making stuff, too! So, what’s stopping ya? Go pick out a gnarly old board or some sleek poplar at the hardware store and start sketching up your dream display wall. And hey, if you really knock it out of the park, post your pics online and tag me! I freakin’ love seeing what folks come up with.
If you learned something new, wanna share more tips, or just wanna show off your sweet handmade picture frames, drop a comment below. Let’s keep the DIY spirit rolling!


