
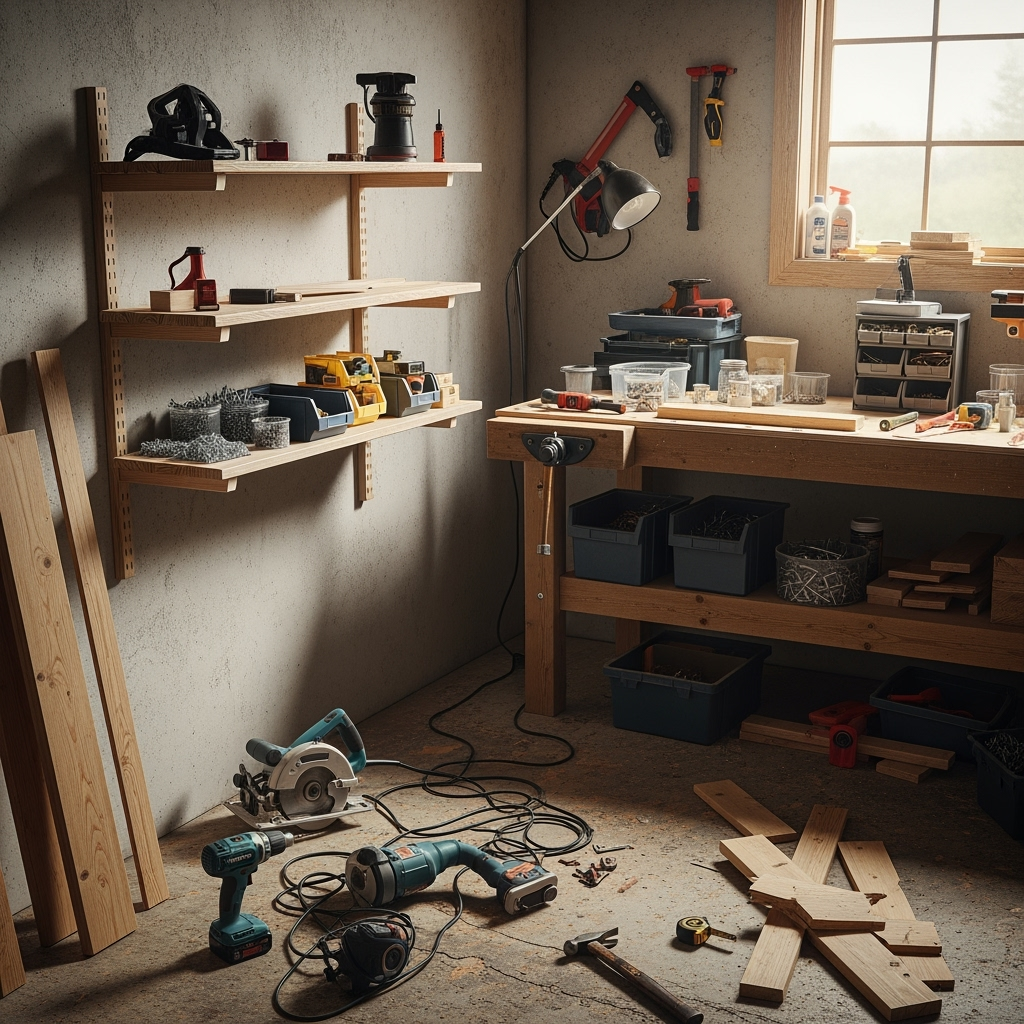
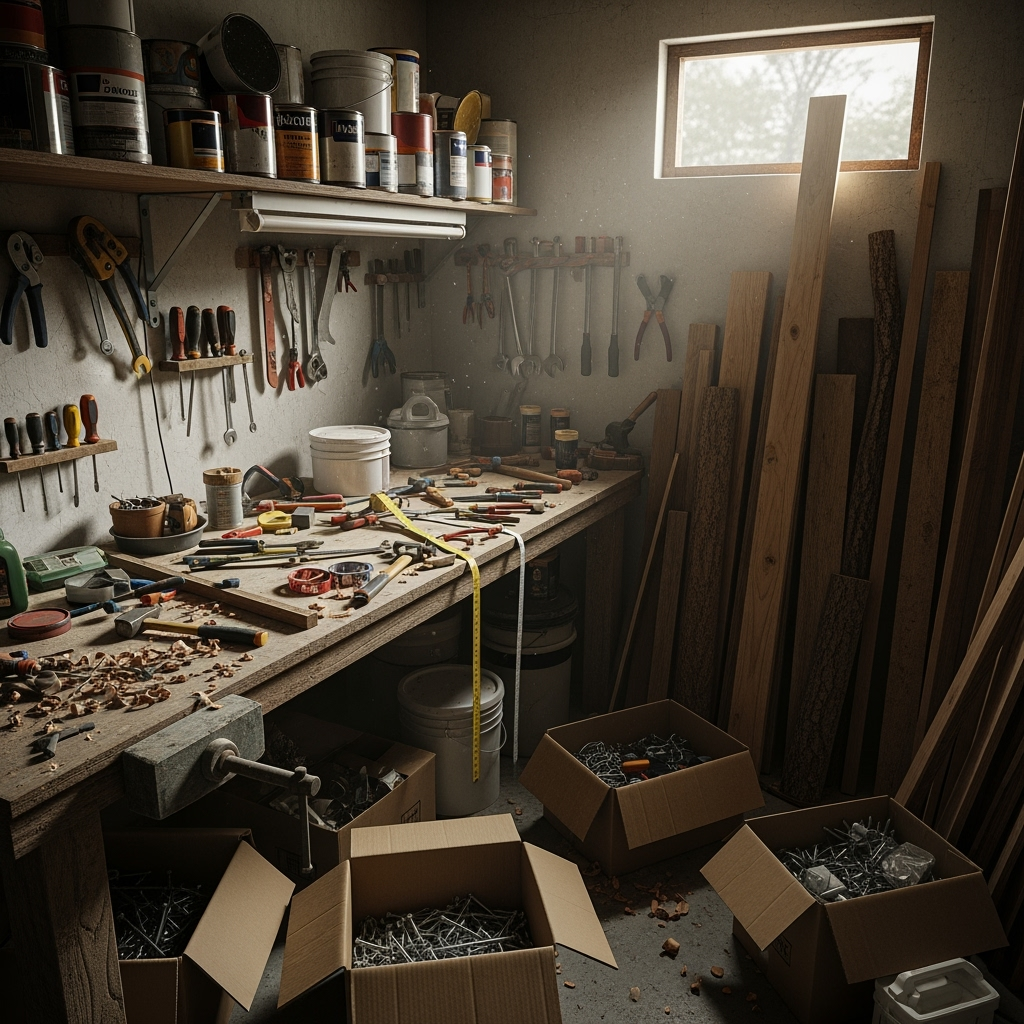
Let’s be honest, y’all—the struggle of DIY workshop organization is real. One minute you’re promising yourself to keep it all tidy, the next thing you know, your hammer is fraternizing with screwdrivers, paint cans are balanced dangerously close to your favorite project, and your tape measure goes on its own little adventure. Trust me, I’ve been there plenty of times. But that mess ends today—we’re diving full-throttle into the world of DIY workshop organization and turning chaos into order! Whether you’re a weekend tinkerer, a seasoned woodworker, or just someone trying to find their glue gun, this guide has got every base covered—and if you need essential beginner woodworking tools to get started, we’ve got you covered.
Why DIY Workshop Organization Matters More Than You Think
DIY workshop organization isn’t just about aesthetics (although, hey, a neat shop does feel like a pro zone!). It’s about efficiency, safety, and pure enjoyment. When you know exactly where your tools are, you cut down on hunt time and ramp up build time. Plus, you minimize the risk of accidents—nobody likes stepping on a rogue nail or tripping over scattered wood. DIY workshop organization is your secret weapon for smoother workflows and greater creativity.
Assessing Your Workshop—Before the Madness Begins
Before you buy or build anything, take a deep breath and assess your current situation. The first rule of DIY workshop organization: you can’t organize what you don’t know you have. Grab a notebook or fire up your notes app and jot down everything in your space. Sort tools, hardware, supplies, and materials into zones. Don’t rush this—get a good feel for what you’re working with.
- Hand tools: hammers, wrenches, screwdrivers, etc.
- Power tools: drills, jigsaws, sanders, etc.
- Hardware: screws, bolts, nails, brackets.
- Supplies: glues, stains, finishes.
- Lumber: planks, plywood, scraps.
Once you know what you’ve got, group up similar things. This is the foundation of all good DIY workshop organization projects!

Eliminate Clutter – The Marie Kondo Way
Ain’t no shame in admitting that we all hang onto stuff we don’t use. Part of ace DIY workshop organization is ditching the dead weight. Be ruthless (but not reckless):
- Toss broken tools that can’t be rescued.
- Donate duplicates or stuff you’ve outgrown.
- Recycle old hardware and scraps that are just collecting dust.
Clearing space is liberating, and it makes the rest of your DIY workshop organization way more do-able.

Essential Principles of DIY Workshop Organization
Once the clutter’s out, you can actually start planning your DIY workshop organization layout. Here are key principles you should never forget:
- Everything needs a home. No random piles, ever.
- Frequently-used items get prime spots. Don’t tuck your daily drill behind a mountain of hardware crates.
- Accessibility wins. Drawers, shelves, pegboards—there’s a system for every setup.
- Label everything. Seriously, your future self will thank you.
- Vertical space is gold. The walls are free real estate, use ’em!
Designing Your Custom DIY Workshop Organization System
Now comes the fun part. When customizing your DIY workshop organization system, you’re the boss. Sketch a rough layout of your space and start plotting zones:
- Work zone: Bench space, sanding station, assembly.
- Tool zone: Storage for hand + power tools.
- Supply zone: Paints, finishes, adhesives—grouped together for easy picking.
- Wood + lumber storage: Long and short piece racks.
- Project storage: Shelves for in-progress stuff that shouldn’t be disturbed.
Draw inspiration from Pinterest, YouTube, or fellow DIYers, and remember: DIY workshop organization is all about working with what YOU have, not just what looks cool in mags.
Must-Have DIY Workshop Organization Projects
Ready to start building? Here’s how to tackle the biggest pain points in DIY workshop organization with some tried-and-tested ideas.

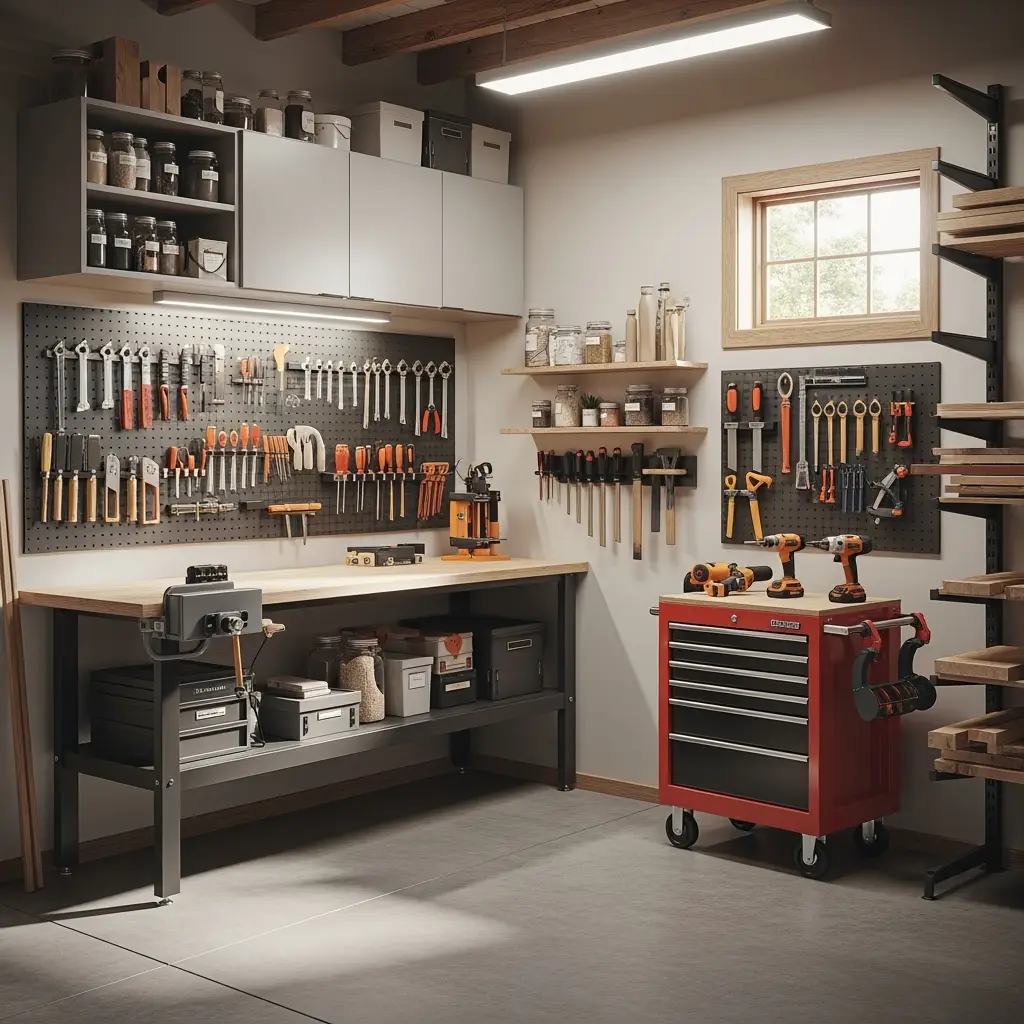
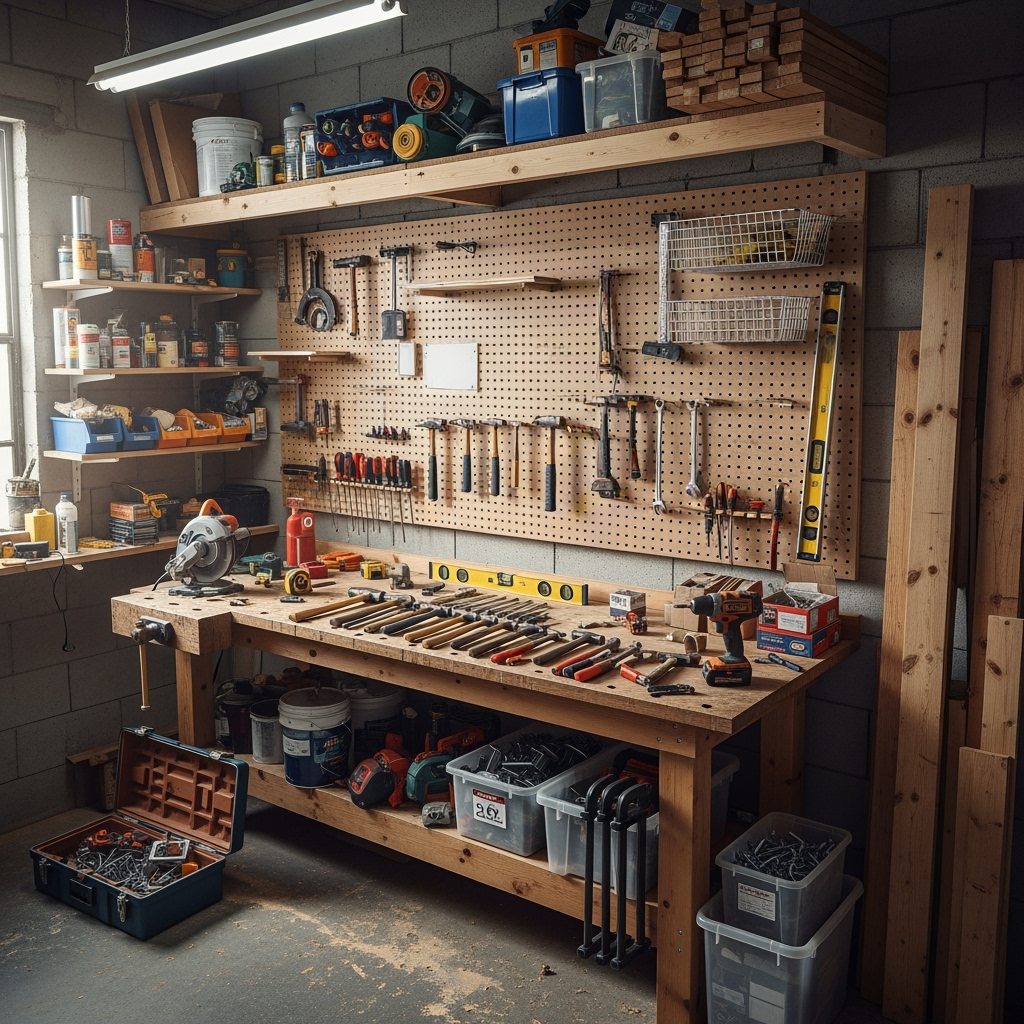
Pegboard Magic
Don’t sleep on pegboards. Install a big ol’ pegboard above your workbench and outfit it with hooks, baskets, and racks. Hang screwdrivers, pliers, glue guns, scissors—stuff you use all the dang time. With pegboard organization plans, visibility is king and pegboards are just unbeatable for that.
Custom Shelving and Cabinets
Shelving is the backbone of DIY workshop organization. Build adjustable shelves to fit every last oddball item you own. For a pro touch, add cabinet doors to hide away less-used or hazardous stuff. If you’re tight on floor space, wall-mount those bad boys and keep your walkways open for easy movement.
Mobile Tool Carts and Workbenches
Need to chase the daylight or room to move? Put your workbench or power tool cart on heavy-duty locking casters. Instant flexibility! It’s a game changer for DIY workshop organization, turning static stations into mobile problem-solvers.
Drawer Organization like a Boss
Empty drawers just scream for chaos. Use dividers, trays, or scrap-wood-inserts to group fasteners, small tools, and accessories. DIY workshop organization requires that every time you open a drawer, you see exactly what you need, pronto.

Magnetic Tool Holders
Slap a magnetic strip anywhere you’ve got spare wall, and suddenly you have a place for drill bits, chisels, or even tiny wrenches. Minimal space, maximum function. That’s the DIY workshop organization spirit.
Genius Hacks for DIY Workshop Organization
Ready for some next-level ideas? Peep these DIY workshop organization hacks to turbocharge your shop in ways you didn’t expect:
- Garage door rail shelves: Mount bins or racks above your garage door. Ultimate unused space!
- Bucket tool organizers: Slide these onto 5-gallon buckets for to-go tool kits.
- Fold-out benches: Hinged work tables attached to your wall double your work area without stealing floor space.
- Repurpose old furniture: An old dresser makes a killer hardware organizer with a coat of paint and fresh handles.
- Label your life: Masking tape + marker = simple, effective labels. Or get fancy with a label maker.
Money-Saving DIY Workshop Organization Ideas
Let’s face it, fancy modular systems get pricey real fast. But great DIY workshop organization can run on scrap wood, reclaimed shelves, and upcycled containers. Here’s how you keep it cheap (and clever!):
- Use old jars for screws, nuts, bolts. Mount their lids under shelves for instant twist-off bins.
- Stack old crates or wooden boxes for flexible, reconfigurable cubbies.
- Cut pallet wood into quick wall organizers or tool racks. Rustic AND functional.
- DIY slat walls from plywood strips—then hook up bins, baskets, or shelves as needed.
- Reuse paint cans for storing brushes, clamps, or dowels.
Organizing for Safety: The Non-Negotiables
Your safety is always #1 in DIY workshop organization. Please don’t just shove stuff into any old nook! Make sure you have:
- Fire extinguisher: Mounted by the entrance.
- First aid kit: Stocked and accessible.
- Eye and ear protection: Easy to grab, easy to store.
- Tool manuals and batteries: All in a labeled, dry spot—a must for quick maintenance.
- Lumber and hazardous chemicals: Stored upright (securely) and away from heat sources.
Maintaining Your DIY Workshop Organization Masterpiece
You’ve put in all that hard DIY workshop organization work—it’d be a crime to let it slide. Here’s how to stay organized long term:
- Dedicate 10 minutes after every session to ‘reset’ your shop—putting tools back, wiping down surfaces, restocking supplies.
- Seasonally review what you’re using and what can be rotated out, donated, or tossed.
- Get the crew (or fam) involved—everybody should know the DIY workshop organization rules of the shop!
FAQ: DIY Workshop Organization Woes Solved
How do I organize a teeny tiny workshop?
DIY workshop organization in a small space is ALL about going vertical! Use walls for tools, hang shelves from the ceiling for seasonal stuff, and don’t let any under-bench area go to waste. Modular, stackable bins and fold-away benches are your new best friends. The keyword is DIY workshop organization for a reason: get creative!
Can I organize my DIY workshop with kids around?
Absolutely, but safety first, always. Store sharp tools and chemicals up high or locked up. Run a kids-only zone with age-appropriate tools and storage bins. Invite them to help label and organize (they love stickers!). DIY workshop organization turns into a family affair and the kids learn good habits early on.
What’s the quickest DIY workshop organization win?
Hook up a big pegboard and organize your most-used hand tools by category. It’s fast, cheap, super-visible, and instantly transforms the mess into a pro look. Each time you grab or hang a tool, you’ll feel the sweet payoff of DIY workshop organization without much sweat.
Should I invest in fancy organizers?
Not unless you wanna! DIY workshop organization can be simple or elaborate. You can make most of what you need with scrap wood, extra bins, or scavenged furniture. Spend on organizers if you love their look, but remember—it’s your system that counts, not the price tag.
When DIY Workshop Organization Becomes a Habit
It’s kinda wild, but once you’ve set up your ultimate DIY workshop organization station, you’ll start creating better work by default. No more wasted hours searching for the right sandpaper, no more injuries from tripping over neglected hoses. Everyone has their own spin on DIY workshop organization, and that’s the beauty of it—there’s no ‘right way’, just your way.
Nail down your own system, tweak it as you go, and share your genius hacks with the next round of messy makers. You’ll be shocked at how much faster and happier you work when your tools and supplies are dialed in. So, what’s the hold up? Make today the day you tackle that DIY workshop organization project! Clean it up, kit it out, and strut into your workshop with confidence—you (and your future projects) freakin’ deserve it!


