
So, you’re thinking about making yourself a sturdy, reliable DIY wooden toolbox? Honestly, that’s a wicked idea. Not only is putting together a DIY wooden toolbox hella rewarding, it’s also super useful if you ever find yourself scrambling for that one tool lost in the abyss of your cluttered garage. In this deep-dive, I’m gonna walk you through every gritty detail, from picking lumber to final touches that’ll make your toolbox the envy of every DIY head in your neighborhood. So, grab your tape measure and let’s get crackin’!
Why Build Your Own DIY Wooden Toolbox?
Let me level with you—there’s just somethin’ special about wielding tools from a box you made yourself. But the benefits go way beyond bragging rights. A DIY wooden toolbox lets you:
- Customize compartments for your exact tools (not just random slots that don’t fit anything)
- Pick quality wood and finishes, so it’s built to last for ages
- Save some bucks compared to fancy store-bought tool storage
- Flex your woodworking skills for future projects
Plus, you’ll get that sweet satisfaction every time you reach for a wrench and remember, “Hey, I built this myself!”
Stuff You’ll Need for Your DIY Wooden Toolbox
First up, gather your gear. Making a solid DIY wooden toolbox isn’t rocket science, but having the right materials and tools will save you a world of frustration.

Materials
- High-quality plywood (at least 1/2″ thick) or hardwood like oak, maple, or pine
- Wood glue
- Wood screws or nails
- Sandpaper (medium and fine grit)
- Handles (metal or wooden, your call)
- Hinges and latch (if you want a lid on your DIY wooden toolbox)
- Paint, stain, or polyurethane (optional for finish and protection)
Tools
- Tape measure
- Carpenter’s square
- Circular saw or handsaw
- Hammer or screwdriver (depending on if you use nails or screws)
- Drill with bits
- Paintbrush or rag (for the finish)
Planning Your DIY Wooden Toolbox Design
This is where things start to get real. Think about what you want to store in your DIY wooden toolbox (whew, try saying that five times fast!). Sketch out your rough dimensions. Here’s a killer tip: check the length of your longest tool, like a big ol’ hammer or pry bar, and make your box a few inches longer just in case.
Popular DIY Wooden Toolbox Styles
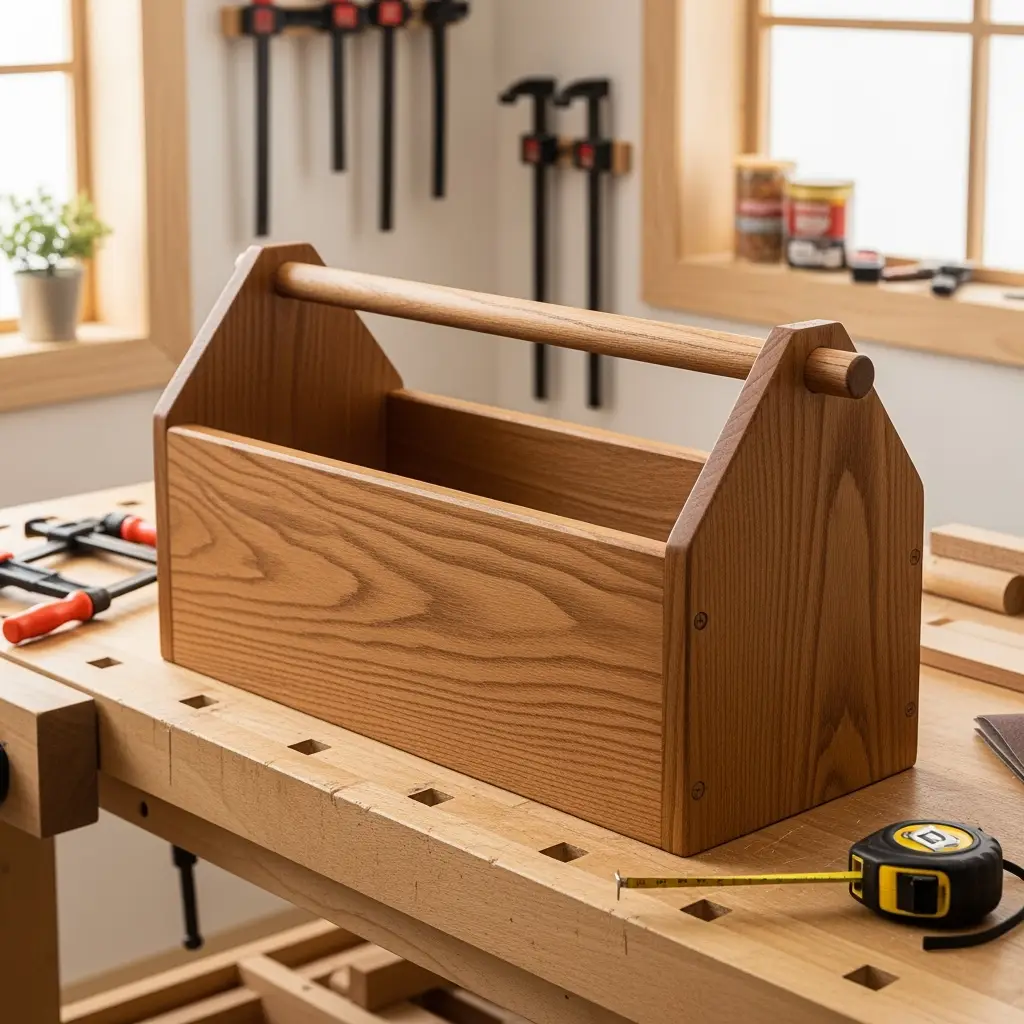
- The Classic Carpenter’s Box: One big open space, plus a handle spanning the top. Simple and old-school.
- Tray-Top Box: Tray or shelf at the top for small stuff, with a deep base for larger tools. Super handy.
- Box with Hinged Lid: Closed top keeps dust out and tools in, great for dusty shops.
- Compartment/Drawer Box: Advanced, but you’ll never lose those tiny drill bits again!
For this guide, we’ll build the classic carpenter’s DIY wooden toolbox—it’s straightforward and packs tonsa charm but you can totally tweak the plans if you want more bells and whistles.

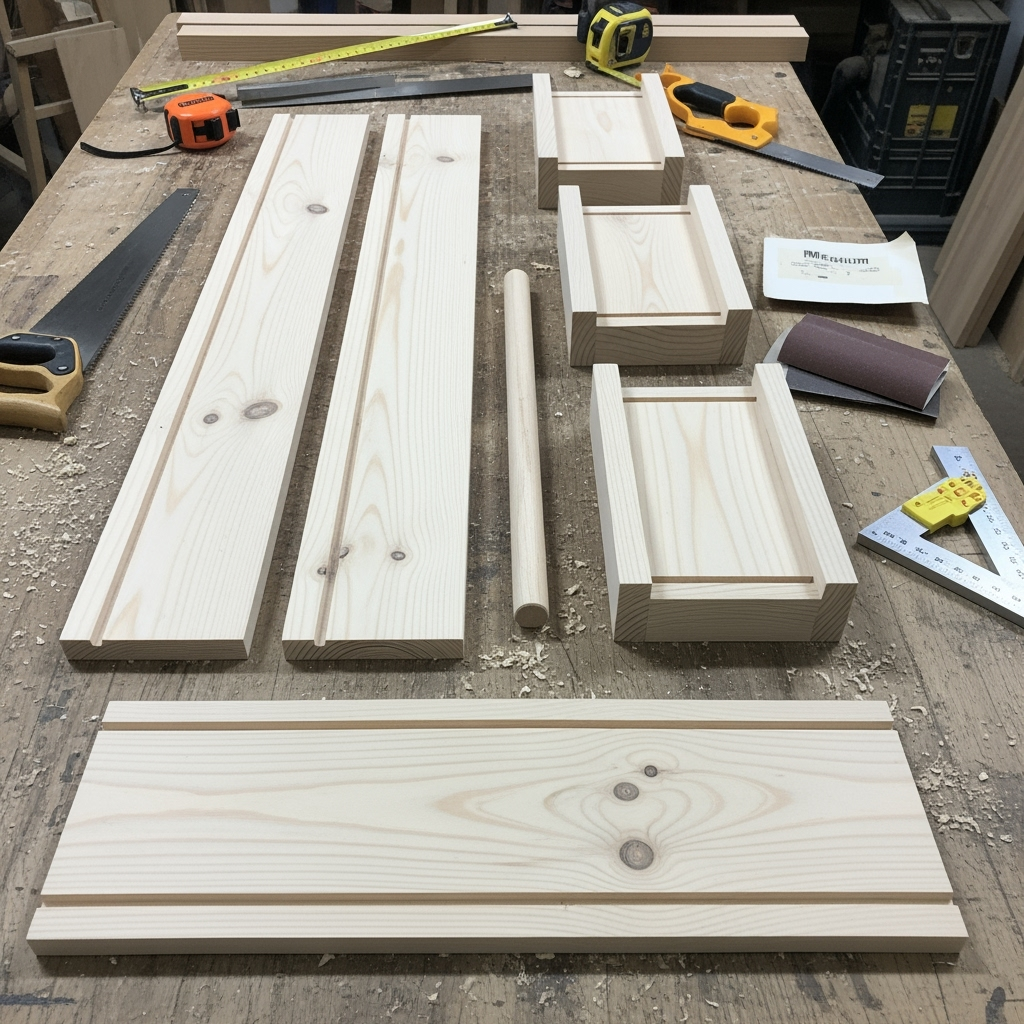
Cutting and Prepping Your Wood
This is the meat-and-potatoes step, so take your time here. Start by measuring and marking out the pieces for your DIY wooden toolbox. Double check your measurements—seriously, measure twice, cut once (trust me, I’ve learned that one the hard way).
- Sides: (2) pieces, maybe 20″ x 6″
- Ends: (2) pieces, about 7″ x 6″
- Bottom: (1) piece, 20″ x 7″
- Handle: (1) dowel rod or wooden strip, 20″ long
Of course, tweak these sizes to your liking depending on your needs. Use your saw to cut the wood as straight as possible—having wavy edges will just make trouble down the line. Sand each piece with medium grit paper, then fine grit, so the box doesn’t snag on your hands or tools.
Assembling Your DIY Wooden Toolbox
Alright, now you’re in the fun zone. Let’s put this baby together:
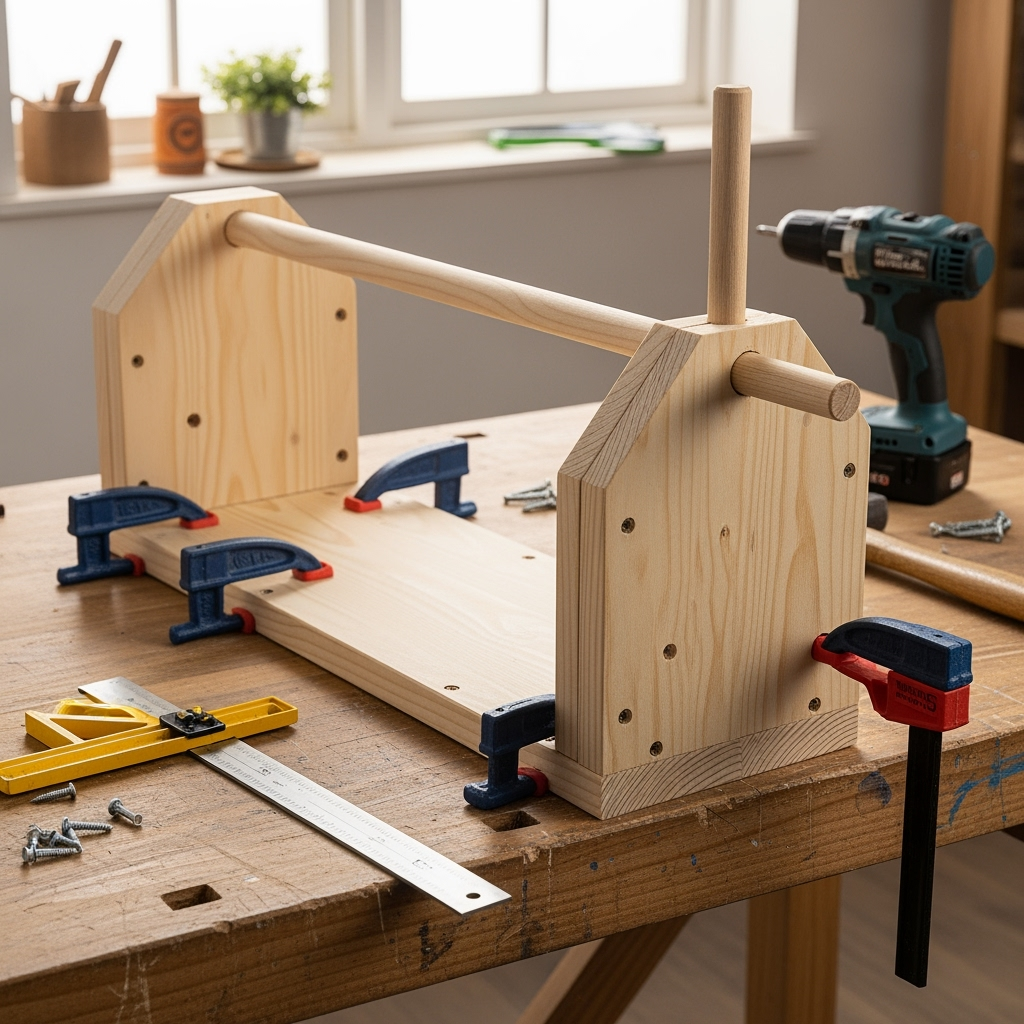
- Start by attaching the ends to the bottom piece using wood glue along the edge, then reinforce with screws or nails right through the ends into the bottom. Make sure everything’s square.
- Attach the sides in the same way. Don’t forget to check those 90-degree angles with your carpenter’s square.
- Once the frame is set, drill matching holes in each end piece near the top and feed through your handle (dowel or whatever you chose). Secure it in place with wood glue or even a screw if you want that extra hold.
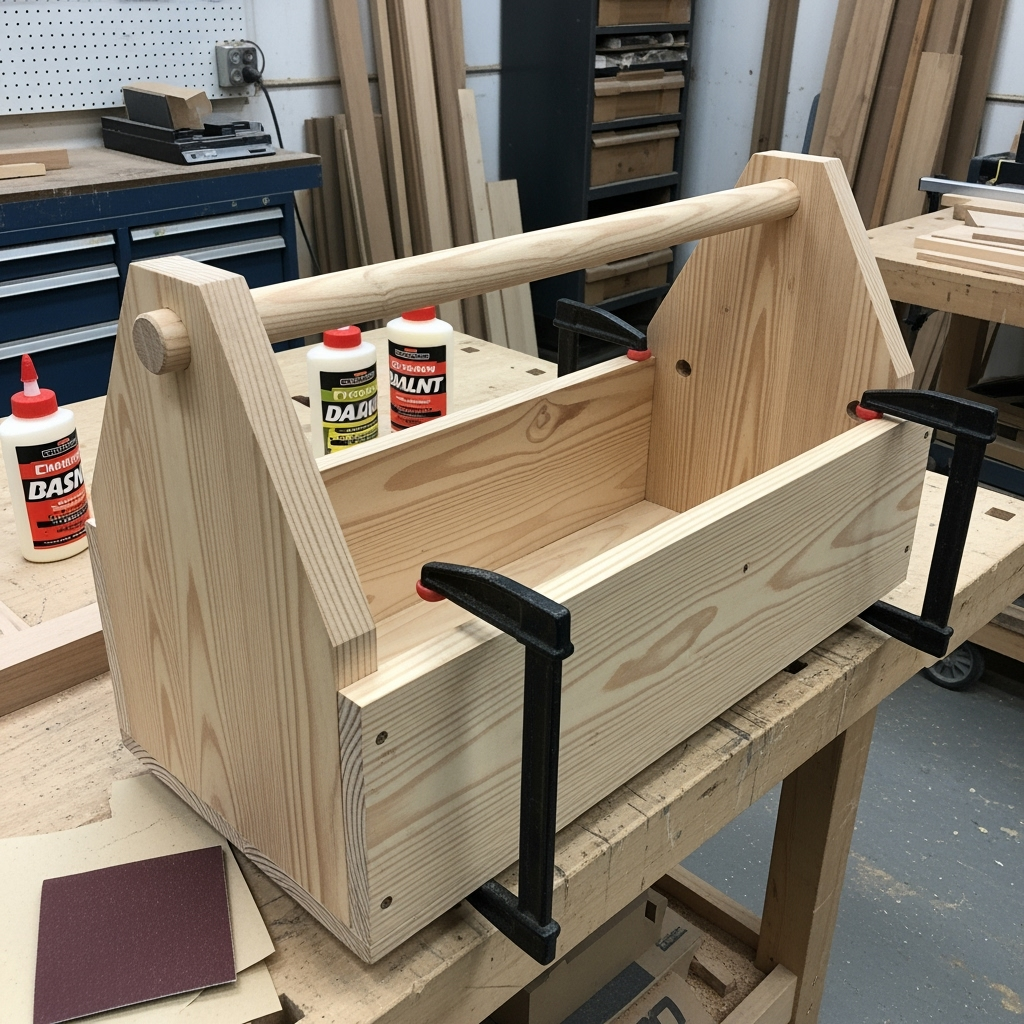
- Double-check the whole box for wobbles. Clamp it if you need to and let the glue set for a few hours.
And boom, you’ve got the frame for your DIY wooden toolbox ready for action!

Adding Flair and Functionality
You could call it a day here, but why not go a step further? Adding compartments, a lift-out tray, or custom slots can seriously pimp out your DIY wooden toolbox.
- Lid: Cut a matching piece of wood, hinge it onto the top, and add a latch for security.
- Divider: Pop in a panel lengthwise and you’ve got double the organization.
- Trays: Build a little tray on runners inside that you can lift out. Makes grabbing screws or tape a breeze.
- Tool Holders: Drill holes for screwdrivers or a notched slot for pliers.
Pimp Your Toolbox’s Style
- Paint it wild, stain it rich, or brand your initials in—seriously, make your DIY wooden toolbox yours.
- Add metal corners or a logo plate for a pro look.
- Install rubber feet if you’re worried about it sliding around.
Let your personality shine, ya know? Even if you mess up the paint, it just makes a cooler story.
Finish Like a Pro
To make your DIY wooden toolbox last for YEARS (not just one summer), finish it up right. Here are some handy finishing tips:
- Use a tack cloth to wipe off sawdust before painting or staining.
- Apply paint, stain, or polyurethane with a brush or rag. Two coats is usually the sweet spot.
- Don’t forget the insides! Even a clear coat helps prevent wood from soaking up oils from those greasy pliers.
- Lightly sand between coats for a glassy-smooth feel.
Common Mistakes and How to Dodge ‘Em
Hey, even pro woodworkers jack things up sometimes (ask me how I know). Here’s what to watch out for in your DIY wooden toolbox build:

- Wobbly assembly: Check square at every step! If things go crooked, backtrack and fix it, trust me.
- Splitting wood: Drill pilot holes for screws, especially near edges.
- Rough edges: Don’t skimp on sanding—you don’t want splinters getting ya every time you reach in!
- Skipping glue: Wood glue really adds strength, don’t forget it.
Maintaining Your DIY Wooden Toolbox
Once your DIY wooden toolbox is in action, keep it looking (and working) awesome:
- Clean out dirt and dust every month or two.
- Touch up paint or finish yearly if you use your toolbox hard.
- Store indoors if possible to avoid wild temperature and humidity swings.
- If it gets wet, dry it fast so the wood doesn’t warp.
Upgrade Options for Your DIY Wooden Toolbox
Wanna take your project to the next level? Try these advanced upgrades:
- Integrated lighting: Add a small LED strip inside the lid for low-light conditions (crazy, but handy).
- Tool-specific trays: Custom-fit foam for pliers, drivers, etc. so nothing rattles around.
- Locking mechanism: Installs a padlock-ready latch for peace of mind.
- Wheels and pull handle: If you make a big DIY wooden toolbox for heavier tools, these are back-savers.
- Personalized engraving: Add your name or a cool motif using a woodburner.
The Perfect Gift: DIY Wooden Toolbox
Can we talk about how rad a homemade DIY wooden toolbox is as a gift? Birthdays, Father’s Day, you name it. It’s personal, practical, and way cooler than a store-bought box. Write a little note inside the lid or engrave their initials for that extra touch. Bet you’ll see someone grin ear to ear if you give ’em one!
Frequently Asked Questions
- Q: How long does it take to make a DIY wooden toolbox?
A: You can knock out the basic version in a day, but if you go all out with paint and trays, budget yourself a weekend. - Q: What wood is best for a DIY wooden toolbox?
A: Plywood works fine, but hardwood like oak or maple makes your box almost indestructible. Pine is cheaper and looks great stained. - Q: How heavy is a DIY wooden toolbox?
A: Depends on the wood you choose! Plywood is pretty light, hardwood’s heavier, but also tougher. - Q: Is it cheaper to build or buy?
A: Building is often cheaper and gives you way more options for customizing, especially if you have some scrap wood lying around.
Wrapping Things Up
Building your own DIY wooden toolbox isn’t just a neat woodworking project—it’s a killer way to sharpen your skills, organize your space, and flex a bit every time you pull out a tool. Don’t sweat the little mistakes—they just add character. Remember: measure twice, cut once, and make it yours. Share your creations online and connect with other makers—DIY is all about community too. Stop putting it off, get out there, and build a DIY wooden toolbox that’ll be part of your workshop for years to come!


