
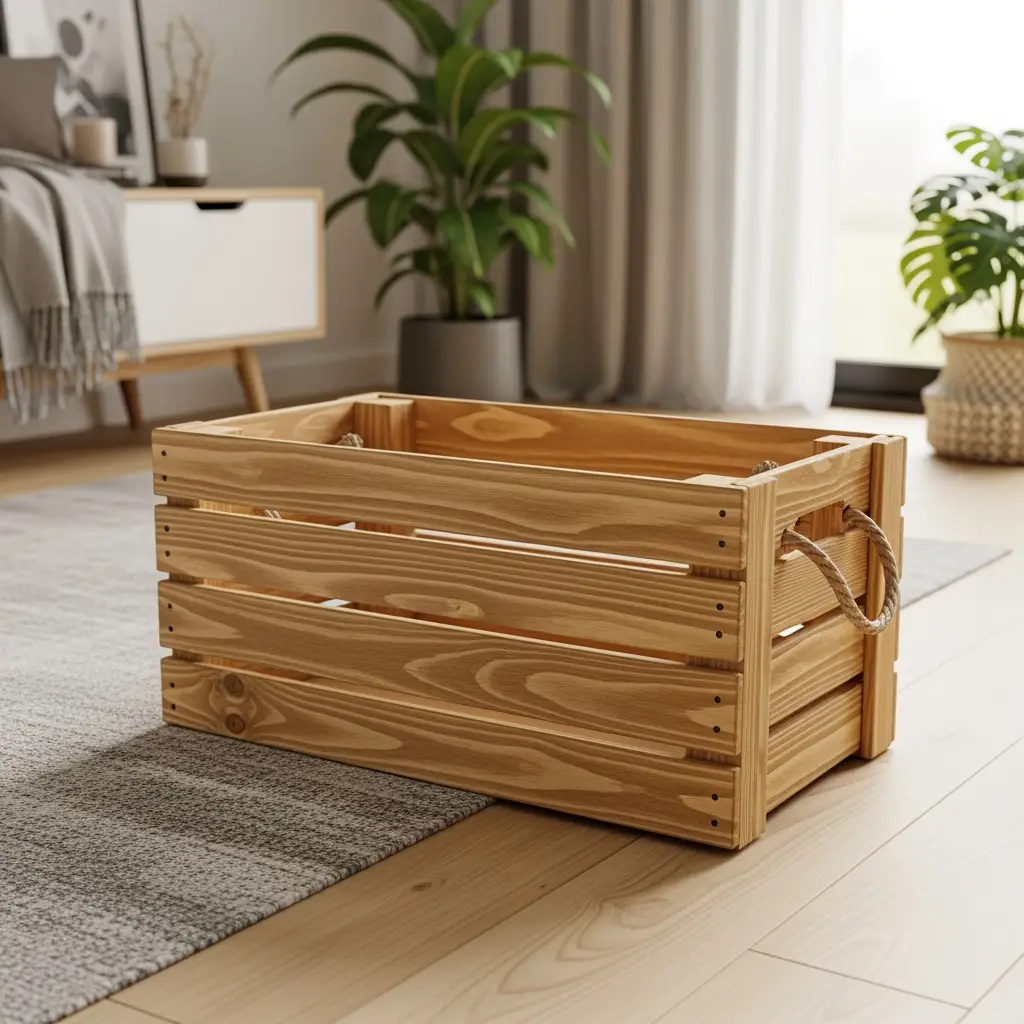
Ever felt like your home is just never organized enough? No matter how much you clean or sort, stuff keeps piling up. Well, you’re definitely not alone in that! Tons of us are constantly looking for simple, affordable, and actually good-looking solutions for storage. And that’s exactly where a DIY wooden storage crate swoops in to save us all. These bad boys aren’t just about chucking things inside and shoving them under the bed. Nope—when you invest a bit of DIY energy, a DIY wooden storage crate can be a straight-up game changer for your space. Let’s dig deep (and get a bit sawdusty!) into the awesomeness, power hacks, and endless potential of knocking together your own DIY wooden storage crate.
Why Go For a DIY Wooden Storage Crate?
Let’s be real: Buying new furniture or storage boxes can get majorly expensive, especially if you need a chunk of ‘em. But when you whip up a DIY wooden storage crate yourself, you’re not just saving your bank account—you’re gaining mad creative control. Wanna customize the size? You got it. Prefer that rustic farmhouse vibe, or maybe something sleeker for an urban loft? All yours. Plus, wooden crates last ages, put up with a beating, and look freakin’ awesome in every room, from messy playrooms to chill living spaces.
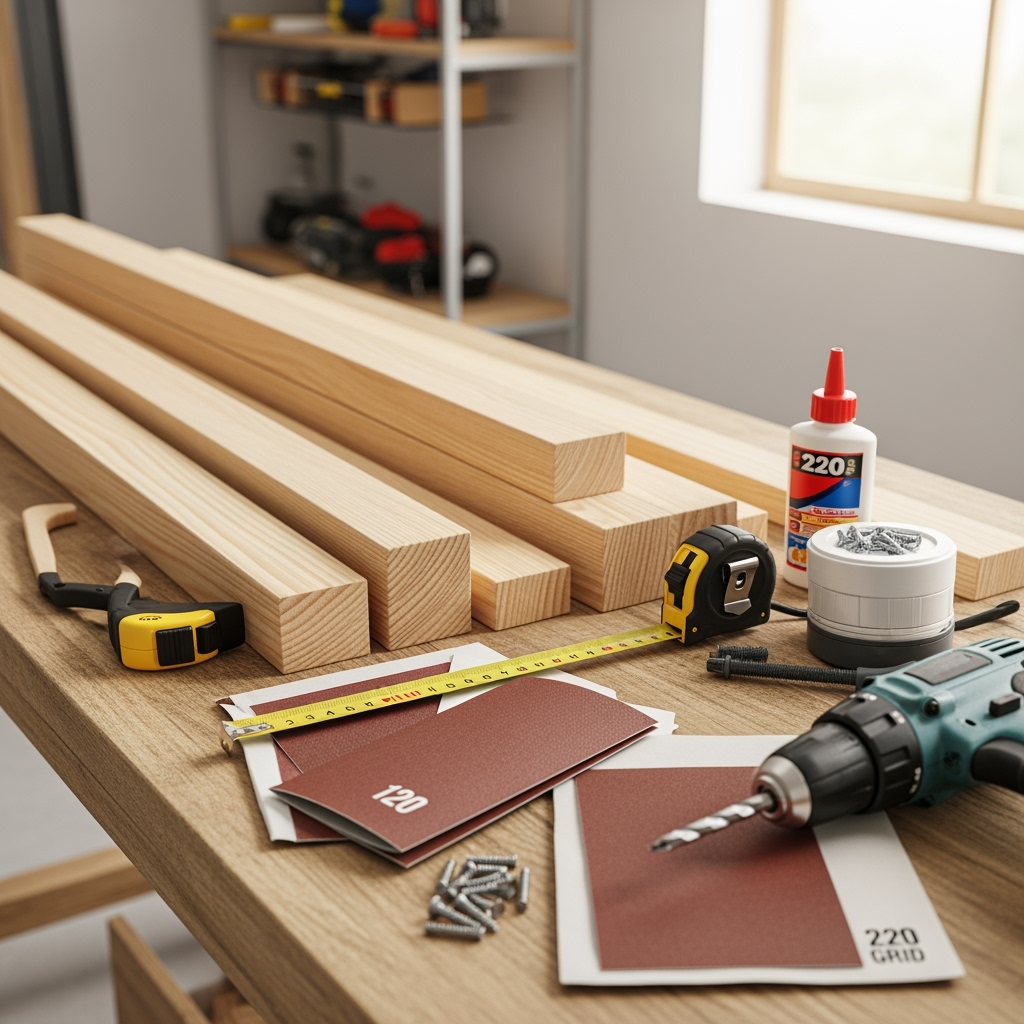
Supplies for Your DIY Wooden Storage Crate
- Wooden slats or boards (pine or cedar are perfect cheapskate choices)
- Wood screws or nails
- Wood glue
- Sandpaper (120 and 220 grit)
- Tape measure
- Circular saw or handsaw
- Electric drill/screwdriver
- Stain or paint (if you want some color pop)
- Handles (rope, leather, or metal—whatever you vibe with)
- Protective finish (totally optional but adds years to your crate’s life)
Design Considerations: Your Crate, Your Rules
A DIY wooden storage crate is basically a box—but, dang, the sky’s the limit when it comes to creativity. Before powering up your saw, sketch out what you want. Here’s what to think about:
- Dimensions: Measure out where you want your crate to go. Will it be sliding under a bed or parked by the front door?
- Style: Rustic slats, solid sides, or open grids? Do you want two, three, or four handles? You’re the boss.
- Stackability: Building a bunch? Consider adding notches or feet so they stack up safely.
- Childproofing: Sand all edges and avoid sharp corners for kid-friendly storage magic.
Step-by-Step: How to Build a DIY Wooden Storage Crate


Step 1: Gather and Prep Your Wood
For a classic look, grab 6 slats cut to your crate’s length (sides), 4 cut to your desired width (ends), and a handful more for the base. Give ‘em a once-over with sandpaper so you don’t end up with gnarly splinters.
Step 2: Create the Sides
Lay out two of your side slats parallel to each other. Place two small end pieces perpendicular at each end and screw or nail them together. This is your frame—think of it like the ‘bones’ of your DIY wooden storage crate.
Step 3: Build the Frame
Repeat for the other side, then attach both sides with additional wooden slats to make up your crate’s full length. Check with a square or just eyeball it and adjust as needed. No stress if it’s not totally perfect, it’ll still hold all your junk!

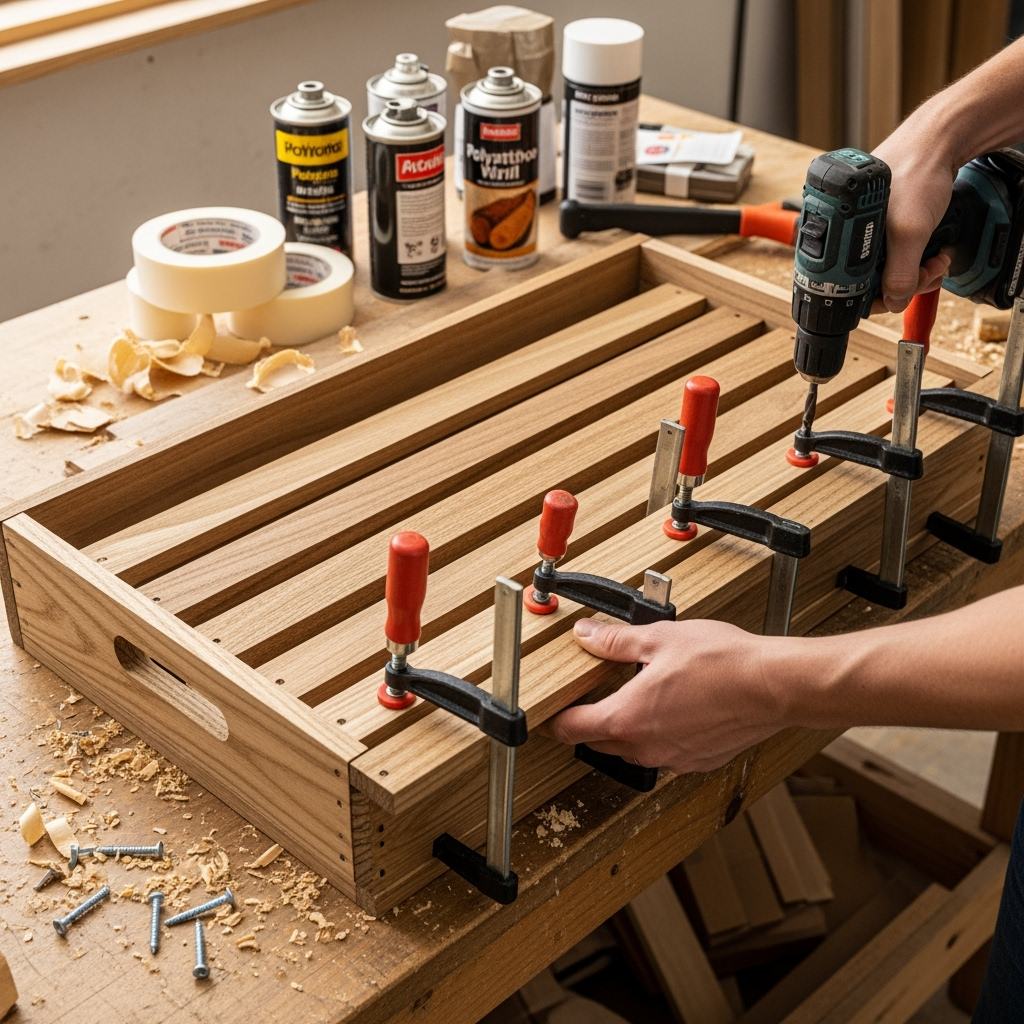
Step 4: Add Bottom Slats
Line up remaining wood pieces across the bottom, secured with glue and screws. For heavier-duty jobs (like books or big toys), use more slats and denser wood. Sand the whole thing again—trust me, you’ll thank yourself later!
Step 5: Customize Your Crate
Time for the fun part—pimp that DIY wooden storage crate! Stain or paint it your way. For a super rustic vibe, try a grey wash; for kids’ rooms, go bold and bright. If you’re feeling extra, staple on stenciled labels or add funky handles made of rope, leather, or metal.
Step 6: Finishing Touches
Apply a protective coat (polyurethane’s a champ here) if your crate’s gonna see a lot of action. Let it dry and you’re good to go, my friend!
Fresh Uses for a DIY Wooden Storage Crate
What makes the DIY wooden storage crate actually epic is just how freakin’ many things you can do with it. Here’s some wild inspiration for you:

- Roll Under Storage: Attach caster wheels for under-bed organization. Socks. Shoes. Secret snacks? Yes!
- Bookshelf: Stack ‘em up sideways for a quick, quirky reading nook.
- Toy Tamer: Color-code crates to finally get kid chaos under control.
- Planter Box: Line the inside with waterproof fabric, fill with potting soil, and your window garden’s set.
- Entryway Bench: Add a cushion on top and—boom—you’ve got a seat with sneaky storage.
- Pantry Bin: Store root veggies or kitchen gadgets like a rustic pro.
- Pet Toy Chest: Even your fur babies get a place for their squeaky chicken collection.
- Gift Crate: Personalize, fill with goodies, and give as a one-of-a-kind present.
Top Tips for a Killer DIY Wooden Storage Crate Finish
- Pre-drill your screw holes (unless you love split wood, which…nobody does).
- Use clamps if you’ve got ‘em! Keeps everything solid and lined up while glue dries.
- Mix stains for a custom look. Don’t be afraid to experiment!
- Seal inside edges if your crate’ll live somewhere damp or you’re storing food.
- Double up thicker sides if you want your crate to last decades.
Common Mistakes and How to Dodge ‘Em
- Skipping the sandpaper: Huge time saver at first, bigger regret later when you wreck your sweatshirt.
- Using too-thin wood: It might look cute for a sec, but weak sides can bow or bust ASAP.
- Forgeting to measure…twice: ‘Measure twice, cut once’ is literally the law of DIY land.
- Cramming in too-long screws: Keep an eye on depth or you might end up wearing your crate like a hat thanks to sharp bits poking out.
Next-Level Upgrades for Your DIY Wooden Storage Crate
Wanna show off that you’re not just a beginner? Here’s how you send your DIY wooden storage crate into Advanced Mode:
- Lining: Tack on fabric, wallpaper, or cork for a plush interior.
- Dividers: Slice up sections with extra slats—perfect for organizing smaller stuff.
- Wheels or Hinges: Make it mobile or give it a flip-top lid for hidden storage win.
- Chalkboard Ends: Paint a spot for doodles or labels you can change when the mood strikes.
- LED Lighting: It sounds a little wild, but a battery-powered strip light inside your crate? Yep, it’s rad for finding stuff fast.
Money-Saving Hacks: Source Cheap or Free Wood
Let’s be honest—sometimes, even grabbing planks from the hardware store feels like a wallet punch. No worries! You can make a DIY wooden storage crate from all kinds of scrap:
- Pallet Wood: Local grocers or nurseries often give used pallets away—just ask!
- Old Furniture: Raid curbsides or thrift stores for trashed tables or dressers. Sand, cut, repeat.
- Shipping Crates: Hunt online classifieds for ‘free’ listings.
FAQs About DIY Wooden Storage Crate Projects
- How much does it cost? Totally up to your materials! Brand new wood and fancy handles can hit twenty bucks each, but scrapping supplies keeps projects almost free.
- Can beginners tackle this? 100%. Sketch, saw, assemble, finish. If you can swing a hammer or work a drill, you’re golden.
- What’s the best wood? Pine is cheap and friendly. Cedar’s epic for outdoor use since it won’t rot. Avoid ply or particleboard for heavy loads—their strength just doesn’t cut it.
- How long does it take? If you’re focused, a basic DIY wooden storage crate comes together in a chilly afternoon or two (and that’s with snack breaks, promise).
Conclusion: Storage That Stuns, Money That Stays in Your Pocket
When you break it down, a DIY wooden storage crate is way more than just a box—it’s creativity, savings, and organization, all nailed together by your own hands. Whether you’re hunting for ways to store your out-of-control craft supplies, want a neat solution for your shoes, or you love the idea of decking out your place with handmade style, these crates are the answer. So, next time clutter builds up or your wallet feels light, skip the store and dive into making your own DIY wooden storage crate. You’ll be bragging about that killer organization and fresh style—while everyone else is still stuck with boring old plastic bins!
Got Questions or Want to Brag?
Drop your DIY wooden storage crate photos or epic storage hacks in the comments! Let’s inspire each other to get organized the creative way.


