
Ever walked into your bedroom and thought, “Man, this dresser is kinda killin’ my vibe”? Trust me, you’re not alone. If your old dresser’s got scuffed drawers, missing knobs, or if it just looks totally outdated, a DIY dresser makeover is the secret weapon you didn’t know you needed. Not only does it freshen up your space, but it brings out your creativity – plus, you save a nice chunk of cash compared to buying brand new stuff. Let’s jump in and have some fun gettin’ those hands dirty!
Why a DIY Dresser Makeover is Totally Worth It
Alright, so before you toss your dresser to the curb, let’s talk about some seriously good reasons why a DIY dresser makeover totally makes sense:
- Big Savings: Updating what you already own means you’re spending way less than you would on a new piece.
- Customization: You get to pick colors, hardware, and styles that vibe with your space—no more cookie-cutter furniture.
- Eco-Friendly: Repurposing is way better for the planet. Less waste, less guilt!
- Skill Building: Every DIY dresser makeover teaches you something new. Handy, right?
- Pure Satisfaction: There’s nothing like seeing your hard work add massive style points to your room.
What You’ll Need for a DIY Dresser Makeover
Gathering the right supplies is half the battle. Here’s a starter list to power up your project:
- Screwdriver (flat and Phillips)
- Sandpaper (medium and fine grit)
- Paint, stain, or chalk paint
- Paintbrushes or foam rollers
- Painter’s tape
- Drop cloth or old newspapers
- Wood filler (if fixing dents or holes)
- Drawer pulls or knobs
- Primer (especially if dresser has old stains or dark wood)
- Clear sealer/top coat (for durability)
- Protective gloves
- Mask for sanding or painting
Don’t worry about fancy tools for your DIY dresser makeover—simple stuff is more than enough for a big glow-up.

Choosing Your Perfect Dresser Makeover Style
DIY dresser makeover options are endless. Go wild, but keep your overall vibe in mind. Here are some bomb ideas to get inspired:
- Modern Minimalist: Clean lines and simple hardware. Go for crisp white or black paint.
- Boho Chic: Layer pastel paints, distress with sandpaper, and use funky mismatched knobs.
- Vintage Glam: Try jewel tones and gold hardware. Don’t be shy—add sparkle!
- Rustic Farmhouse: Chalk paint and weathered wood finishes. Add iron or cup pulls for the old-school touch.
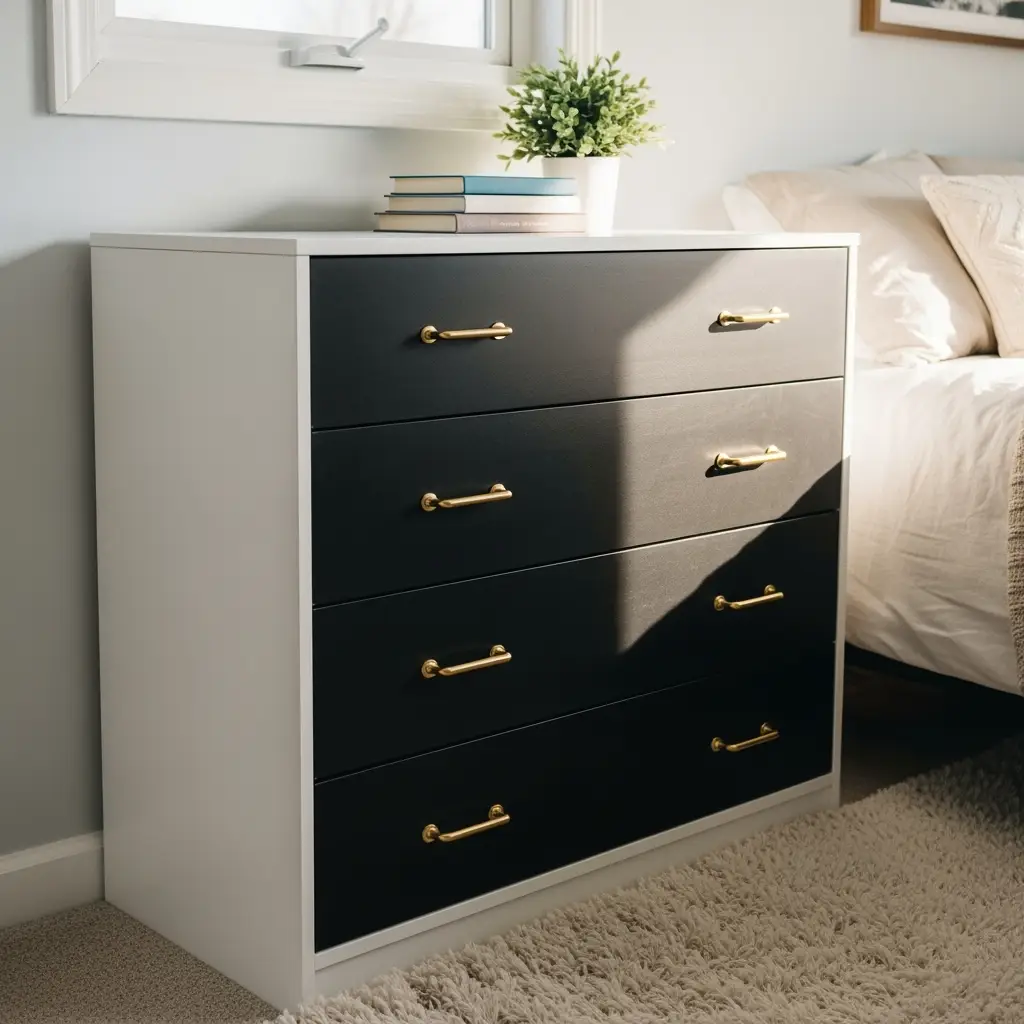
- Mid-Century Magic: Try two-tone paint jobs and sleek, understated hardware.
DIY dresser makeover projects are all about your personal touch, so let your dresser reflect your unique style.

Steps to the Ultimate DIY Dresser Makeover
Time to roll up your sleeves! Follow these steps to pull off a flawless DIY dresser makeover from start to finish.
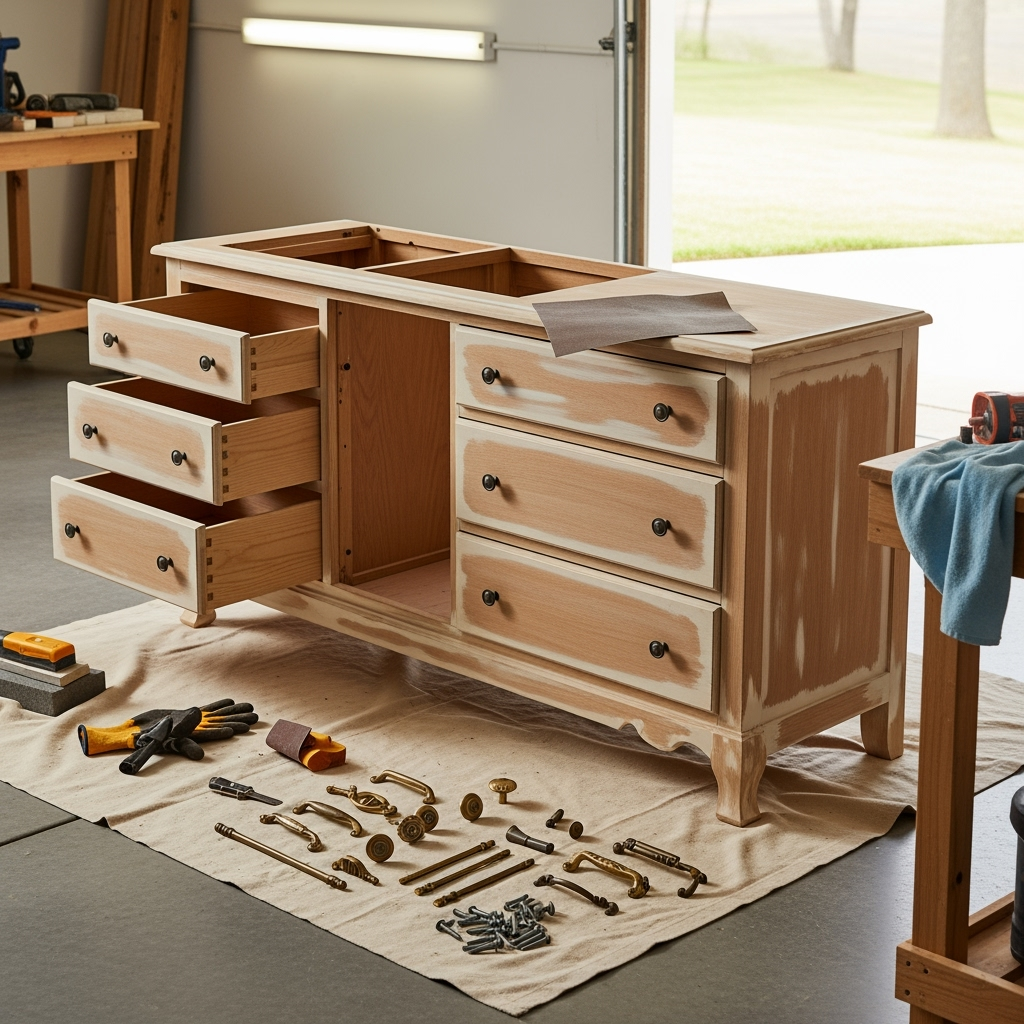
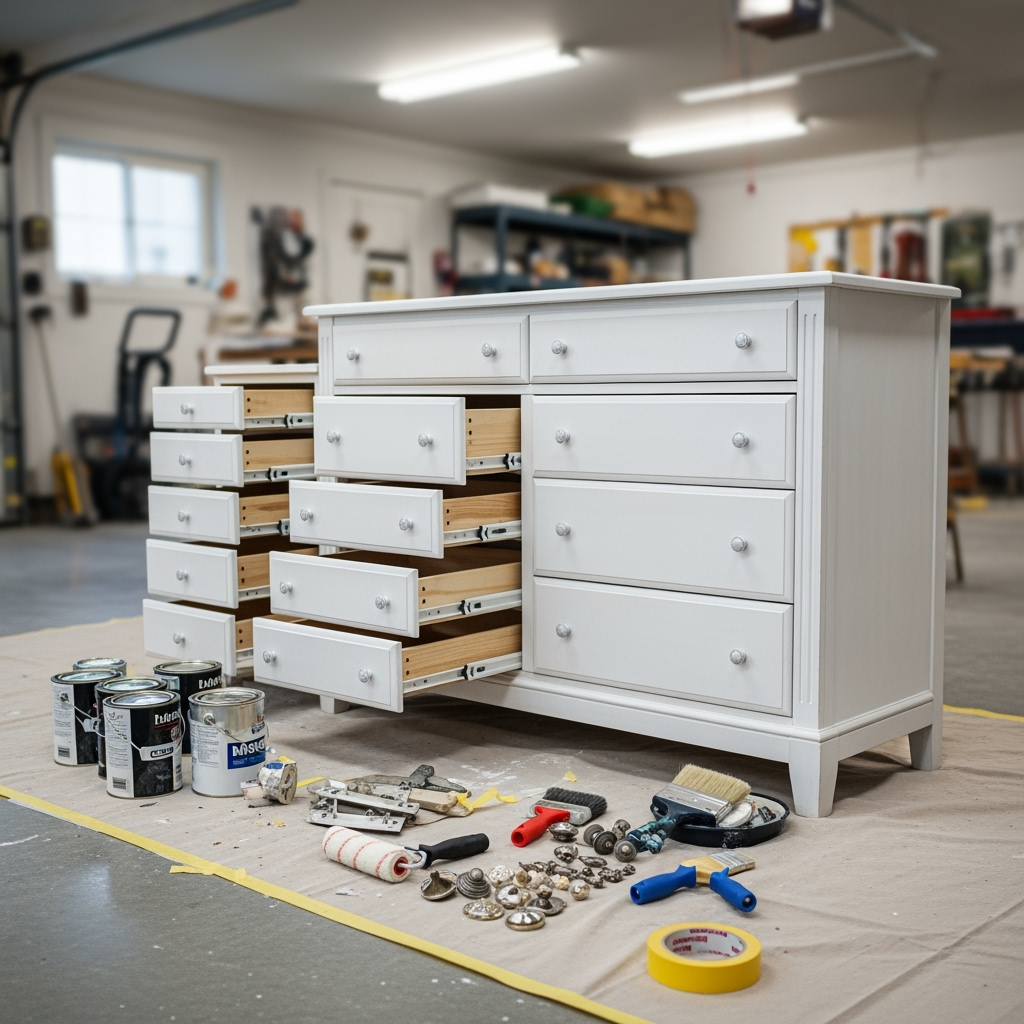
Step 1: Prep Like a Pro
Clear a workspace (preferably outdoors or in a well-ventilated garage), put on gloves, and cover the floor with a drop cloth. Remove all drawers, and unscrew old hardware. This way, nothing gets in your way mid-makeover.
Step 2: Sand It Down
Use medium-grit sandpaper to get rid of chipped paint, gloss, or any rough spots. Focus on the surfaces you’ll paint or stain. Finish with fine sandpaper for a silky-smooth base. Wipe away dust with a damp cloth so your paint sticks better in the next step of your DIY dresser makeover.
Step 3: Make Repairs
Fill in any gouges or holes with wood filler. Let it dry according to the instructions, then sand those spots flush. This extra step can make the biggest difference in your DIY dresser makeover’s final look.
Step 4: Prime Time!
If your dresser is a dark wood or you’re going from a dark to a light color, slap on some primer. It helps block stains and makes your paint pop. Give the primer time to fully dry before painting.

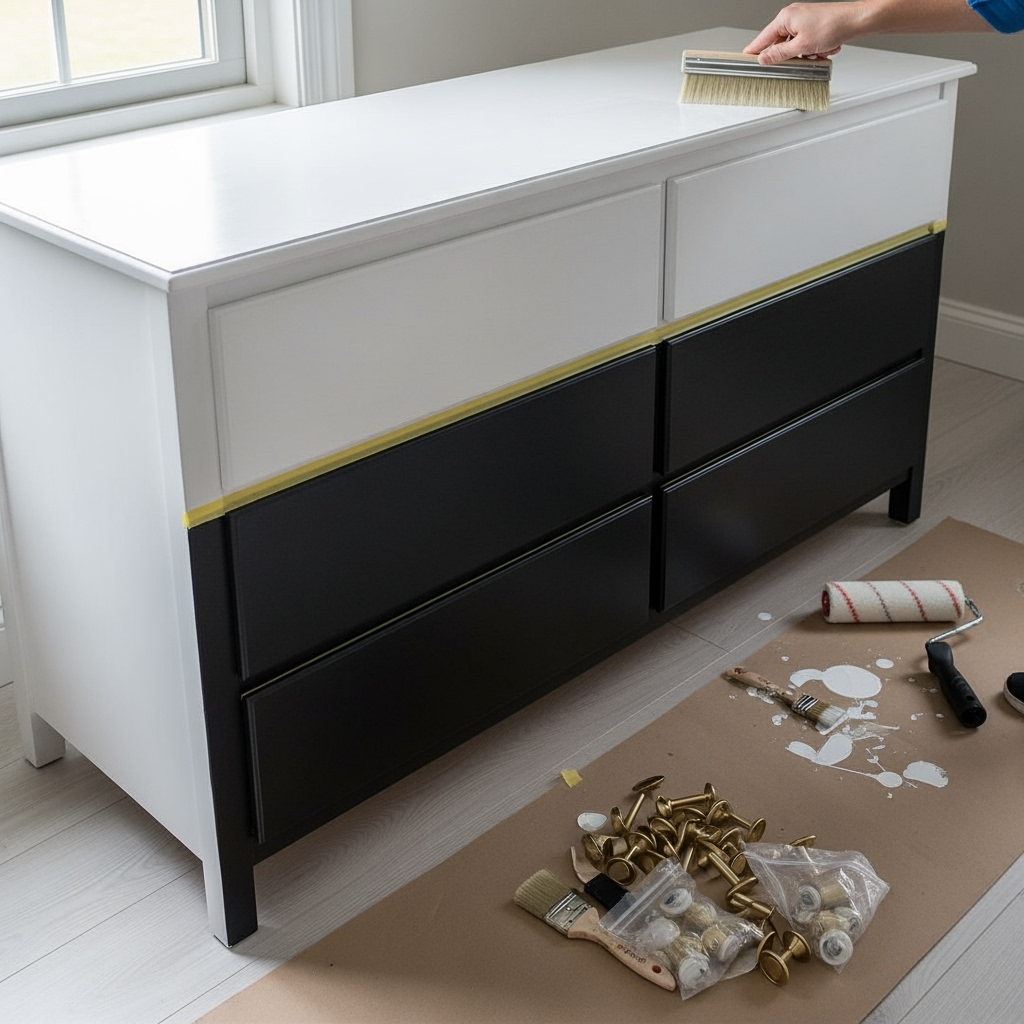
Step 5: Bring on the Paint
This is where the magic happens during your DIY dresser makeover! Use a small roller for flat sections and a brush for corners. Thin, even coats work best—don’t glob it on or you’ll get drips. Let each coat dry all the way before adding another. Usually two coats will kill it.
Step 6: Add Extra Detail (Optional But Fun!)
Create patterns using painter’s tape, repaint drawer fronts a contrasting color, or try a cool ombré effect. Stencils or decals can add pop to your DIY dresser makeover without much extra work.
Step 7: Seal For Real
Once you’re happy with your paint job, apply a clear sealer. This keeps your hard work looking fresh and protects against scuffs. Make sure it’s fully dry before handling.
Step 8: Swap Out the Hardware
New hardware upgrades your dresser instantly. Choose knobs or pulls that fit your chosen style. If new replacements don’t fit the old holes, fill ‘em in with wood filler and drill fresh holes. Tighten everything up once you’re done.

Step 9: Reassemble and Admire!
Pop those drawers back in, check all the details, and snap a pic for the ’gram—your DIY dresser makeover is basically art now. Stand back and let your inner craftsman take a victory lap.
Pro Tips for a Flawless DIY Dresser Makeover
- Test your paint on a hidden spot before going full send.
- Let paint and sealer dry longer than the label says if your place is humid.
- Invest in decent brushes—cheap ones might leave streaks or bristles behind.
- Use a mask when sanding or painting, especially if your dresser is from the pre-1978 era. Old furniture can have lead-based paint. Safety first!
- Don’t rush. Take it step by step for the best results in your DIY dresser makeover.
Affordable Upgrades to Add Serious Personality
Beyond paint and knobs, there are some rad ways to level up your DIY dresser makeover even further:
- Line the drawers with patterned wallpaper or soft fabric for a luxe feel.
- Use vinyl decals or even cool transfers on the sides and fronts.
- Add trim or applique from a craft or hardware store for extra dimension.
- Swap wood legs for new mid-century pegs or industrial casters if you want a different vibe.
- Try a color-blocking technique—paint each drawer a different shade for a playful twist.
If your DIY dresser makeover looks awesome but you want to go one step further, these tweaks make it stand out even more.
Common Mistakes to Avoid During Your DIY Dresser Makeover
Nobody wants a Pinterest fail. Save yourself time (and headaches) by dodging these rookie errors in your DIY dresser makeover:
- Skipping Sanding: Paint sticks poorly to glossy or damaged surfaces.
- Not Cleaning Thoroughly: Dust or grease messes with paint adhesion.
- Not Letting Layers Dry: Patience pays off—rushing leads to sticky or uneven finishes.
- Misfitting Hardware: Measure for new hardware, or you might end up with off-center handles.
- Ignoring Ventilation: Always work in a space with loads of fresh air. Those fumes? No joke.
A little patience and prep goes a long way. Your DIY dresser makeover will look so much better without taking shortcuts!
When to Upgrade vs When to Replace Your Dresser
Almost any dresser can be revived, but sometimes it’s just too far gone. Here’s what to consider before starting your DIY dresser makeover:
- Busted Framework: If the frame is wobbly, warped, or cracked beyond fixing.
- Severe Water Damage: Big-time swelling or rot isn’t worth repairing.
- Dangerous Paint: Super-old paint might have lead—get it tested before sanding!
- Missing Parts: Some missing pieces are fine, but a dresser missing half its drawers? Time to say goodbye.
If your dresser is structurally sound, a DIY dresser makeover is always a killer investment. If not, salvage what you can (drawers can be turned into shelves!) and recycle the rest.
Real-Life DIY Dresser Makeover Inspiration
Need a little push? Check out these true stories from DIY lovers who rocked their own DIY dresser makeover projects:
- Alex’s Boho Transformation: Snagged a curbside dresser, sanded it down, painted each drawer a different pastel, and swapped in jungle-print knobs. Now, it’s a statement piece in her living room.
- James’ Modern Revival: Took his childhood dresser, sanded off stickers and old varnish, gave it a fresh matte black coat, and finished with sleek, brass handles. Looks like it cost hundreds!
- Katie’s Vintage Glo-Up: Used floral peel-and-stick wallpaper on the drawer fronts after painting the body a creamy teal. She topped it off with crystal knobs. Instant vintage flair.
What sets these projects apart? Each was totally different and reflected their owner’s personal style. Your DIY dresser makeover can do the same!
How to Keep Your DIY Dresser Makeover Looking Fresh
- Dust regularly using a soft, dry cloth.
- Use coasters under perfumes, skincare, or drinks to avoid stains.
- Avoid harsh chemicals—stick to mild soap and water if needed.
- Touch up scuffs or chips with leftover paint.
- Keep hardware tight so drawers stay easy to use.
With a little TLC, your DIY dresser makeover will keep turnin’ heads for years.
Frequently Asked Questions About DIY Dresser Makeover
1. Do I have to remove old paint?
Not always, but scuffing it up with sandpaper helps new paint grip for a smoother finish. Peeling or flaking paint should be fully removed.
2. What if my dresser is laminate, not wood?
You can still pull off a cool DIY dresser makeover! Just be sure to use a good primer made for glossy, fake-wood surfaces.
3. Is chalk paint really better?
Chalk paint is popular for DIY dresser makeovers because it sticks well, dries fast, and has a rich matte look. It also usually doesn’t need primer!
4. Can I stain instead of paint?
Yup! Sand back to the bare wood, choose your favorite stain, and finish with a sealer. This works best for solid wood or wood-veneered pieces.
5. Where do I find unique knobs for my DIY dresser makeover?
Try vintage shops, online stores like Etsy, or even your local hardware store. Mixing knob styles is super trendy, too!
Ready to Start Your Own DIY Dresser Makeover?
Look around your space. Is your dresser ready for its close-up? The DIY dresser makeover process lets you save cash, express yourself, and push your DIY skills to the next level. All you need is some paint, new hardware, and a solid plan. Make it fun, make it you, and don’t sweat the small stuff—mistakes just add character. So grab your tools, put on your favorite playlist, and dive right into your own epic DIY dresser makeover!


