
Alright folks, let’s jump right into the wild and wonderful world of wood burning patterns! If you’re like me and constantly on the lookout for a new craft to get your hands—and maybe your clothes—messy, then pyrography (that’s the fancy word for wood burning) is about to become your next DIY obsession. Wood burning patterns let you create insanely cool art with nothing but a burner and some creative juice. Whether you’re a total newbie or you’ve been dabbling in crafts for years, stick with me because we’re about to break down why wood burning patterns should totally be your next project, how to get started, and some mind-blowing ideas to inspire you!
Why Wood Burning Patterns Are the Ultimate Upgrade for Any DIYer
Let’s be real, woodworking is already awesome, but once you add a layer of personalized, hand-burnt art, BOOM! Everything you make instantly looks super custom and high-class. Maybe you’re tired of painting or staining, or perhaps you want to whip up the perfect unique gift—wood burning patterns truly add that extra flair. And, truthfully, it’s actually way easier than it looks. No need to draw like Da Vinci! You can use stencils, carbon paper, or even simple doodles.
What Are Wood Burning Patterns?
Before we go spazzy with ideas, let’s get the basics clear. Wood burning patterns are designs that you either draw, trace, or transfer onto wood and then burn over using a heated tool. The patterns can be anything from geometric shapes, mandalas, cute animals, or motivational quotes. It’s your art—make it as wild or chill as you want.
- Abstract patterns: Think cool swirls, zig-zags, or free-form shapes. Super easy to freestyle.
- Nature and wildlife: Try leaves, feathers, mountains, trees, or your fav bird species.
- Quotes and Typography: Add a message to signs, boxes, or wall art for that personal touch.
- Mandala and Boho motifs: Looks complex, but repeating shapes make this surprisingly doable.
- Traditional folk art: Flowers, paisleys, or cultural symbols—perfect for rustic vibes.

The Best Woods for Wood Burning Patterns (and What to Avoid!)
Seriously, you don’t want to just grab any scrap from your garage and go crazy. For epic wood burning patterns, picking the right wood makes ALL the difference. Here’s what works—and what totally doesn’t.
- Best woods:
- Basswood
- Birch
- Maple
- Poplar
- Woods to avoid:
- Pine (can get all oozey and sticky, not cool for crisp details)
- Cedar (pesky resins can mess up your burner tip!)
- Woods with paint or chemical finish (bad for your lungs, trust me!)
Essential Tools You’ll Need for Stunning Wood Burning Patterns
Time to gear up! Here’s your no-BS shopping list for getting started with wood burning patterns:
- Wood burning tool (Get a variable temperature one. Trust me, you’ll want the control!)
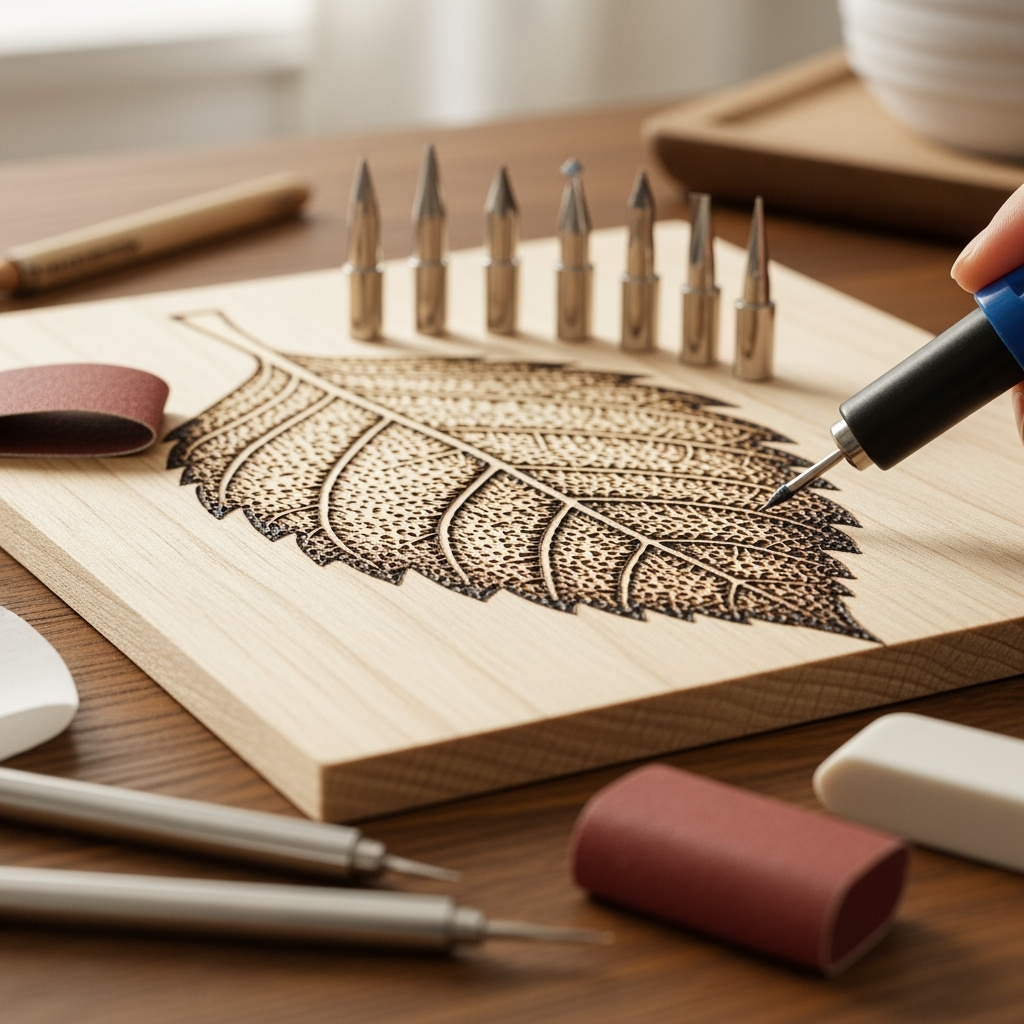
- Assorted burner tips (Chisels, rounds, calligraphy, and shading tips open up crazy design options.)
- Sandpaper (Smooth wood = crisp, clean lines!)
- Pencil and eraser
- Carbon paper or stencils (Super handy for tracing those hard designs.)
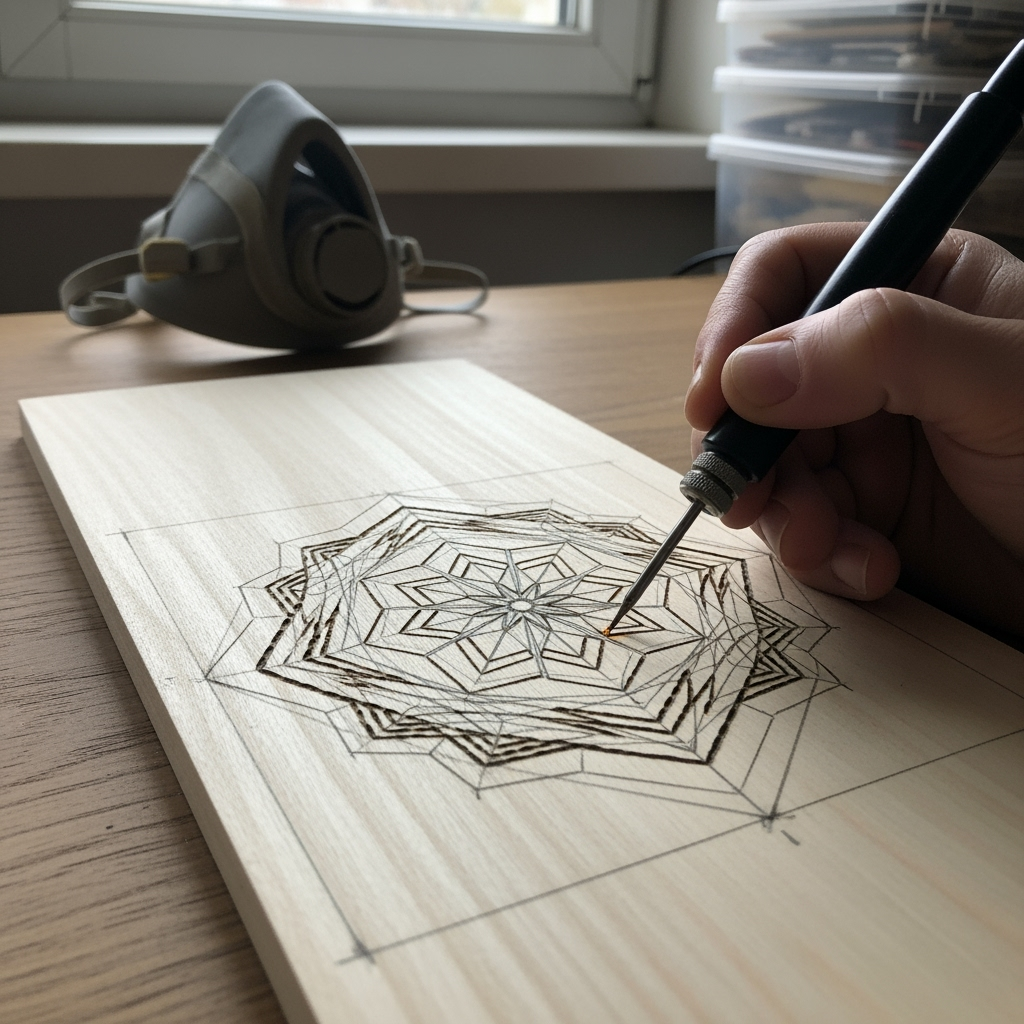
- Ruler and compass (If you’re into geometric or mandala wood burning patterns.)
- Ventilation mask (Because, you know, SAFETY first!)
Step-by-Step: Your First Wood Burning Patterns Project
Enough jibber jabber—let’s make some actual art. Follow this guide for your very first wood burning patterns masterpiece.

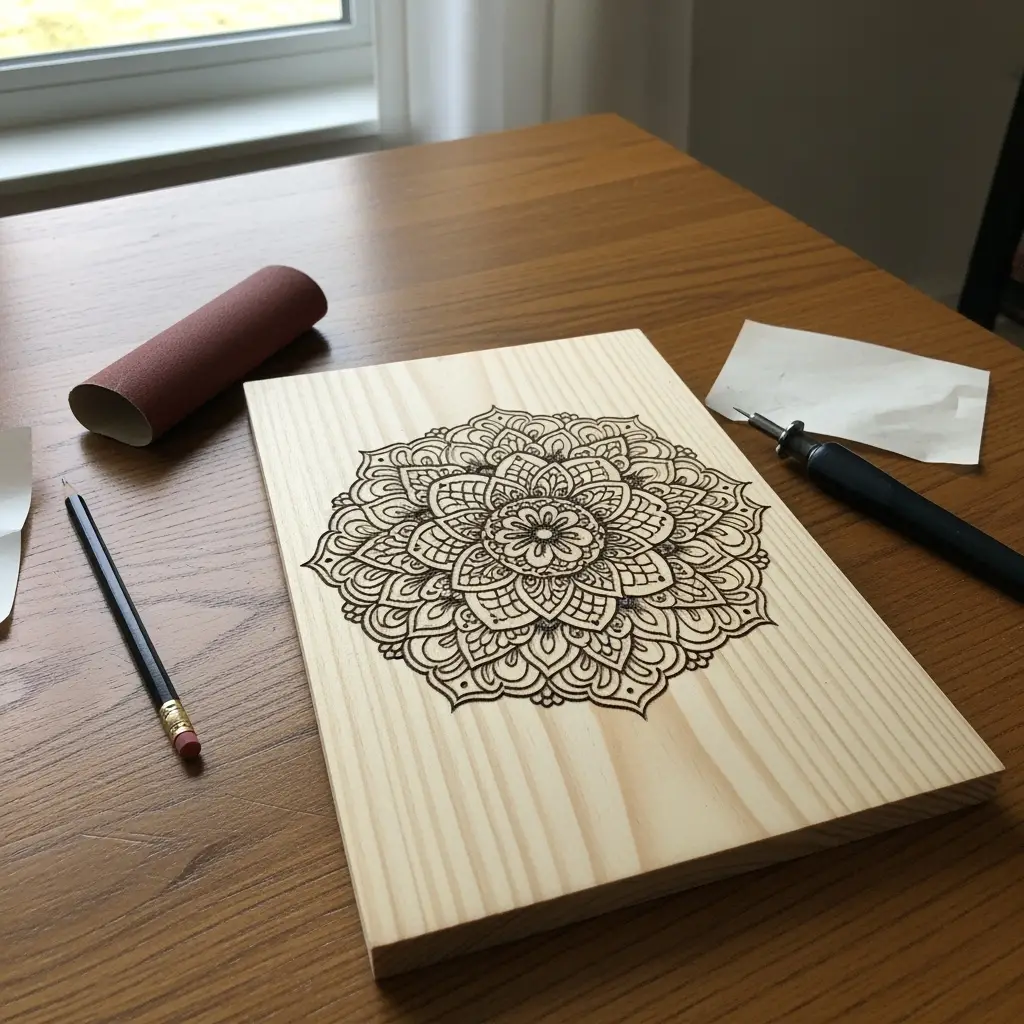
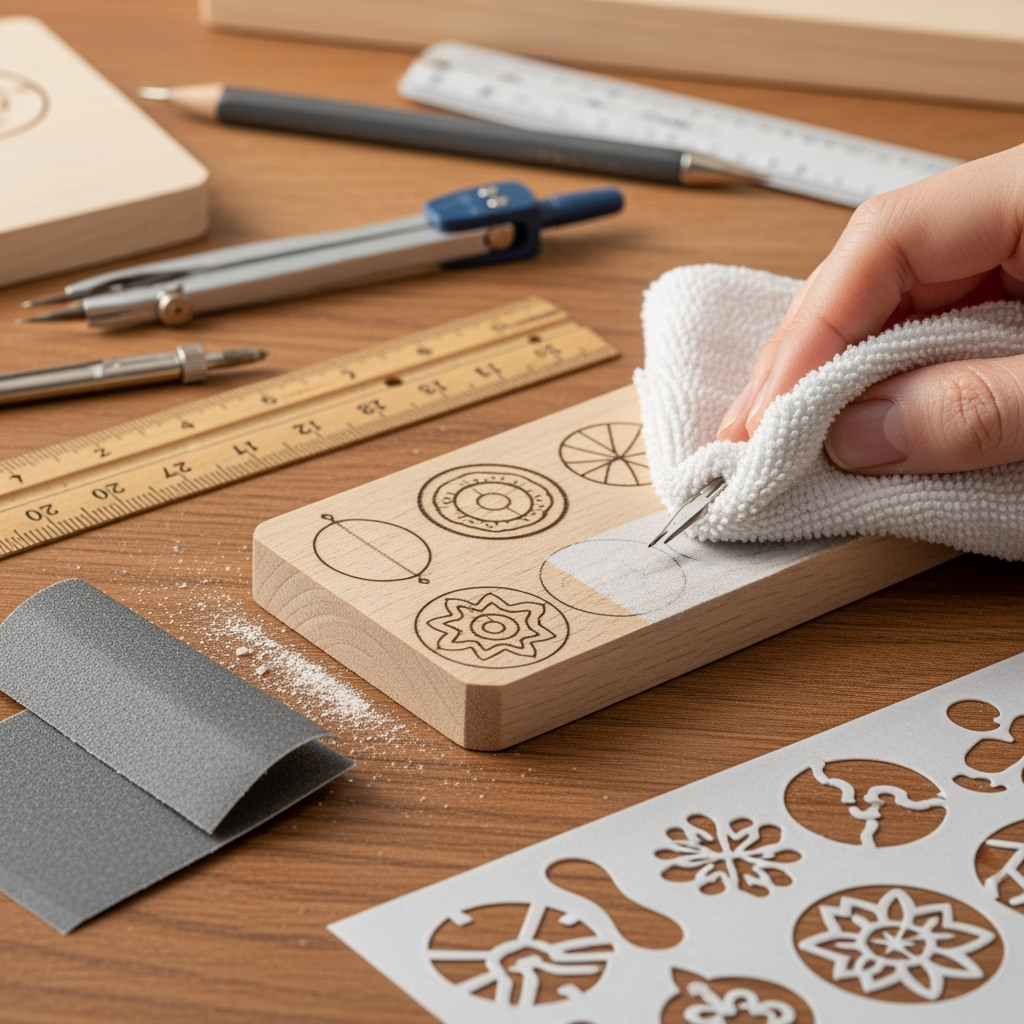
Step 1: Pick and Prep Your Wood
Choose a small piece of smooth basswood or birch for starters. Trust me, you want that surface to feel like butter. Sand it with fine-grit sandpaper, and wipe away the dust with a cloth. The smoother it is, the nicer your wood burning patterns will turn out.
Step 2: Choose or Create Your Pattern
Keep it simple at first! A few leaves, a geometric border, or your initials. Trace your wood burning patterns onto the wood with pencil or use carbon paper to transfer something more complex. Stencils work wonders—no shame in the lazy route.
Step 3: Fire Up Your Burner
Let it heat up for a good five minutes (you want it HOT, but not wickedly so). If your tool has temperature settings, play with medium temperatures at first, then dial up as you get braver. Practice on scrap wood before touching your main piece. Different tips create different lines, so experiment, experiment, experiment!
Step 4: Burn the Lines
Start with outlines using a fine tip, and go slow—like, glacial slow. Let the tool do the work. If you feel resistance or snagging, either sand a bit more, or your tip’s not hot enough. Once your outlines are in, switch to a thicker or shading tip for depth and filling big areas in your wood burning patterns.
Step 5: Add Depth, Texture, and Details
This is where your wood burning patterns really come alive. Try cross-hatching, stippling, or blending light and dark areas to give your art that 3D pop. Don’t worry if it’s not perfect; a little ‘wobble’ just proves it’s hand-made. That’s what makes it cool!

Step 6: Clean Up and Finish
Once cool, use an eraser to gently remove any visible pencil lines. Brush away dust, then seal your artwork with a clear finish (polyurethane, tung oil, or beeswax are all rad options) so your wood burning patterns last forever.
Popular Wood Burning Patterns to Try Right Now
- Mountain landscapes: Layered peaks and a simple sun for a calming effect.
- Wildlife silhouettes: Bear, wolf, owl, or even your own pupper.
- Geometric borders: Lines, triangles, or cube effects for trays or frames.
- Mandala centerpieces: Perfect for coasters or wooden spoons.
- Family name signs: Make the ultimate personalized housewarming gift.
- Seasonal motifs: Pumpkins for autumn, snowflakes for winter, you get the idea.
Frequently Asked Questions about Wood Burning Patterns
How do I make my own wood burning patterns?
Look, you don’t need to be a pro designer! Grab inspiration from Pinterest, transfer free printables, or doodle your own. Use tracing paper or a stencil for accuracy. As you get better, try sketching your unique wood burning patterns from scratch—it’s madness fun seeing your ideas come alive on wood.
How do I avoid burning my wood too deep?
This is where practice—and patience—pay off. Use a low to medium thermostat, go slow, and don’t leave your burner tip in one spot too long. Shallow lines look neat; deep burns can turn into a smoky crater (and trust me, that smell sticks to everything.)

Can I use wood burning patterns on finished or painted wood?
It’s possible, but not ideal. The burners work best on unfinished wood. Paint or finish can gunk up your tip and make fumes—no bueno! If you want to add color, burn your pattern first, then stain, paint, or tint around it after.
Top Tips for Nailing Wood Burning Patterns Like a Pro
- Always sketch first. Even if you’re tracing, lay down a light guide with pencil. Changes are way easier to fix than burnt-in mistakes!
- Switch tips often. Don’t get stubborn with one tool—try fine, round, and shading tips for different effects.
- Keep your tip clean. Gunk on the tip equals smokey, craggy burns. Wipe off junk with a damp sponge between projects.
- Test on scrap. Frankly, every piece of wood is unique. Test your burn first!
- Stay safe. No flammable stuff nearby, good ventilation, and don’t touch the metal parts. (Duh, but you’d be surprised!)
Advanced Wood Burning Patterns: Level Up Your Skills
Once you’ve nailed the basics, get wild with these next-level ideas:
- Photo realism: Use reference photos and shade with patience for jaw-dropping portraits.
- Layered 3D effects: Burn light, medium, and dark zones for dimension. Play with overlapping patterns.
- Mixed media: Combine wood burning patterns with watercolor, resin, or acrylic for gallery-worthy results.
- Custom furniture: Tables, benches, or shelving with burned-in patterns are the ultimate flex piece!
Easy Mistakes with Wood Burning Patterns—And How to Avoid Them
- Rushing the outlines. Slow down so you don’t slip or make wiggly lines.
- Burning over knots. Those suckers resist the heat and scorch unevenly. Avoid or work around ‘em.
- Skipping the sealant. Your wood burning patterns can fade or smudge without protection.
- Not ventilating your workspace. Fumes are no joke—crack a window, turn on a fan, or work outside.
How to Care for Your Wood Burned Art
After you’ve slaved over your art and your hand cramps up, you want your wood burning patterns to look great forever, right? It’s pretty easy:
- Dust gently: Use a soft brush or cloth; don’t scrub.
- Keep dry: Water can fade your burns, so don’t leave ’em outside unless sealed super well.
- Refresh the finish: Reapply beeswax or oil every now and then to keep things poppin’.
- Store safely: Hang or stack carefully—heavy stuff will scratch the burn.
Wood Burning Patterns Project Ideas to Blow Your Mind
If you want to go beyond basic, here’s a bunch of ideas for wood burning patterns you gotta try:
- Personalized coasters: Gift them with initials or a family crest burned right in!
- Wooden spoons: Add vines or bears—these look DOPE and make rad kitchen gifts.
- Picture frames: Edge them with flower patterns or rustic borders.
- Jewelry and pendants: Tiny mandala or moon phases look sick as accessories.
- Phone stands: Make one, burn in your favorite gamer tag or quote.
- Keychains and Christmas ornaments: Loads of room to experiment with small patterns.
Where to Find Free or Paid Wood Burning Patterns
- Pinterest: The king of all craft inspo. Search for ‘wood burning patterns’ and save your favs.
- Craft blogs: Tons of free PDF downloadables floating around out there.
- Etsy: For a small fee, grab pro-designed, print-ready stencils you can use forever.
- Make your own: Grab a sharpie, some tracing paper, and get weird! Originality reigns supreme.
The Last Word: Why You Should Try Wood Burning Patterns ASAP
If you’ve made it this far, you’re clearly pumped about wood burning patterns—and with good reason. They’re relaxing (kinda meditative, honestly), cheap to start, and each project is totally unique. Whether you’re looking to sell your crafts, upgrade your gift game, or just wanna make things that friends will actually want, wood burning patterns are the secret sauce you’ve been missing.
Now, go dust off that old plank in your basement, sketch a silly design, and fire up that burner. Trust me, it’s gonna be epic! Share your creations, experiment, and don’t be afraid of a few smudges—perfection is boring anyway. Let’s burn some wood and make something unforgettable, y’all!


