
Picture this: You walk into a room and there it is—an eye-popping DIY decorative planter, bursting with life and personality. If you’re sick of boring store-bought options, you’re in for a treat. DIY decorative planters are not just containers for your precious plants; they’re a total game-changer for any space, from your living room to that awkward porch corner you never know what to do with. Whether you’re a newbie to woodworking or a seasoned saw-dust lover, stick around, because we’re about to get into the weeds (yep, pun intended) with everything you need to make your own DIY decorative planters.
Why DIY Decorative Planters Are a Must-Have
- Endless Customization: Create planters that match your style, size needs, and budget.
- Budget-Friendly: Save big bucks by making your own from scrap wood or thrift finds.
- Eco-Friendly: Repurpose materials and give old stuff new life—good for your plants and the planet.
- Soul-Satisfying: There’s just something special about making something beautiful with your own two hands.
DIY decorative planters let you showcase your plants while showing off your woodworking skills. Let’s face it, nothing says you’ve got style like a custom-pot job. Now, let’s dive into the good stuff.
Getting Started: What Makes the Best DIY Decorative Planters?
Before you bust out the toolbox, let’s chat about what really makes DIY decorative planters stand out. The magic is in the details, from the materials you pick to the finish you slap on. For some folks, it’s all about slick lines and that modern vibe. Others want something rustic and raw—think reclaimed pallet wood (bonus points for using wood with a story!). If you’re looking to elevate your plants, check out this tutorial for a wooden plant stand.
- Material: Wood, metal, concrete, even upcycled junk! Your call, bud.
- Drainage: Your plants won’t last long without proper drainage, so plan those holes.
- Finish: Paint, stain, or distress for that perfect look.
- Size: Match your plant’s needs and wherever you plan to show it off.

Top 5 Styles of DIY Decorative Planters to Try
Buckle up, ’cause there’s more than one way to make DIY decorative planters. Here are five killer styles you can whip up:
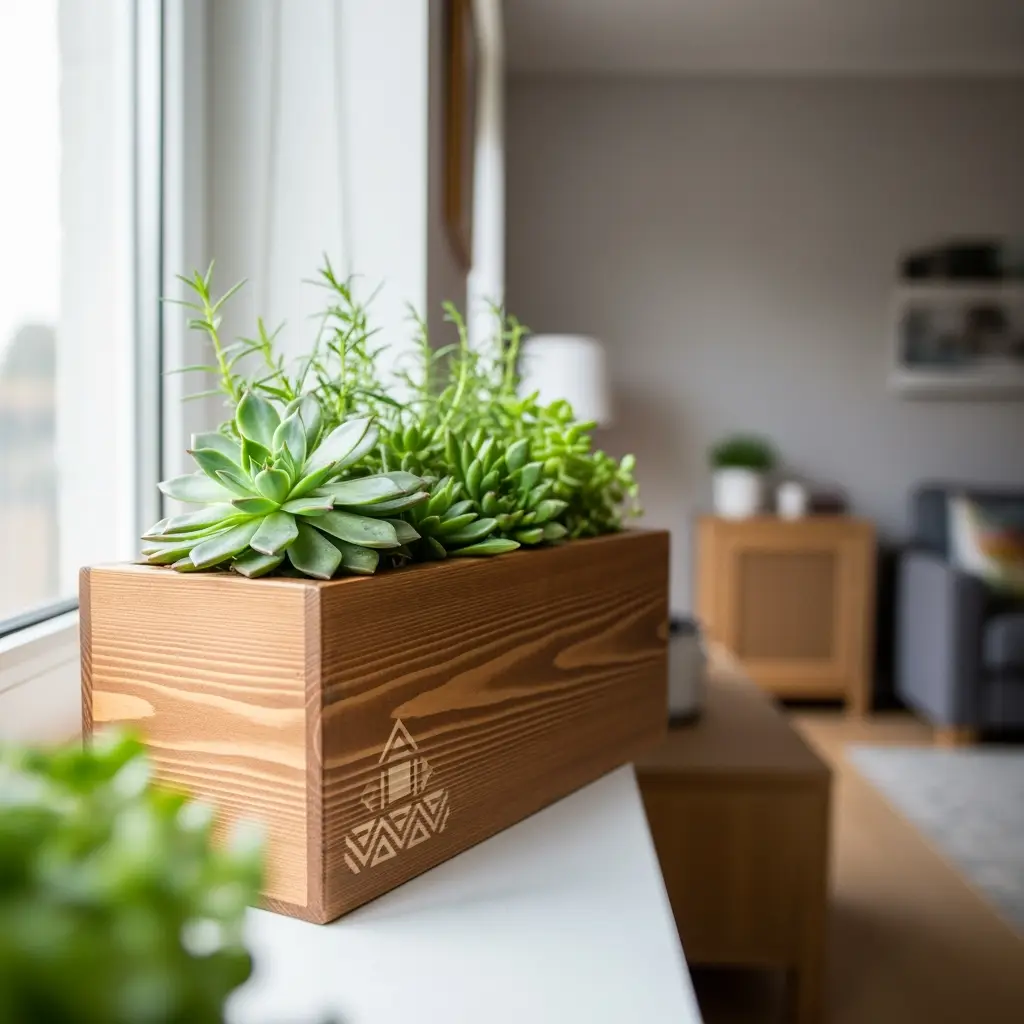
- Classic Rectangular Planter Box: Sleek, simple, and fits almost any space—including window sills and patios.
- Hanging Macrame Planter: Add serious boho energy, especially with colorful ropes and wooden beads.
- Pallet Wood Rustic Planter: Perfect for farmhouse or outdoor garden vibes.
- Cement and Concrete Planter: Modern, minimal, and indestructible (just don’t drop it on your foot, please).
- Upcycled Oddity Planter: Old boots, leaky teapots, you name it—turn unique stuff into a DIY decorative planter.
What Tools and Materials Do You Need?
Don’t sweat – you don’t need a fancy workshop to make professional-looking DIY decorative planters. Here’s the rundown of basic gear and supplies, plus a few pro tips:
- Wood or chosen material (cedar, pine, pallet wood, etc.)
- Hand saw or circular saw for cutting
- Sandpaper or an electric sander for smoothness
- Drill for holes and assembling pieces
- Nails, screws, or wood glue
- Paint, stain, or sealer for finishing touches
- Optional: Rope, beads, stencils, or hardware for accents
Pro tip: Always wear safety goggles, and double-check measurements if you don’t wanna end up with a lopsided planter!

Step-By-Step: Build a Basic Wooden DIY Decorative Planter
Ready to roll? Let’s build a straightforward wooden DIY decorative planter. Here’s a no-nonsense guide, complete with a couple jokes to keep things light ’cause splinters are serious business but DIY should be fun.
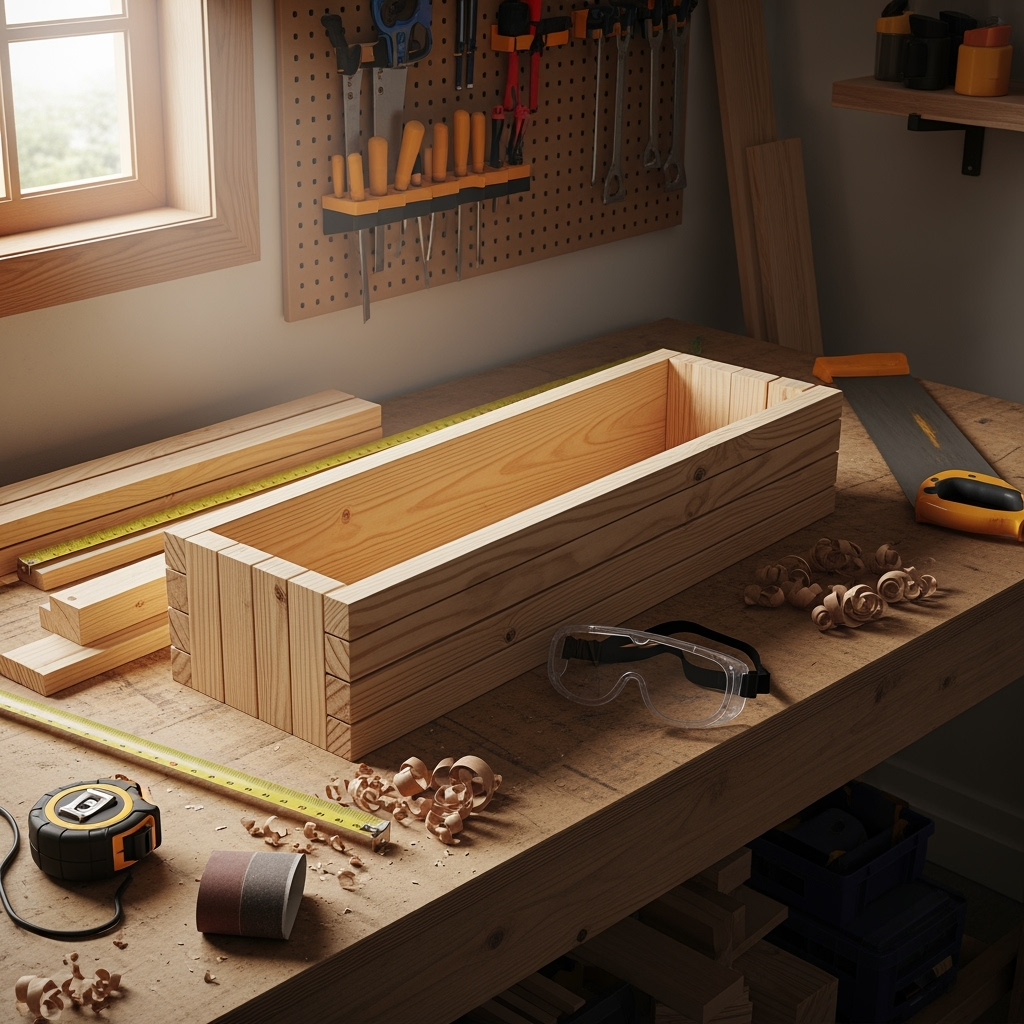
1. Measure and Cut
- Decide on planter size. 18” long, 8” wide, and 6” high works for most windowsills.
- Mark and cut your four sides and a base from the wood.
- Sand all cuts smooth—unless you like slivers in your fingers.
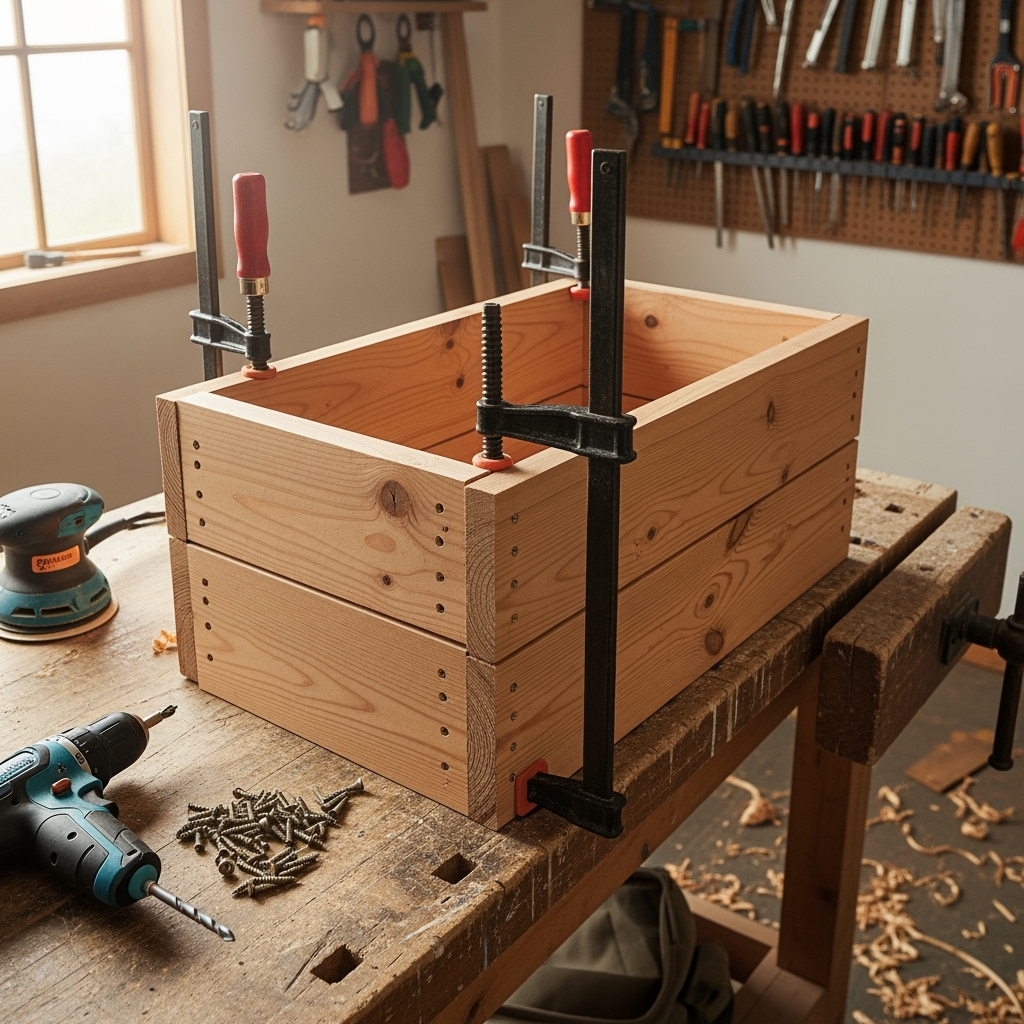
2. Assemble the Frame
- Line up the sides and base.
- Pre-drill holes (don’t split the wood!).
- Secure with nails or screws for a tight fit. Don’t skimp here—wobbly planters are a no-go.
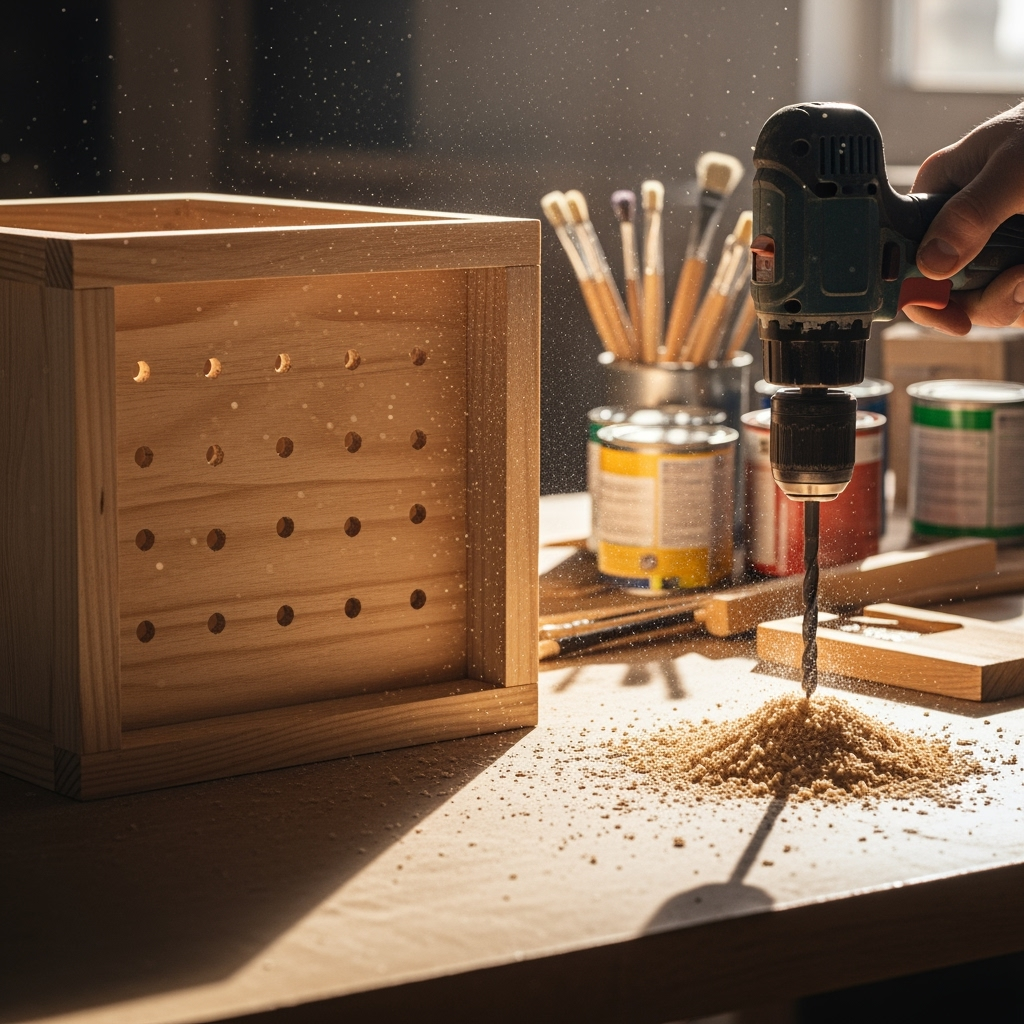
3. Drill Drainage Holes
- Flip the box to the base.
- Drill 3–5 holes, evenly spaced, for proper drainage. Plants hate soggy feet!
4. Add a Finish
- Wipe down the planter. No one likes a dusty paint job.
- Apply primer, paint, stain, or sealer. Go for bold patterns, geometric stencils, or even just a classic clear coat.
5. Custom Touches
- Stencil your initials or a plant pun (“Rooting for You!”) for extra flair.
- Add handles or little wooden feet for style points and easier moving.
Boom! You’ve made your very first DIY decorative planter. Pretty satisfying, huh?
Epic Finishing Ideas for DIY Decorative Planters
This is where DIY decorative planters really let you flex your creative muscle. Want a modern vibe? Try glossy white paint or cool metallic sprays. Feeling rustic? Distress the wood and slap on a weathered stain.
- Stencil Designs: Go geometric, floral, or typographic. Make it pop!
- Decoupage: Use napkins or fabric scraps for a totally custom print.
- Natural Oils: Let real wood grain shine for that earthy, organic appeal.
- Bold Color Blocking: Paint big blocks of color for that mid-century modern look.
- Mixed Materials: Add copper tape, rope, or metal brackets for a layered, pro look.
The sky’s the limit. Use what you’ve got and don’t be scared to experiment with your DIY decorative planters.

Thrifty Hacks for Upcycled DIY Decorative Planters
If you’re low on cash or just love giving old stuff new life, check these wild upcycling ideas for DIY decorative planters:
- Old paint cans (cleaned and sanded, duh)
- Basket leftovers from last Easter
- Vintage tea tins and kitchen canisters
- Shoes, boots, and even helmets (let’s get funky!)
Just add drainage holes, a coat of paint, and you’re golden. These quirky DIY decorative planters are bound to start convos and rack up Insta-likes.
DIY Decorative Planters for Indoor vs Outdoor Use
Not all planters are created equal, so think about location. Indoor DIY decorative planters can use pretty much any finish, while outdoor ones need real protection from weather. Go big on sealants and weatherproof paints for outside. For a robust backyard solution, consider building a garden planter box to expand your outdoor oasis. And if you’re making really large planters, swap out wood for something like cedar or redwood—they last way longer in sun and rain.
Don’t Forget: Maintenance for DIY Decorative Planters
So you made your gorgeous DIY decorative planters. Now keep these beauties looking fresh:

- Check for rot on wood and sand/re-stain as needed.
- Touch up paint after a harsh season.
- Keep drainage holes from clogging up with soil or roots.
- Refresh the plant soil yearly—healthy plants show off that planter magic.
Growing Your Skills: Advanced DIY Decorative Planters
Ready to ratchet things up? Next-level DIY decorative planters might include:
- Double-layer designs for insulation (great for veggies!)
- Built-in self-watering systems
- Lazy Susan-style rotating bases
- Cut-outs or panel inserts for mixed materials
There’s always a fresh challenge—so keep learning and pushing your craft. And don’t freak out if you make mistakes. Mess-ups are how you master DIY decorative planters (ask me about the planter that “accidentally” became firewood…)
The Best Plants for DIY Decorative Planters
All DIY decorative planters shine brightest with the right greenery. Here’s a quick-hit list of foolproof options:
- Succulents: Low maintenance, high drama, look bomb in small planters.
- Herbs: Parsley, basil, thyme—fresh and handy for kitchen windowsills.
- Snake plants: Hardy and architectural, ace for indoors.
- Pothos: Dangling drama, thrives on neglect.
- Petunias or marigolds: Bright and cheery for outdoors.
Just remember to match your plant’s needs with your planter’s size and drainage—zap bad vibes before they start.
Frequently Asked Questions About DIY Decorative Planters
- How do I waterproof my DIY decorative planters? Use outdoor sealant or plastic liners to keep wood from soaking up water.
- What if I mess up the cuts? Don’t sweat. Wood filler, a quick re-sand, and a creative cover paint can rescue most goofs.
- Can I make hanging DIY decorative planters? Heck yes! Use rope or metal chains. Just make sure the anchor points are solid.
- How can I decorate without paint? Try wood-burning, staining, decoupage, or even wrapping in fancy rope or yarn.
Inspiration Galore: Where to Find New DIY Decorative Planters Ideas
If you ever hit a creative wall (it happens!), here’s where to sniff out epic new ideas for your next DIY decorative planters project:
- Woodworking YouTube channels and blogs
- Instagram & Pinterest (watch out for deep scrolling!)
- Thrift stores and garage sales for funky upcycles
- Gardening magazines and books
Share Your DIY Decorative Planters!
DIY decorative planters aren’t just practical—they’re a statement. So snap pics, share ‘em on social, and show off those mad skills. The more you make, the better you get. Plus, you’ll have a blast giving gifts or just greening up your own corners, patios, and windowsills. Get after it, and don’t forget: Every DIY decorative planter tells a story—what’s yours gonna be?


