
Alright folks, if you’ve kicked around ideas for a fire new DIY project or you just love getting your hands dirty while creating something seriously useful, let’s chat about DIY wooden spoon carving. You’re about to take a trip straight into legit woodworking magic! Whether you’re a total newbie or you already know how to swing a chisel, carving your own wooden spoon is not just some relaxing pastime—it helps you connect to a tradition as old as time, lets you flex your creative muscle, and hey, you’ll even end up with a super functional kitchen tool that’s way cooler than anything store-bought. But first, let’s dive into what makes DIY wooden spoon carving such a rad hobby (plus, how not to totally botch your first attempt!).
Why DIY Wooden Spoon Carving Totally Rocks
- Low Cost, High Reward: All you really need are some basic tools and a chunk of wood—no fancy gadgets required.
- Therapeutic AF: No lie, the repetitive motion of shaping and smoothing wood is super zen.
- Endless Customization: You want a short handle, weird angle, or funky bowl? You do you!
- Heirloom Quality: Forget disposables. DIY wooden spoon carving brings on the hand-me-down vibes your fam will love for generations.
- Eco-Friendly: Upcycle scrap wood, skip the plastics, and keep your carbon footprint tiny.
The Core Materials For DIY Wooden Spoon Carving
This is the point where a lot of folks get nervous—don’t! The list is super basic, and I’m betting you probably already have half of it lying around in your garage. Here’s your basic DIY wooden spoon carving starter pack:
- Chunk of green wood (fresh wood is easier, trust me. Cherry, maple, birch, or walnut are excellent options!)
- Carving knife or whittling knife
- Hook knife (for hollowing out the bowl)
- Handsaw
- Axe or hatchet (optional)
- Pencil
- Sandpaper (multiple grits, at least 120 and 220)
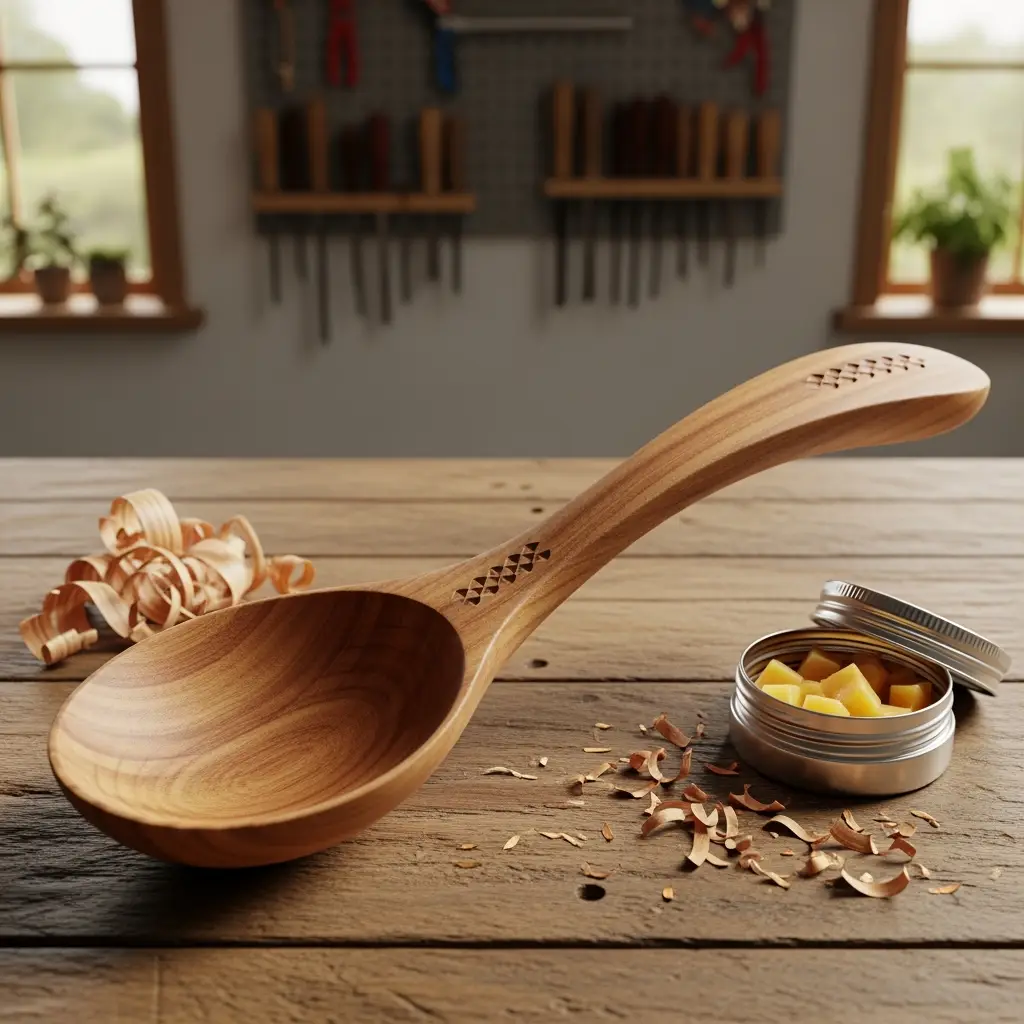
- Food-safe finish: mineral oil, beeswax or walnut oil
Picking the Best Wood for Carving Spoons
This one’s actually more important than you’d think—pick a gnarly wood and you’ll be working twice as hard for a busted-up spoon. For DIY wooden spoon carving, green wood is the champ. It’s easier on your hands and your blade, plus it’s satisfying to work! Here are killer options:
- Cherry (smells awesome, nice grain)
- Maple (classic, sturdy, available almost everywhere)
- Birch (super creamy to carve, lighter in color)
- Walnut (goes hard, but looks gorgeous when finished)
Avoid conifers (pine, spruce, etc.) since they can be resinous, splintery, and not food safe.

Shaping Your Spoon—Easy Steps to DIY Wooden Spoon Carving Mastery
Ready to smash out your very first handiwork? Here’s the breakdown of the DIY wooden spoon carving process, from log-to-ladle. No stress if you screw up—wood is forgiving, and practice makes (almost) perfect!
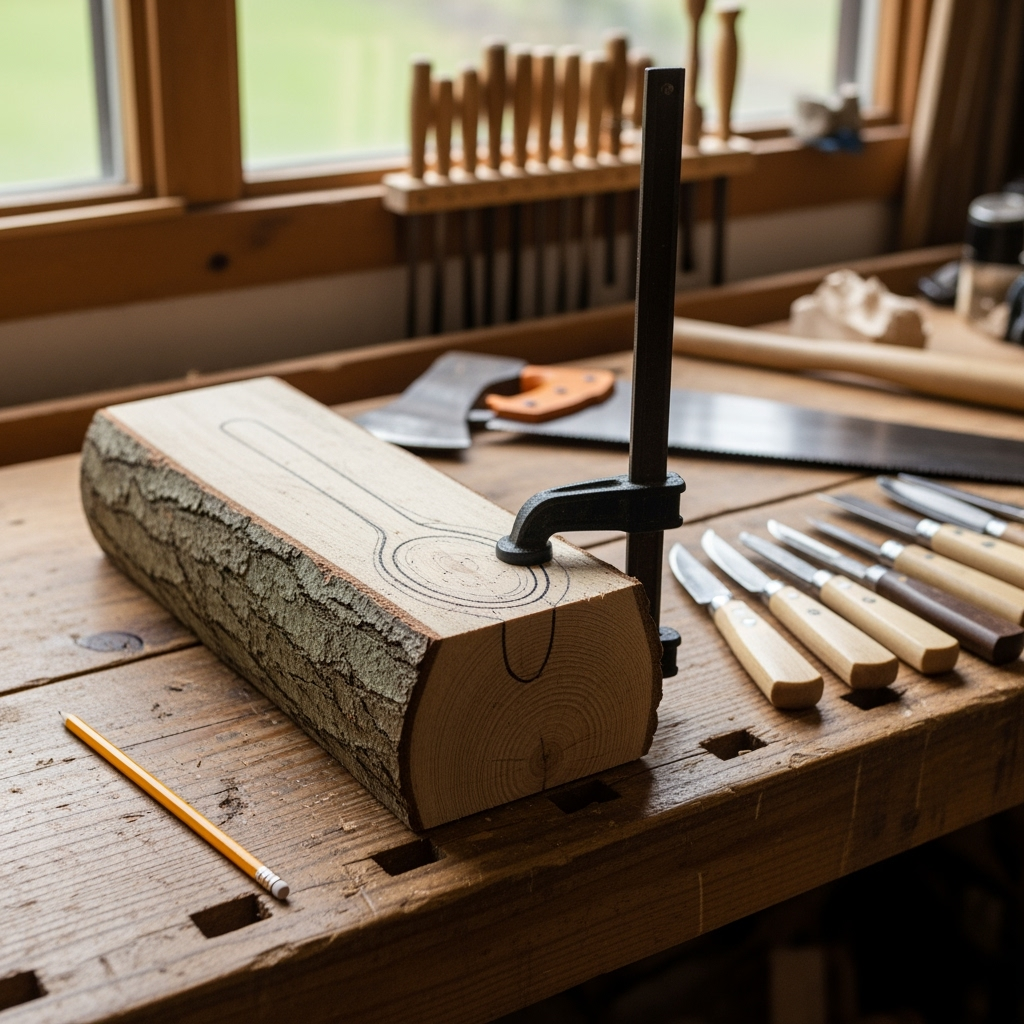
1. Sourcing & Prepping Your Stock
Grab your log or branch. Aim for at least 1.5″ in diameter and roughly a foot long. Try for something without a ton of crazy knots or cracks, especially early on. If you’re scavenging from the backyard, use a pruning saw to trim a chunk and split it down the middle for your “blank.”

2. Drawing Your Spoon Shape
With a pencil/marker, sketch the outline of your spoon on the flat surface. The handle, the bowl—just freestyle it. If you want to be extra precise, use a paper template and trace around it. Your spoon shape should be slightly offset from the center—the grain should run the entire length, giving strength.
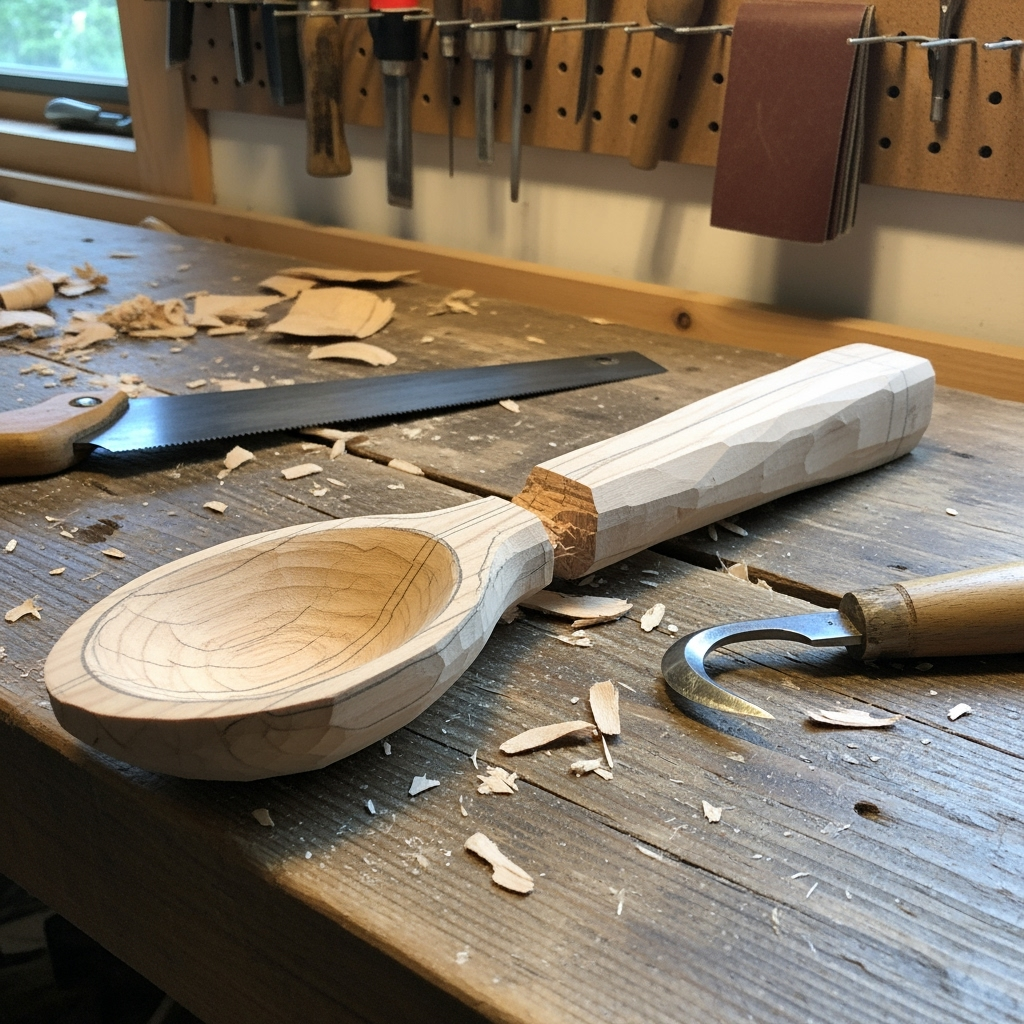
3. Roughing Out With Saw and Axe
With your handsaw, cut rough outside borders for your blank. Then, if you have an axe or hatchet, use it to chop away the big chunks outside your pencil lines. Go slow. Don’t axe off your future handle (or your fingers, yikes).
4. Carving the Bowl
This is where the hook knife slays. Hold your blank steady and start pulling the hook knife to scoop out the bowl. Alternate sides, deeper in the center, thinning toward the edges. Keep checking for evenness. Take breaks—you do NOT want to slip here.
5. Shaping the Handle and Back
Switch to your straight carving knife. Carefully whittle down the handle and thin out the back of the bowl. Use long slicing cuts, not short stabs. Aim for comfort: you wanna feel good holding this thing for stirring soup one-handed like a champ.
6. Fine-Carving and Smoothing
Now that you got a rough spoon, refine the shapes. Thin out the rim of the bowl, smooth any sharp bits, and check for symmetry. If you dare, add a little decoration—carve initials, grip lines, or fancy curves. Don’t go wild if you’re new!

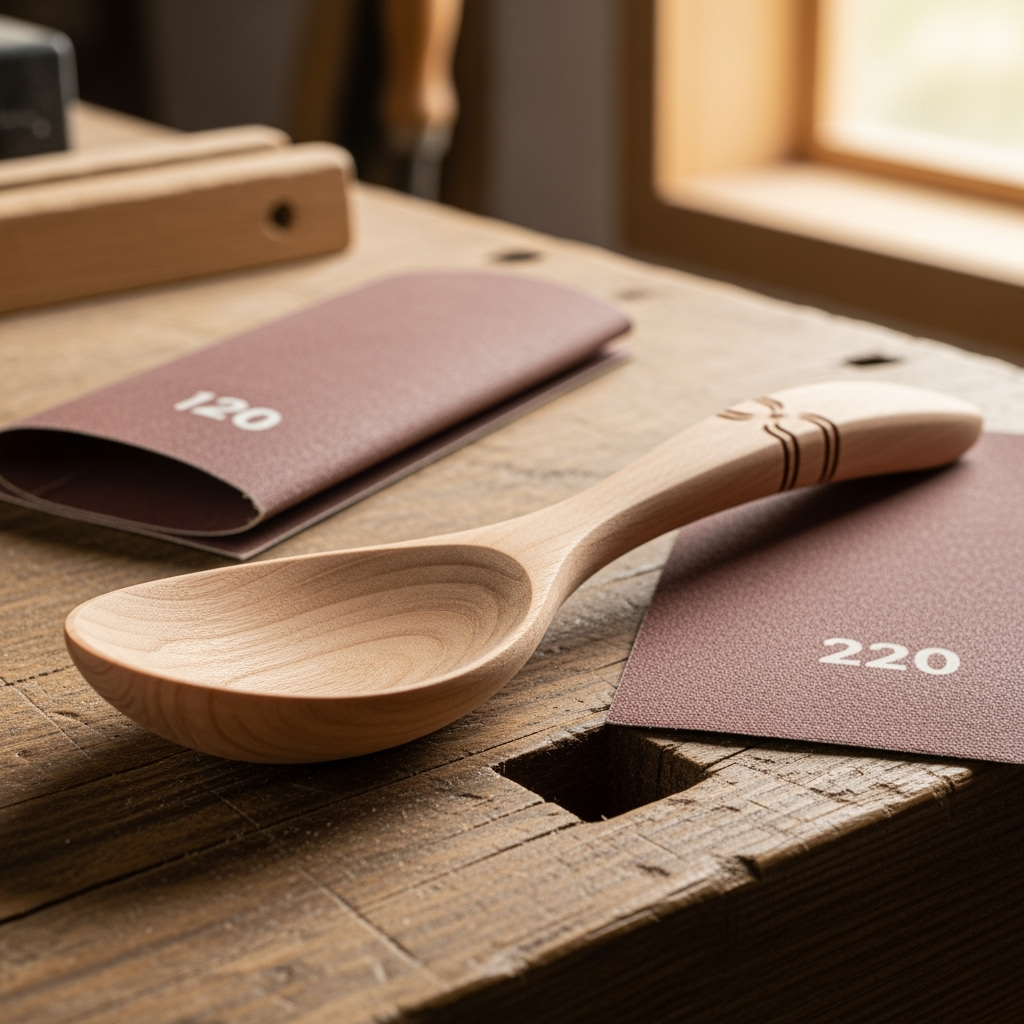
7. Sanding—The Secret Sauce
Start with rough sandpaper (120 grit), move up to fine (220 grit or higher). Sand everywhere. The goal is super smooth, especially where lips/tongues will touch. Wipe with a damp rag to raise the grain, let dry, then sand again to glassiness.
8. Finishing Your Carved Spoon
DIY wooden spoon carving ain’t done until you oil it up. Generously rub in mineral oil, let it soak, then buff with beeswax or walnut oil. Repeat every few weeks after you start using it. No paint, no toxic finishes—keep it food-safe!
DIY Wooden Spoon Carving: Tips, Tricks, and Epic Mistakes
Pro Tips No One Tells You
- Work with the grain, not against it. You’ll avoid splintering and save your sanity.
- Keep your knives sharp. Dull blades just rip, slip, and make you curse a lot more.
- Clamp the blank, or get a carving glove. You only get ten fingers per lifetime.
- Don’t panic about perfection. Uneven bowls and wiggly handles are totally unique.
- Try different woods and shapes each time—find your groove!
Common Screw-ups (And How To Dodge Them)
- Broken Handles: Means you carved it too thin or chopped against the grain. Next time, leave it chunkier.
- Splinters and Rough Spots: Sand more, or try a different species of wood for easier carving.
- Ugly Stains: Make sure your wood is clean, dry after carving, and only use food-safe finishes.
Diving Deeper: Decorative Techniques for DIY Wooden Spoon Carving
Once you get your basic spoon game tight, why not trick out your spoons with personal flair? Here’s a few ideas to level-up your DIY wooden spoon carving game:

- Chip Carving: Use a tiny v-tool to make neat geometric lines or shapes along the handle.
- Woodburning: Burn names, patterns, or cool daisy chains with a woodburning tool (just keep it shallow and food safe).
- Staining with Coffee or Tea: Natural stains add cool earth tones without chemicals.
- Leather Lanyards: Drill a hole at the end of the handle, loop a piece of leather or twine. Instant rustic style!
FAQs About DIY Wooden Spoon Carving
- How long does it take to make a wooden spoon? For your first go, about 2-4 hours total. It gets way faster (and way funnier) over time.
- Is it safe to use hand-carved spoons? Heck yes, as long as you finish with a food-safe oil and don’t use toxic finishes.
- What tools can I skip on a budget? You mostly need a good sharp carving knife and some sandpaper. The rest is icing.
- Can you carve dried wood? Totally, but it’s harder work and needs sharper tools. Green wood is more forgiving.
- How do I fix cracks? Small cracks, just oil them. Big splits—either toss it, or repurpose as a stirring stick.
Reaping the Benefits—What You Learn Beyond Spoons
Besides walking around the kitchen waving your handmade spoon like you’re a wizard, DIY wooden spoon carving teaches you real skills: patience, attention to detail, safe tool handling, and the pure satisfaction of making something from nothing. You also end up with a unique gift for anyone who loves cooking, camping, or just admiring the rad art of everyday objects! So, what are you waiting for? Raid the woodpile, sharpen your knives, and get to carving—the world (and your grandma’s soup recipe) needs your next creation.
Keeping Up the Craft: Joining the Spoon Carving Community
Once you’ve got a few spoons under your belt, consider linking up with other DIY wooden spoon carving enthusiasts online—Instagram, Reddit, and Facebook all have active carver groups. Watch tutorials, share pics, ask questions, and swap pro tips (and a few dad jokes). There’s a rad community waiting to cheer you on!
The Final Scoop
So, to wrap it up—DIY wooden spoon carving isn’t just a craft, it’s a vibe. You’ll turn simple wood into something crazy useful, level up your skills, and get that epic feeling every time you stir a pot with a tool you created from scratch. Grab those tools, smash your fears, and jump into the world of wooden spoon carving. Who knows, you might just get addicted! Peace out and happy carving!


