
Ever felt like your home needs a lil’ spark but you don’t wanna blow a fortune on fancy decor? You’re not alone, buddy! That’s where DIY candle holders step in—easy, creative, wallet-friendly, and super satisfying to make. Seriously, there’s just something about making your own stuff that plain ol’ store-bought décor can’t match. Whether you’re trying to add a cozy vibe, prepping for a dreamy dinner, or just wanna flex your creative muscles, DIY candle holders can change up your entire space. In this blog post, we’ll dive deep into everything you need to know about DIY candle holders. From basic ideas to some wild, show-stopping designs, you’ll walk away ready to light up your life, literally and style-wise. Ready to roll up your sleeves? Let’s do it!
Why DIY Candle Holders Are the Real MVPs
You might be asking, “Why bother with DIY candle holders when I can just snag some from the store?” Well, let me hit you with some facts, and a few giggles in between. Making your own candle holders isn’t just about saving money (though that’s a huge bonus). It’s about expressing yourself, unlocking your creativity, and having serious bragging rights when friends ask, “Whoa, where’d you get that?”
- Customization: Choose colors, shapes, and materials that fit your style.
- Budget-Friendly: Use what you’ve got at home or nab supplies for peanuts.
- Eco-Friendly: Upcycle and recycle to make killer pieces without the waste.
- Therapy: Crafting is mega relaxing; light a candle in your creation and chill.
- Gift-Worthy: Handmade beats store-bought every time in the gift department.
That’s just the beginning! DIY candle holders can give a totally unique vibe to any occasion or room, and, trust me, the process is a blast.
Getting Started with DIY Candle Holders: Tools & Materials
Before you dive headfirst into crafting, let’s chat tools. Here’s a basic checklist for most DIY candle holder projects:

- Glue gun & sticks: The ultimate sidekick for sticking stuff together.
- Paint & brushes: For those from-the-heart finishing touches.
- Sandpaper: To smooth out rough edges (no splinters here, thank you).
- Scissors & utility knife: Cutting is basically unavoidable. Sharp tools, sharp results.
- Measuring tape or ruler: For eyeballing, but like, professionally.
- Candles: Tall, small, or tea lights, whatever floats your boat.
Now, onto the fun part: what can you make ’em from? Pretty much anything. Seriously, DIY candle holders can be whipped up from jars, wood scraps, tin cans, rope, old cups, concrete, seashells, you name it. Sometimes the best stuff is hiding in your recycling bin!
Types of DIY Candle Holders: Tons of Options
The world of DIY candle holders is absolutely massive. Here’s a breakdown of some of the most jaw-dropping (or super simple) ideas you can tackle:

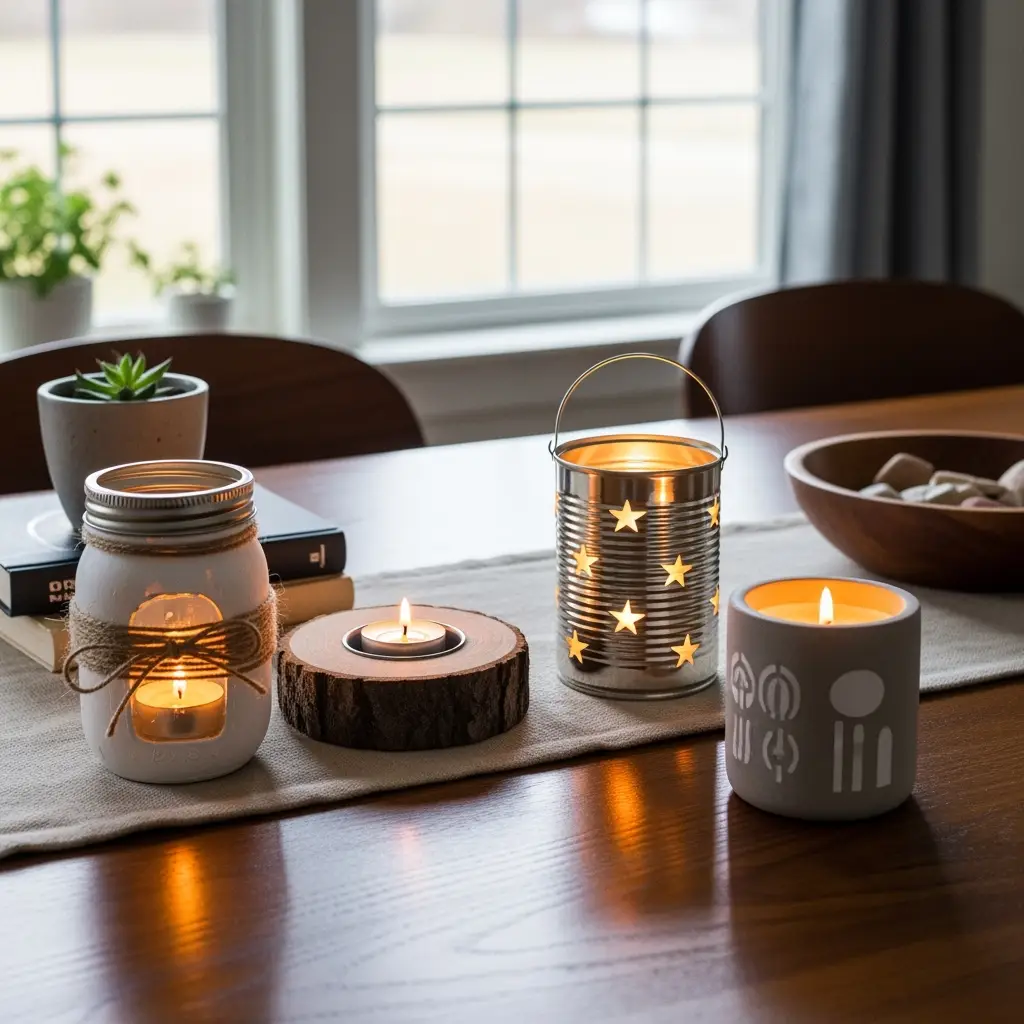
1. Mason Jar Candle Holders
Mason jars are the real OGs for DIY candle holders. Just toss in a candle, maybe a layer of sand or pebbles on the bottom, and you’re halfway there. Want to level up? Paint the outside, wrap in twine, glue on lace or tiny pinecones—this is your blank canvas.
2. Wooden DIY Candle Holders
If you’re handy with tools, making rustic wood candle holders is a game-changer. Use scrap wood or even fat sticks from your own yard. Drill a hollow spot for tea lights or taper candles, sand smooth, stain or paint, and you’ve got farmhouse chic—no sweat.
3. Concrete Candle Holders
Alright, hear me out—concrete is cool (and surprisingly easy). Grab some quick-set cement and use silicone molds (old yogurt cups work too) to shape your candle holders. Paint ‘em up when dry or leave raw for that cool urban vibe.
4. Upcycled Glass Bottle Candle Holders
Got empty wine, soda, or beer bottles? Chop off the tops (carefully, please) or use the necks as dramatic candle holders. They look fire on a dining table or mantel—literally and figuratively.
5. Tin Can Lanterns
Empty cans + a hammer and nail = instant lantern magic! Punch holes in patterns, spray paint inside and out, and drop in a candle. When it glows, you’ll see those little stars and dots, and the ambiance is next level.

6. Clay Candle Holders
Get your hands dirty! Air-dry or oven-bake clay is perfect for sculpting unique candle holders. Make simple bowls, little animal shapes, or anything weird and wonderful you dream up. Paint after they dry and bask in your creative glory.
7. Nautical Rope Candle Holders
Wrap rope around old jars, tin cans, or sturdy cardboard tubes. Add glue as you go, tuck in the ends for a neat finish, and you’ve got DIY candle holders straight outta a beach house.
Step-by-Step Guide: DIY Candle Holders You Can Make Tonight
Wanna get started right now? Here are some step-by-step instructions for a few top DIY candle holders. Follow along, and you’ll be making these like a pro in no time:

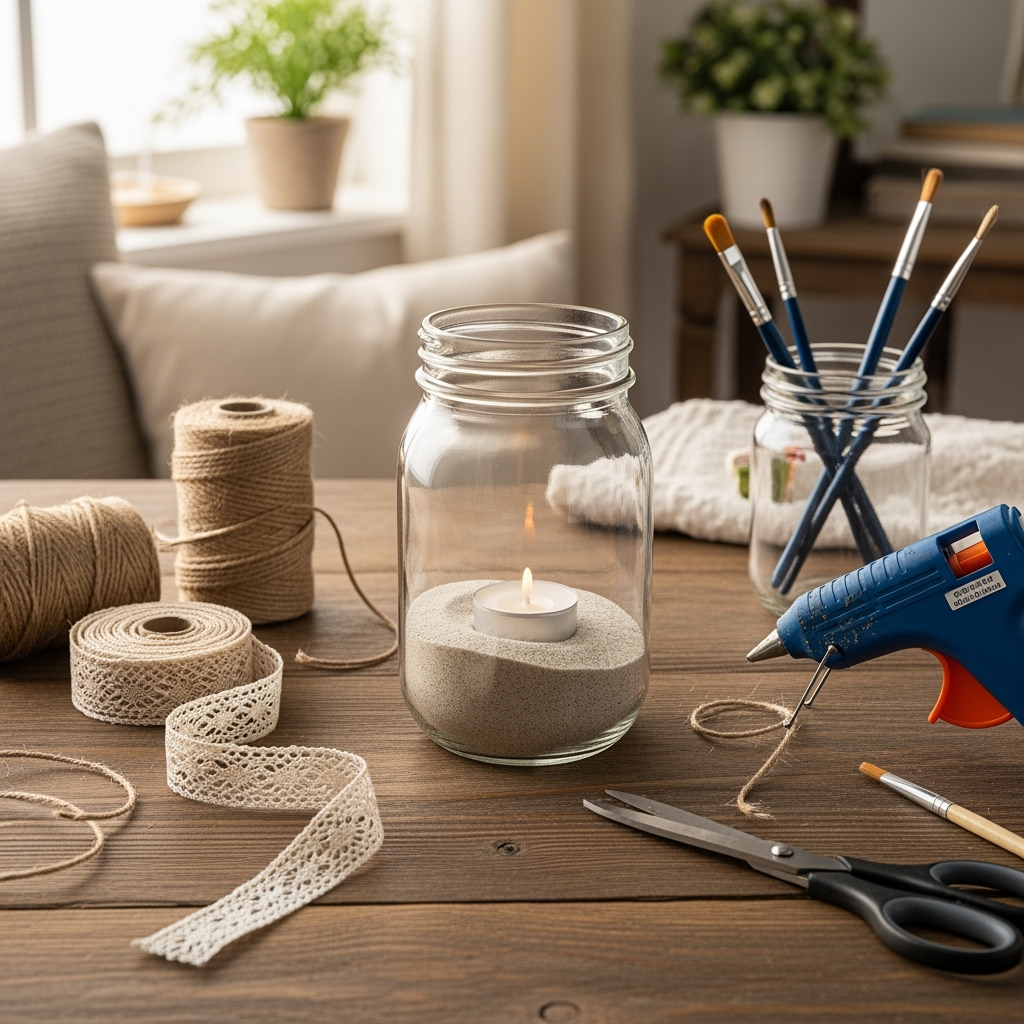
Project 1 – Super Simple Jar Candle Holders
- Step 1: Grab a clean glass jar. Mason jars or even old jam jars are perfect.
- Step 2: Add a layer of sand, pebbles, or small stones in the bottom (optional, but it looks chill).
- Step 3: Drop in your chosen candle—tea light, votive, whatever works.
- Step 4: Decorate the outside! Consider wrapping with twine, gluing on a band of lace, or painting polka dots.
- Step 5: Light it up and admire (do it safely, ok?).
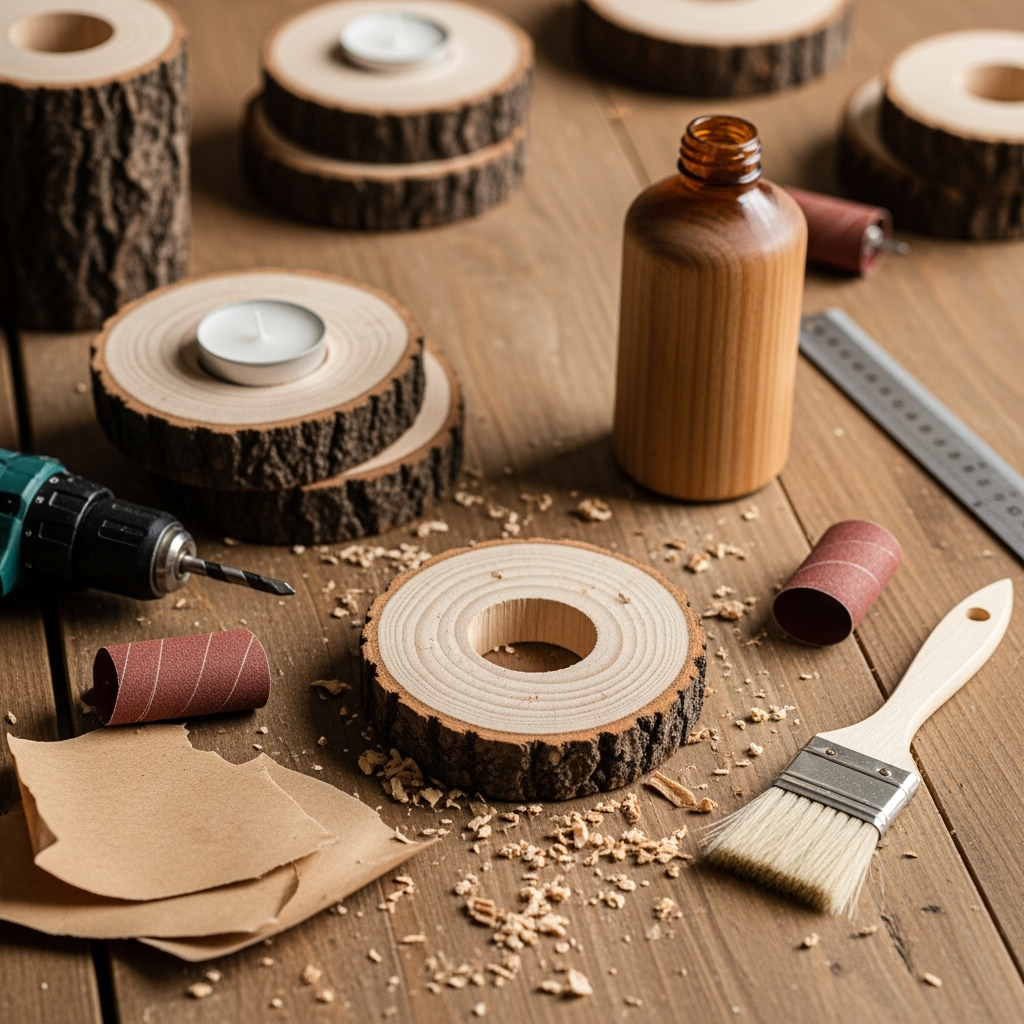
Project 2 – Rustic Wooden Tea Light Holders
- Step 1: Find a chunky branch (about 2-3 inches thick).
- Step 2: Cut into slices, each about 2 inches thick.
- Step 3: Drill a hole in the center of each slice, just big enough to snuggly fit a tea light.
- Step 4: Sand the wood smooth, wipe off any sawdust.
- Step 5: Stain, paint, or leave natural. Pop in candles and done!
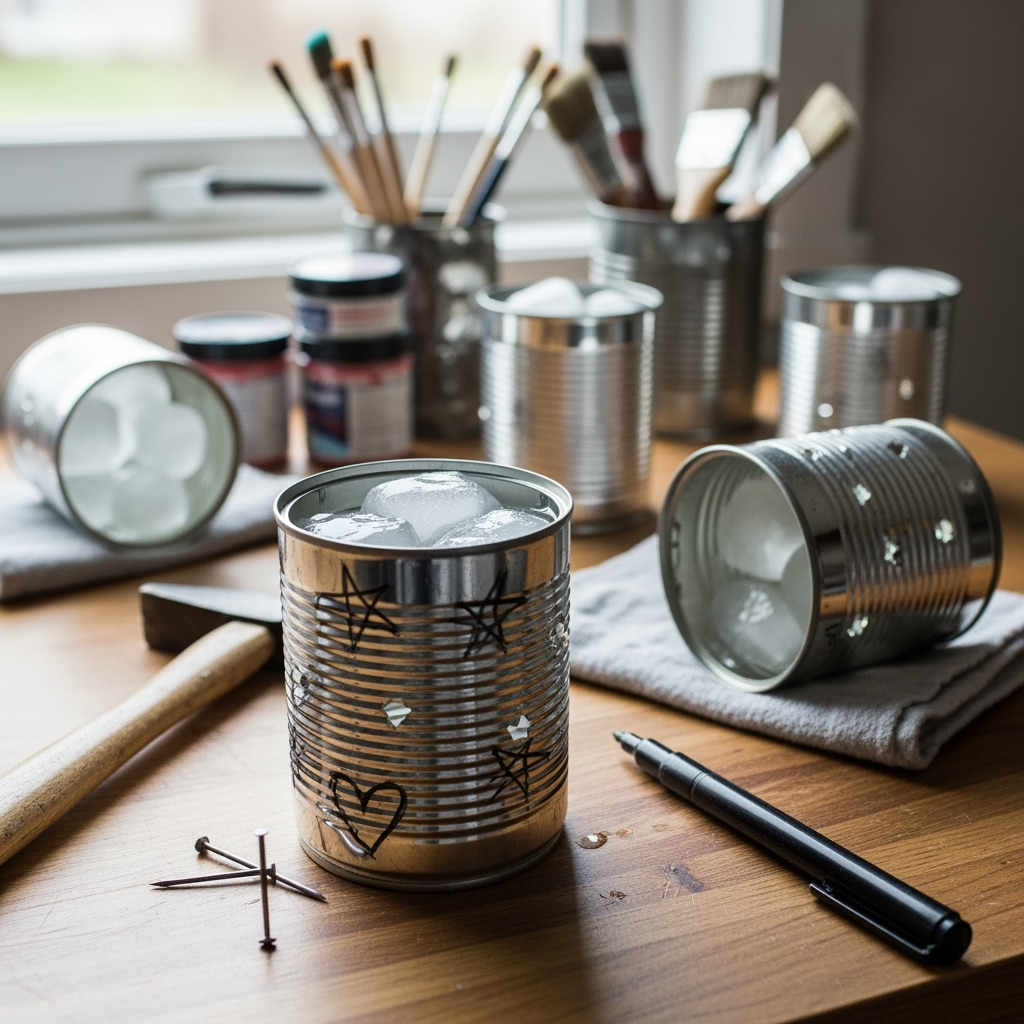
Project 3 – Fancy Tin Can Lanterns
- Step 1: Wash an empty tin can and remove the label.
- Step 2: Fill it with water and freeze. (Keeps the can from bending when you hammer holes!)
- Step 3: Draw your pattern with a marker—think polka dots, stars, or hearts.
- Step 4: Use a nail and hammer to punch holes along your design.
- Step 5: Let the ice melt, dry the can, and paint, if desired.
- Step 6: Set in your candle; watch the patterns dance on walls.
Project 4 – Modern Concrete Candle Holders
- Step 1: Mix quick-dry cement according to package instructions.
- Step 2: Pour into silicone molds—the size depends on the candles you’ll use.
- Step 3: Press in another (smaller) mold to make a cavity for the candle.
- Step 4: Let dry (usually overnight), then pop out of mold.
- Step 5: Paint or stencil on cool designs, and you’re set.
Tips for Safe and Swaggy DIY Candle Holders
Safety first, ya’ll. Candles are awesome until they’re not, so always:
- Use non-flammable materials—no paper, plastic, or stuff that melts.
- Never leave burning candles unattended.
- Keep candle holders away from curtains and other flammables.
- Use a drip tray or dish if your candle holder isn’t waterproof or heatproof.
- Check for cracks or loose parts before popping in a lit candle.
DIY Candle Holders for Every Season & Reason
The best bit about DIY candle holders is how easily you can switch ‘em up for seasons or events. Here’s a little inspo to get you hyped:
- Spring: Pastel paints, pressed flowers in jars, light and airy vibes.
- Summer: Sand, shells, and driftwood holders for that beachy feel.
- Fall: Leaves, cinnamon sticks, and gold accents—hello, cozy!
- Winter: Glitter, cranberries, pinecones, and faux snow. For more festive accents, check out these festive porch decorations.
- Special Days: Paint hearts for Valentine’s, carve pumpkins for Halloween, or spray gold for New Year’s sparkle.
DIY Candle Holders Dos and Don’ts
- Do get creative with your materials and colors.
- Do measure candles so they fit safely in holders.
- Do upcycle whenever possible—good for you and the planet.
- Don’t use flammable decorations too close to the flame.
- Don’t forget to test candle holders for stability (no wobbles, please).
- Don’t stress about perfection. It’s DIY, it’s supposed to be fun!
Styling and Display Ideas for Your DIY Candle Holders
Now that you’ve got your baby (aka your newest DIY candle holder), where should it live? Here are some swanky display ideas:
- Centerpieces: Cluster a few on your dining table for instant wow with coffee table decor ideas.
- Bookshelves: Nestle among your favorite reads or next to plants.
- Bathroom Spa: Line up some along the tub and pretend you’re at a fancy hotel.
- Outdoors: Light up a porch or balcony to bring the party vibes outside and pair them with patio furniture plans.
- Window Sills: Catch that sunset glow and double the charm.
Frequently Asked Questions About DIY Candle Holders
Can I make DIY candle holders if I have zero crafting experience?
Absolutely! Plenty of projects require only basic tools and no special skills—just your two hands and a little enthusiasm.
What’s the cheapest DIY candle holder idea?
Probably the jar or tin can versions—most folks have those lying around somewhere. Plus, you can deck ‘em out with scrap fabric, string, or leftover paint. No need to spend big.
Are DIY candle holders safe?
Totally, if you stick to fire-safe materials and never leave candles burning unattended. Don’t cut corners on safety, pals.
What type of candles are best for DIY holders?
Tea lights and votives are classic, but tapers or pillars work too if your DIY candle holders can handle ‘em. Just measure up before you make!
Can I make scented holders?
Some peeps add cinnamon sticks, dried herbs, or even a drop of essential oil to their holders—but keep all flammable stuff away from the flame, or use battery tea lights for scent instead.
Show Off Your DIY Candle Holders!
So, what are you waiting for? Your home’s ready to glow up, and you’ve got all the inspiration you need. Remember, DIY candle holders aren’t just décor—they’re memories, your unique style, and maybe the launchpad for your next creative obsession. Post your masterpieces on social media or just enjoy the chill vibes they bring to your home. If a lil’ candlelight doesn’t make every night magical, I dunno what will. Go make something awesome—the world (and your living room) will thank you!


